Fujifilm X100VI Quick Set Up Guide
If you just picked up the Fuji X100VI and this is your first Fujifilm camera, it might seem a little overwhelming. This guide is designed to get you up and running as quickly as possible so you can start using your new camera while learning the rest as you go. This isn’t a full guide and I will be making one in due course. Finally any settings I share here work for me and how I shoot (street & travel). Give them a go, keep what you like and get rid of what doesn’t click with you.

Button Setup
Let’s set up the custom buttons. On this camera their functionality carries over regardless if it’s photo or video mode.
Fn1 I have set to spot metering lock.
Fn2 is for face detection.
AEL/AFL leave it as default.
RF-Dial is set to AF Mode.
Selector is set to ND.
Q is set to Q.
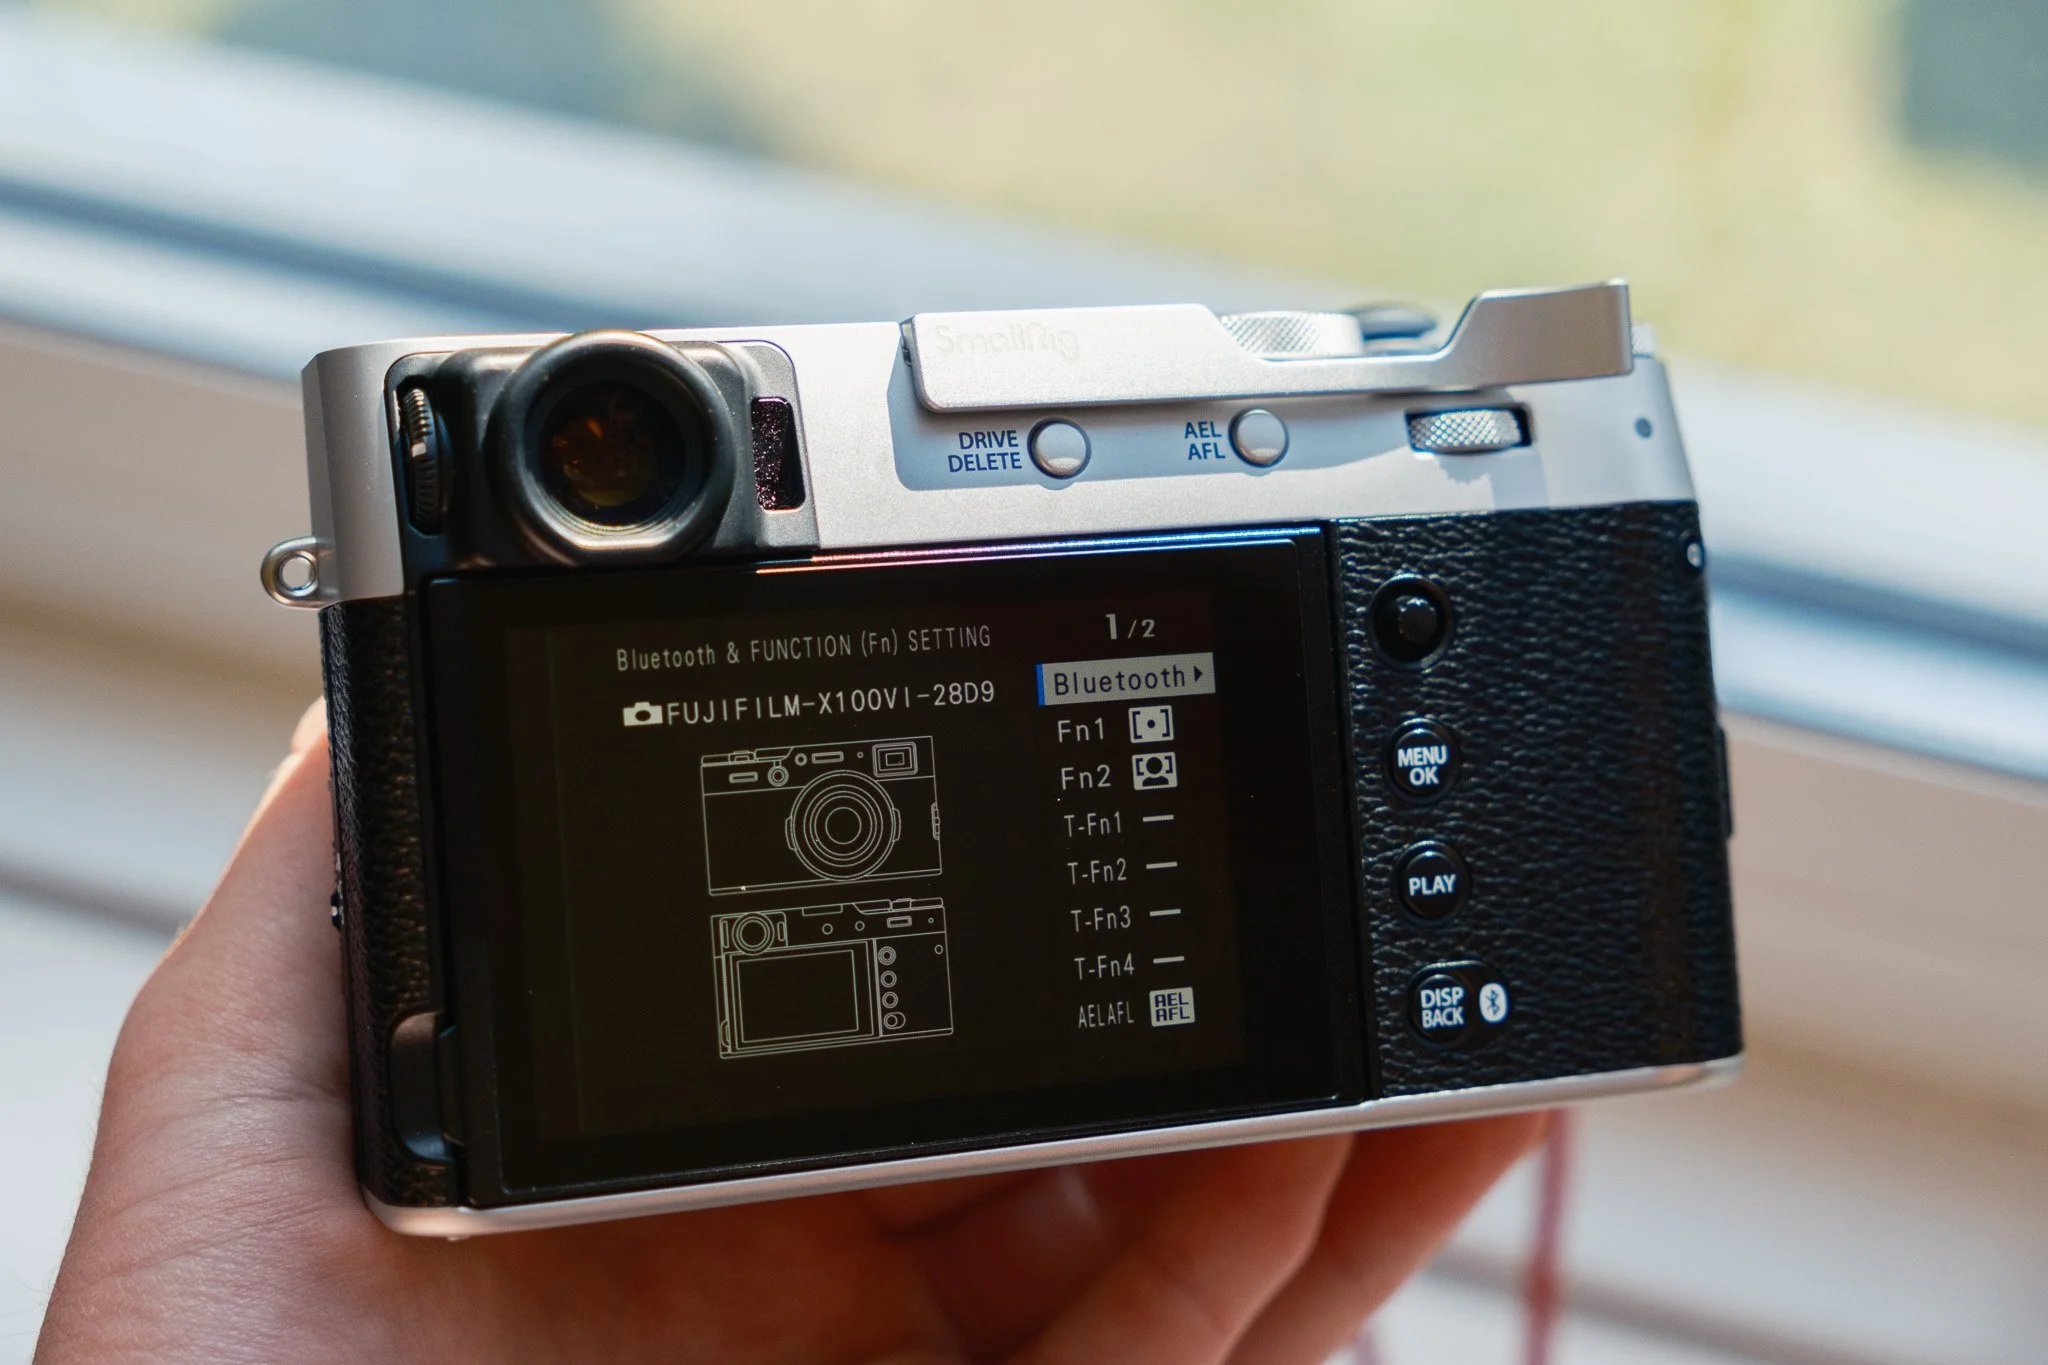
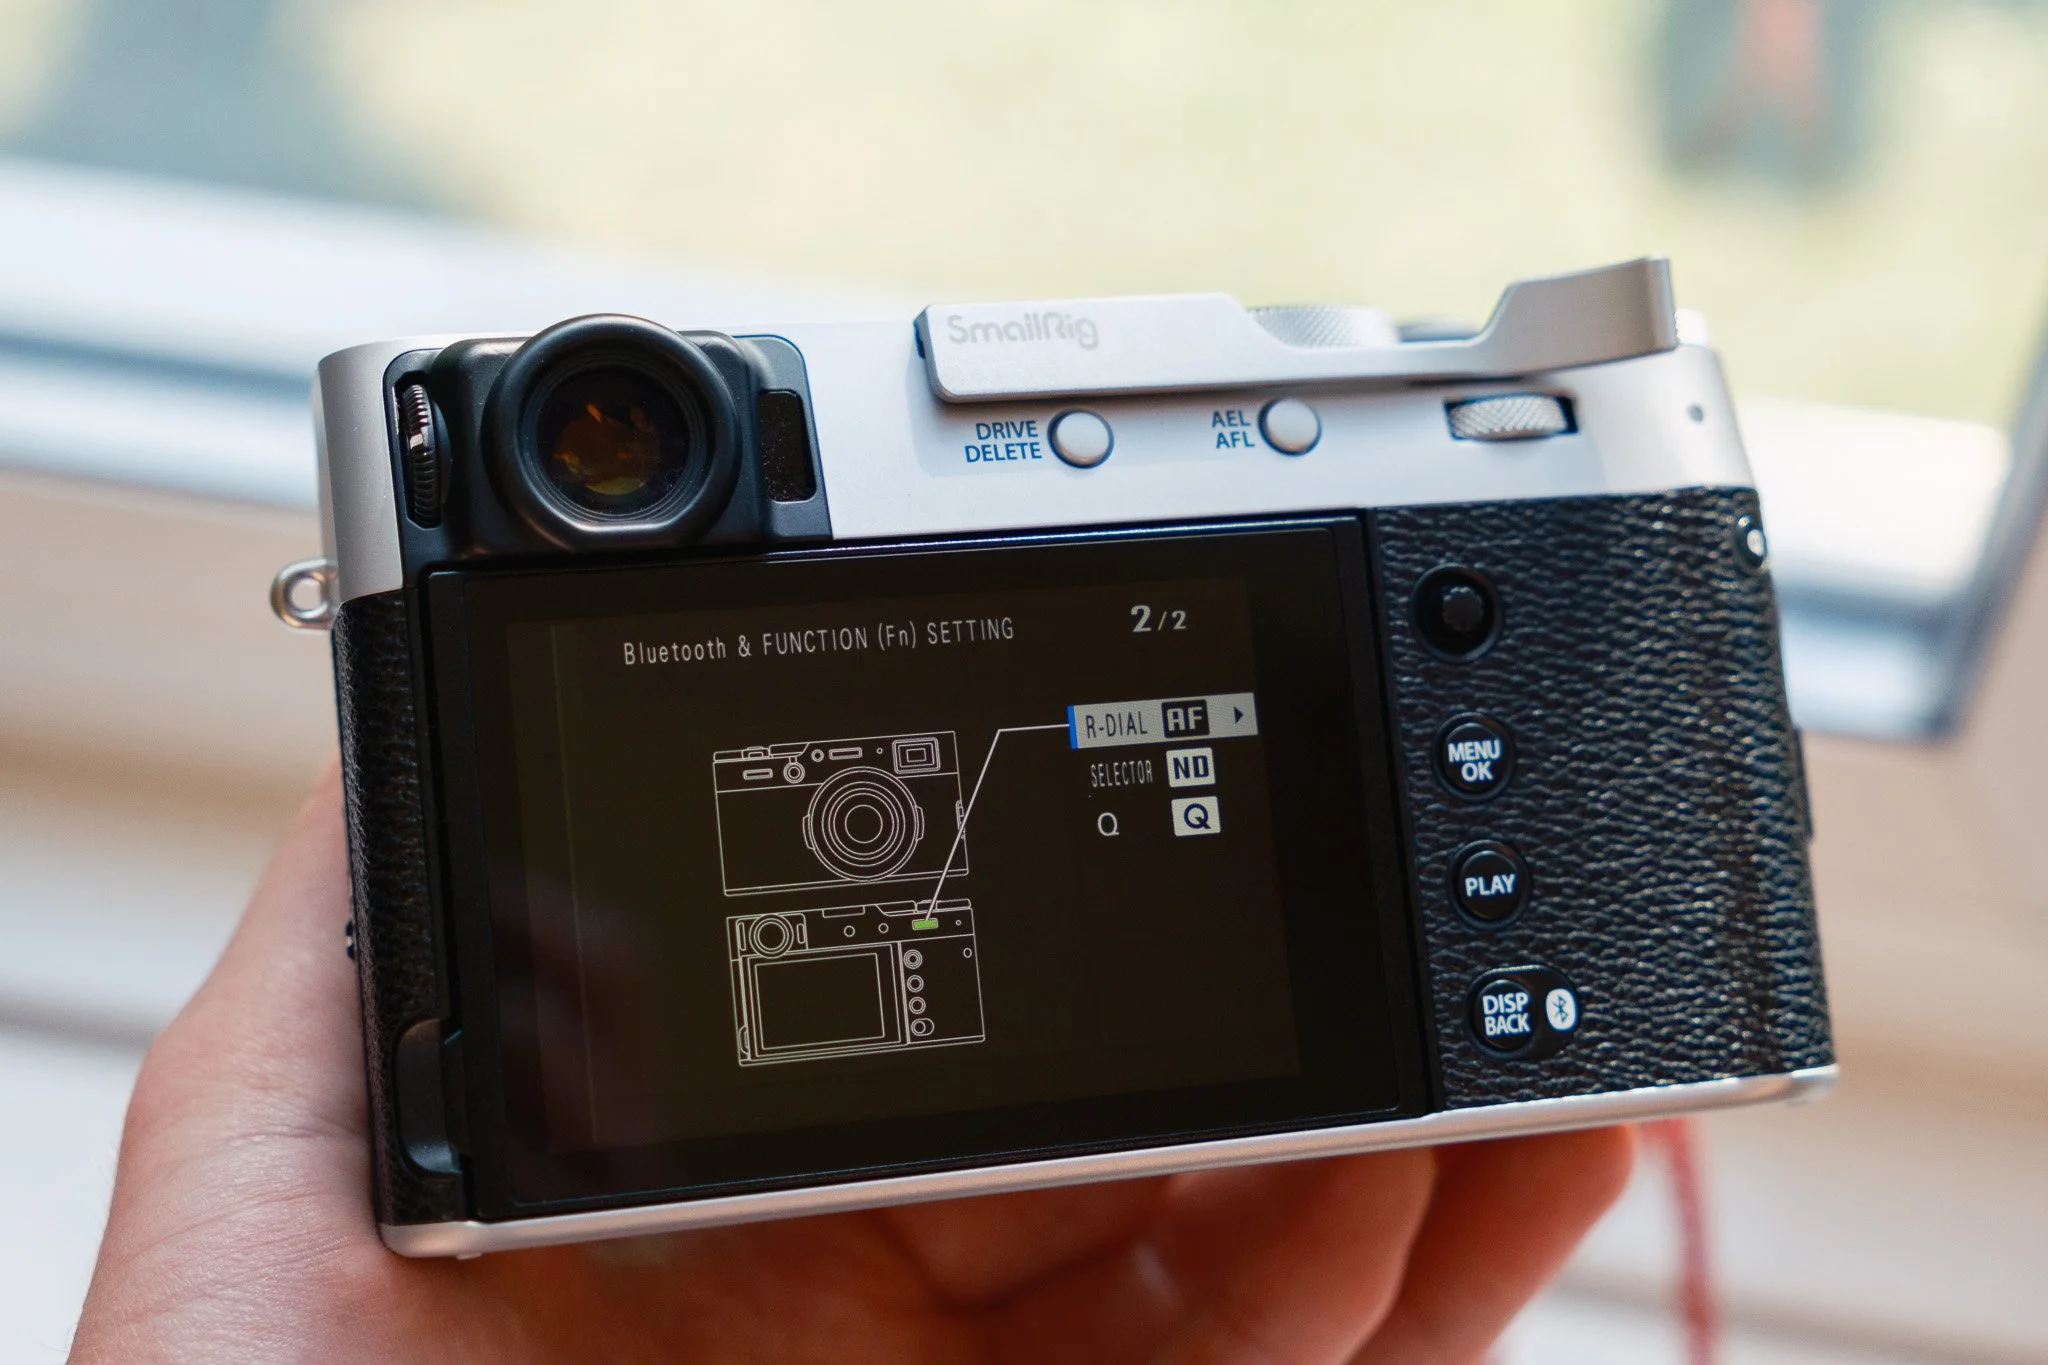
Photo Setup
I shoot in Fine+RAW as that way can mess around with JPEG simulations while also keeping the RAW file for editing later.

I have three different Auto ISO levels set and I switch between them depending on the conditions
AUTO1 is for daytime shooting and is set to:
Base 125
Mac 6400
Shutter 1/200
AUTO2 is for low light
Base 500
Mac 6400
Shutter 1/100
AUTO3 is for shutter priority
Base 1000
Mac 12800
Shutter 1/500

Default JPEG Setup
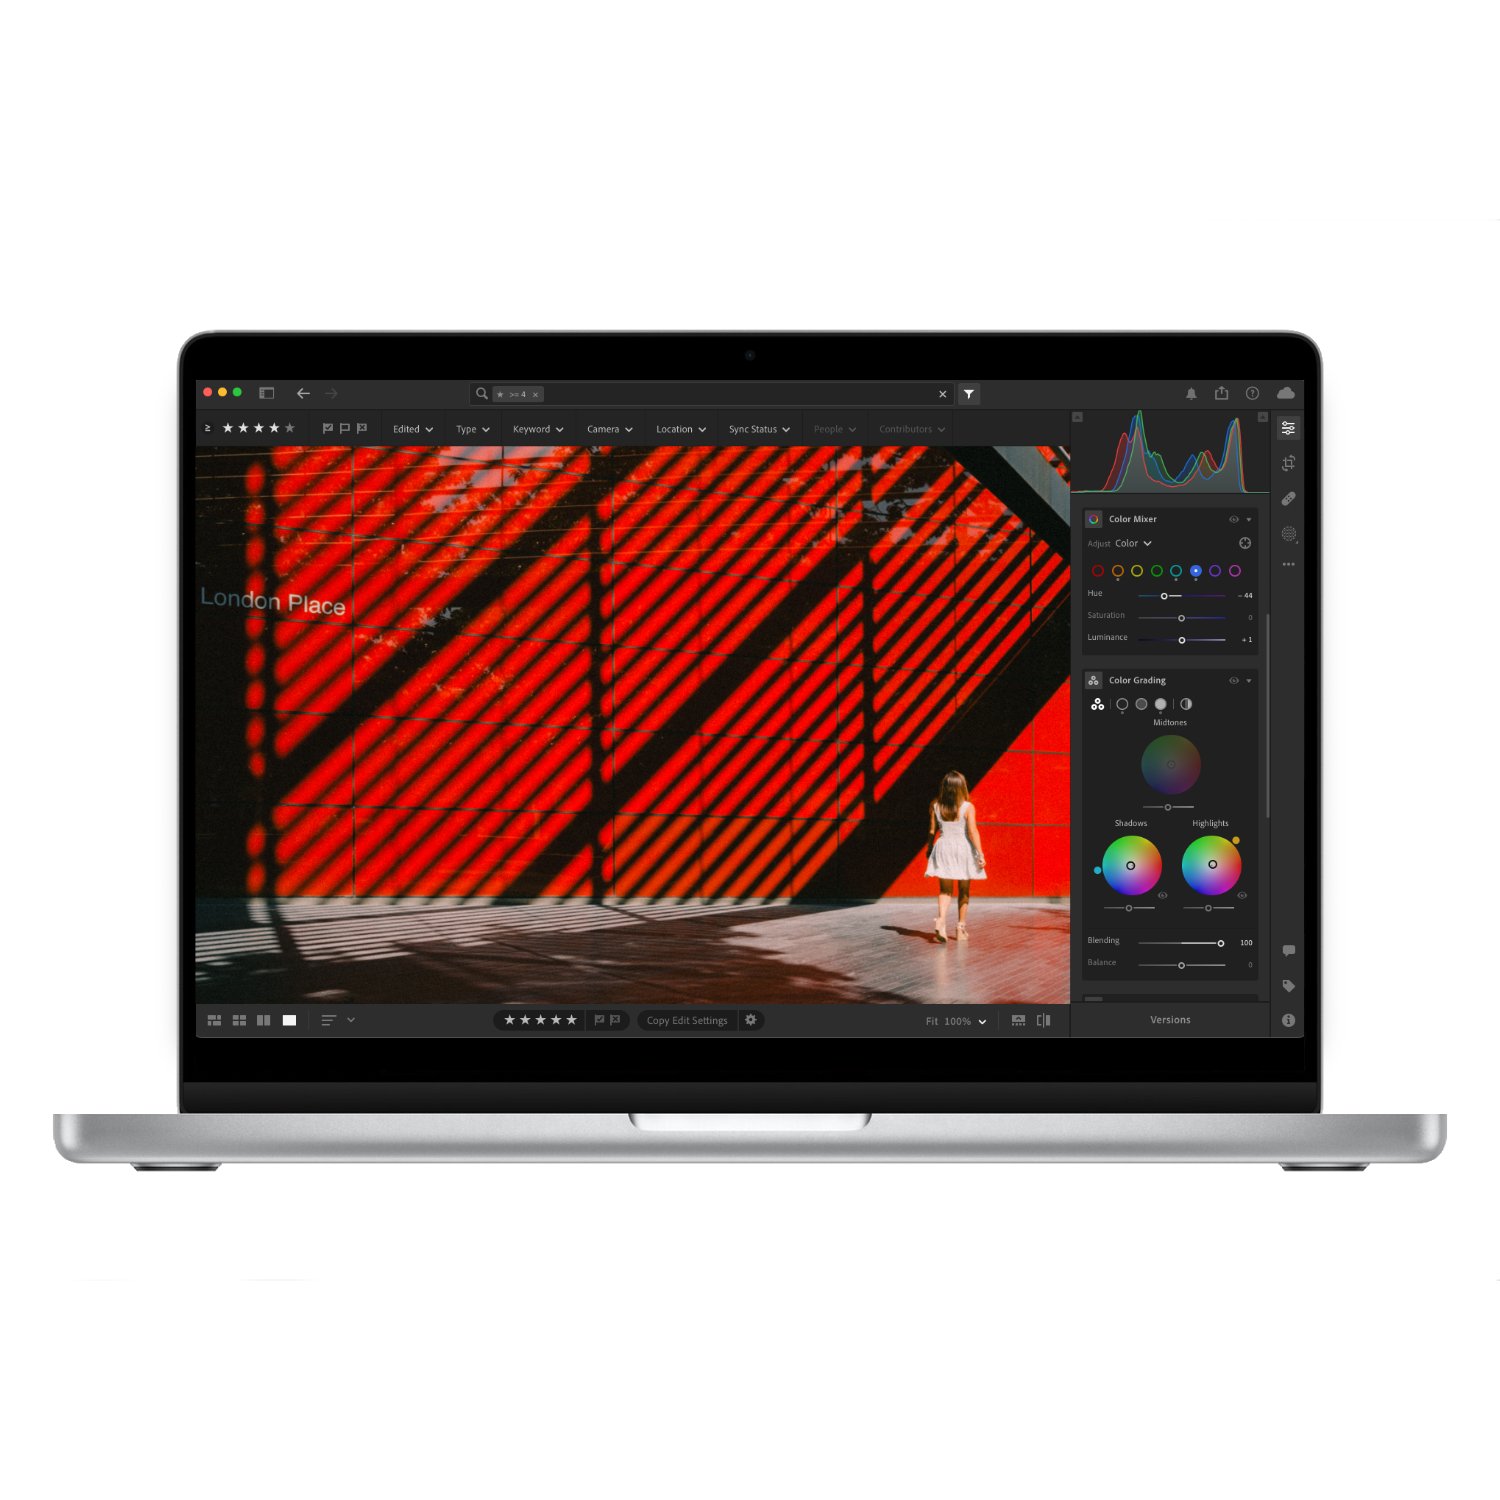
Not long ago I published a detailed blog on JPEG recipes and although it was for the XT5, it all carries over to the X100VI too. I linked it here. With that said, I created a nice default profile that I use on all my cameras.
Film Simulation - Nostalgic Neg
Grain Effect - Weak Large
Colour Chrome Effect - Weak
Colour Chrome FX Blue - Weak
Dynamic Range - DR400
Tone Curve - (H+1 S+1)
Colour - (+3)
Sharpness - (-3)
High ISO NR - (-4)

Random Noteworthy Settings
I disable all possible sounds under the sound set-up page to make sure the camera is quiet. I also disable touch screen functionality unless it’s for moving the focus point around.
Video Setup
There’s a whole dedicated blog on video settings you can read here.
Q Menu
This is a very handy menu and I have the following set here. You can change how many memory banks you want in the settings however I find 4 is enough.
Select custom setting
Photometry
Flash
Subject Detect

My Menu
This is a custom part of the menu system where you can save your favourite options I have the ones below.
ISO Auto Settings
Film Simulation
Shutter Type
Edit / Save Custom Setting