The Best Fujifilm X100VI Video Settings
The X100 is not known as a video camera and quite a few of you would probably raise an eye brow or two when reading the title of the blog, however with the X100VI, things are a little different now that we have IBIS, better codecs and the ND filter carrying over. In this blog I will share with you the video specific settings I use on my X100VI to get great static video clips that complement my photos.

First of all you need to put the camera into video mode. To do that press the Drive Delete button and scroll down to Movie mode (last one at the bottom).

Key Buttons
Let’s set up the custom buttons. On this camera their functionality carries over regardless if it’s photo or video mode.
Fn1 I have set to Spot Metering Lock (doesn’t apply to manual video exposure - c/o from photo)
Fn2 is for face detection.
AEL/AFL leave it as default.
RF-Dial is set to AF Mode.
Selector is set to ND.
Q is set to Q.


Shooting Settings
I have the camera in full manual exposure in order to have control of the image but also because this isn’t the camera for run and gun filming. Whenever I use the X100VI for video, it’s a slow and deliberate process. First thing I do is turn on Movie Optimised Control. This allows me to disconnect the physical dials from video settings and means that I can have two separate settings for photo and video. Now the thumb and index finger dials control video settings.

Next I set the shutter speed to 1/50 (double frame rate of 25fps), the aperture to around f4 (depending on light) and ISO is at base of 1000. From here I adjust things as I need and also include the ND filter if shooting during the day.

Exposure
Before I used to overexpose slightly however I recently found that the best method is to just expose for how you think it looks best. Sometimes it means going 1 stop over while other times 1 stop under. As a rule of thumb I try to have the footage somewhere between -1 and +1 if shooting in F-Log2. With that said, I’d rather over than underexpose for a cleaner image.

Resolution & Frame Rates
I shoot in 16:9 4K HQ. Although there is a normal 4K option and even a 6.2K option, I personally prefer 4K HQ as I feel it gives the best image. The frame rate of choice is 25 because I live in Europe, however if you’re in the US or Japan then 24 / 30 fps is what you’d need.

Codecs & Picture Profile
The codec I use is H.265 Long GOP 4:2:2 10Bit at 200 Mbps. This is a nice balance of a high quality file and small size. Long GOP can be taxing on your computer however I only use this camera for small 10 second clips, so this is not an issue. Picture profile is set to F-Log2 as I want the most dynamic range and grading capability. I also reduce the sharpness and high ISO NR to -4.

Audio
I leave audio at +-0DB.

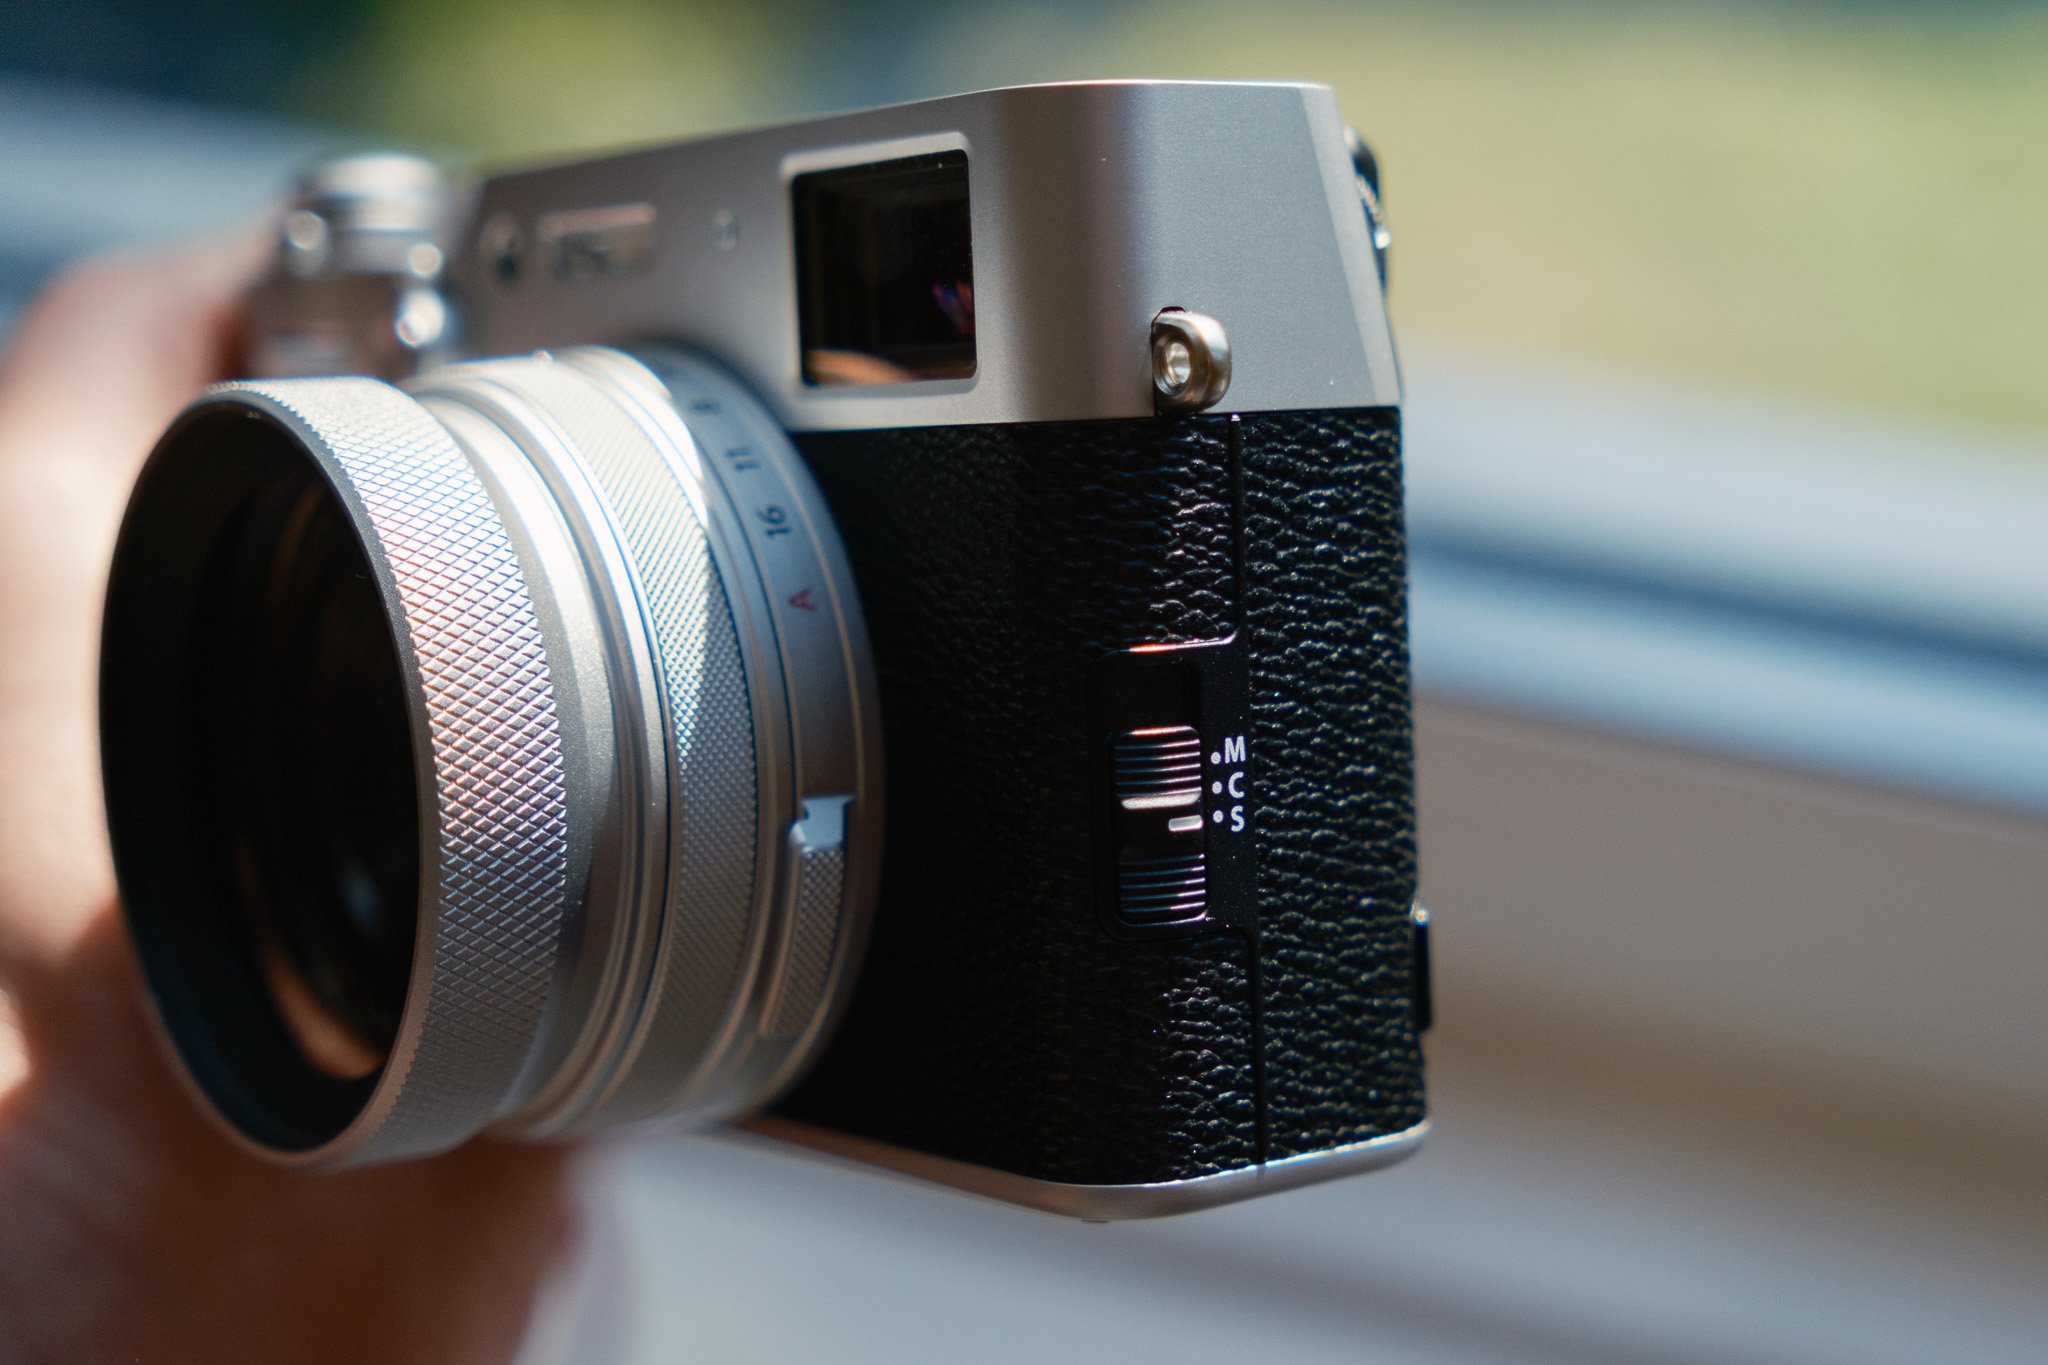
Focusing
I generally use AF-S because I don’t do tracking with this focus system. I use a single square, half press to focus and then hit record. The focus would then remain locked.
Q Menu
This is a very handy menu and I have the following set here. You can change how many memory banks you want in the settings however I find 4 is enough.
Select Custom Setting
Microphone Volume
White Balance
Subject Detection

Other Settings
Rec Frame Indicator is a very useful indicator that you’re recording and I suggest leaving it on.
I generally leave white balance on auto unless I can see it fluctuating in difficult scenarios. Also if I’m shooting a series of clips that all need to match each other, then locking the WB can help.
Finally switch on F-Log View Assist (screen settings) to add some contrast and saturation to your F-Log preview. This doesn’t impact the file and is only there for assist with the preview.