The Best iPad Photography Workflow (Adobe Lightroom)
I’ve used iPads for photography since the first iPad Pro was released in 2016, and in this blog, I will share my entire iPad-only photography workflow. I will cover hardware, apps, importing, organising, editing, exporting, and backing up.

If you’re new here, I’m a photographer currently travelling on a full-time basis. While on the road, the iPad is my only computer, so everything I share in this blog is aimed at those using the iPad as their primary device. Of course, if you use the iPad as a secondary computer, much of what I share can also apply to you.

Please keep in mind that photography is my profession, so I can justify spending more money on higher specs, cloud storage, and various software subscriptions. If you only pursue photography as a hobby or don’t want to invest as much, there are cheaper alternatives. I have a lot of redundancy in my workflow (such as storage, for example), but most people won’t need that level of backup.

Gear
I use an 11” 2024 M4 iPad Pro with 2TB of storage. The extra storage is necessary because I also use the tablet for video editing, which consumes a lot of space. If I was strictly focused on photography, I would opt for the 1TB model. There’s no point in getting anything with less storage, as you also lose some RAM, which is useful for heavy-duty tasks such as batch exporting and rendering.

I didn’t get the Nano-coated glass because I prefer using a Bellemond screen protector. It provides the same effect, isn’t permanent, and adds protection.

The Magic Keyboard is a nice accessory, but it’s not essential for this workflow. The same goes for the Apple Pencil.

I use an Anker 541 hub for connecting accessories and SD cards, a Sandisk 4TB SSD for external backups, and an Anker Thunderbolt cable for data transfers.

Software
I use five pieces of software for my workflow. The main photo cataloguing and editing app is Lightroom. I have a 1TB plan, which so far has been more than enough. Since I regularly cull my photos and only keep the best ones, I don’t use up much space. When the day comes that I fill up the 1TB, I’ll first do a major culling session. If that isn’t enough, I’ll upgrade to the 3TB plan, which should last me another 5-10 years. This is a significant monthly expense, but since it’s my business, I can justify it.

I use Lightroom because the iPad app is almost identical to the desktop version. The library is synced across all devices and backed up in the cloud. I also appreciate Lightroom’s straightforward approach to photo editing.

The second app is Capture One. I run a duplicate library in Capture One on my desktop so that I’m not locked into one ecosystem. However, the iPad version of Capture One is severely limited compared to the desktop version, so I only use it for tethering. On the rare occasion that I’m doing product photography, I’ll tether my camera to Capture One, and the files will be ready to go. I then export them to Lightroom and continue as usual.

The third app is Affinity Photo, which is essentially Photoshop but better. I use it for composites, intricate cloning, or advanced editing. I don’t use it often, as my style of photography doesn’t require heavy editing, but it’s invaluable when needed.

The fourth app is Apple Photos. I use this to catalogue my final full-size JPEG files, which are also backed up to Apple Cloud. It’s the best way to share photos with family, browse through images, or locate something specific. This also serves as an additional backup.

The final app is Unfold, which I use to create collages for social media.

Library - Lightroom
My Lightroom library is organised by geographical locations, as I find this the easiest way to navigate. Each album represents a city, region, event, or something specific. These albums are then placed under a folder for that country, which in turn is stored under another folder for the continent. For example: Europe > Spain > Malaga. Lightroom only supports one cloud library.

Library - Apple Photos
This is a duplicate of my Lightroom library but with full-size JPEG files of the final edits.

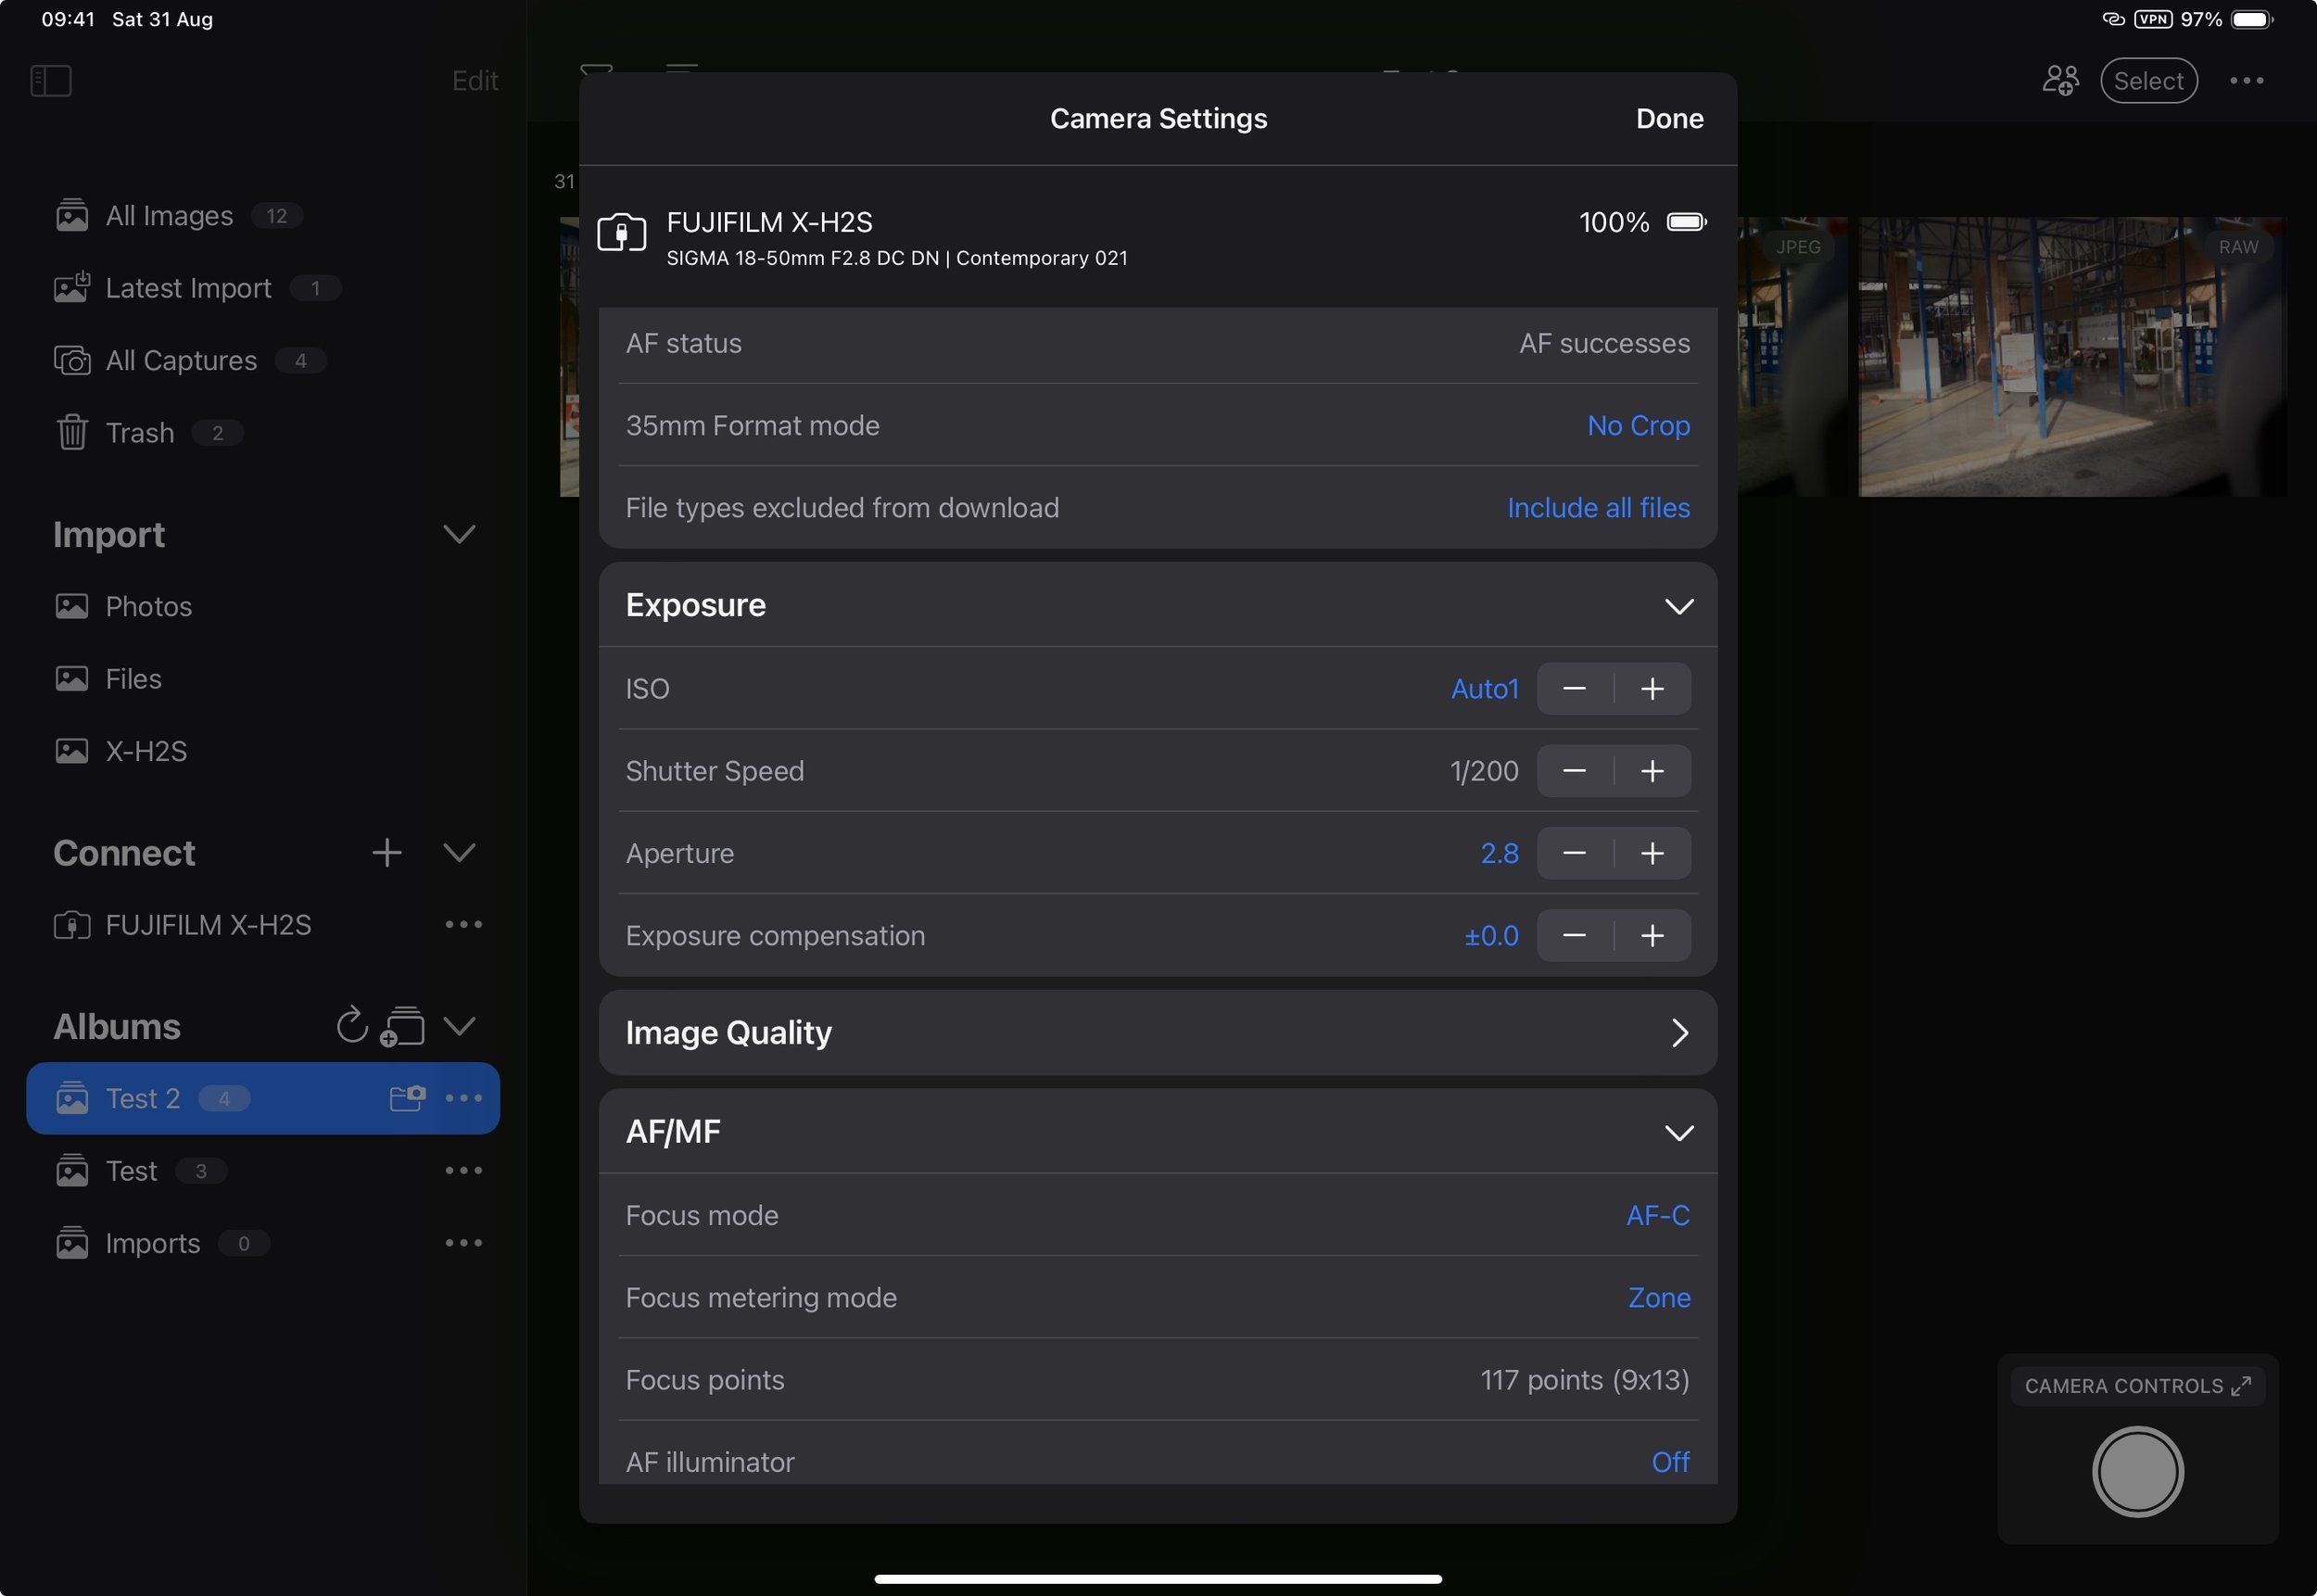
Tethering
If I ever need to tether, I create a new album in Capture One for that specific shoot. Once the shoot is complete, I export the original RAW files into Lightroom. There will be a more specific and in-depth blog on tethering in Capture One.
Importing
The first thing I do before importing is temporarily pause syncing. The last thing you want is Lightroom starting to upload 600 photos you’ve just imported.

If you already have an album, open it before importing to ensure the images are imported into the correct album. If you need to create a new one, you can do so before importing as well. If you forget, you can always change the destination in the top drop-down menu on the import screen.

I then select the source for the import, choose either all or specific photos, and press import.

Culling
The first step is to cull the photos and get rid of the ones that aren't good. During this stage, I only discard images that are clearly bad or duplicates. I do this by scrolling through the files and rejecting anything unwanted by pressing ‘X’ on the keyboard.

When finished, I filter to show only rejected photos, select all, and delete them.
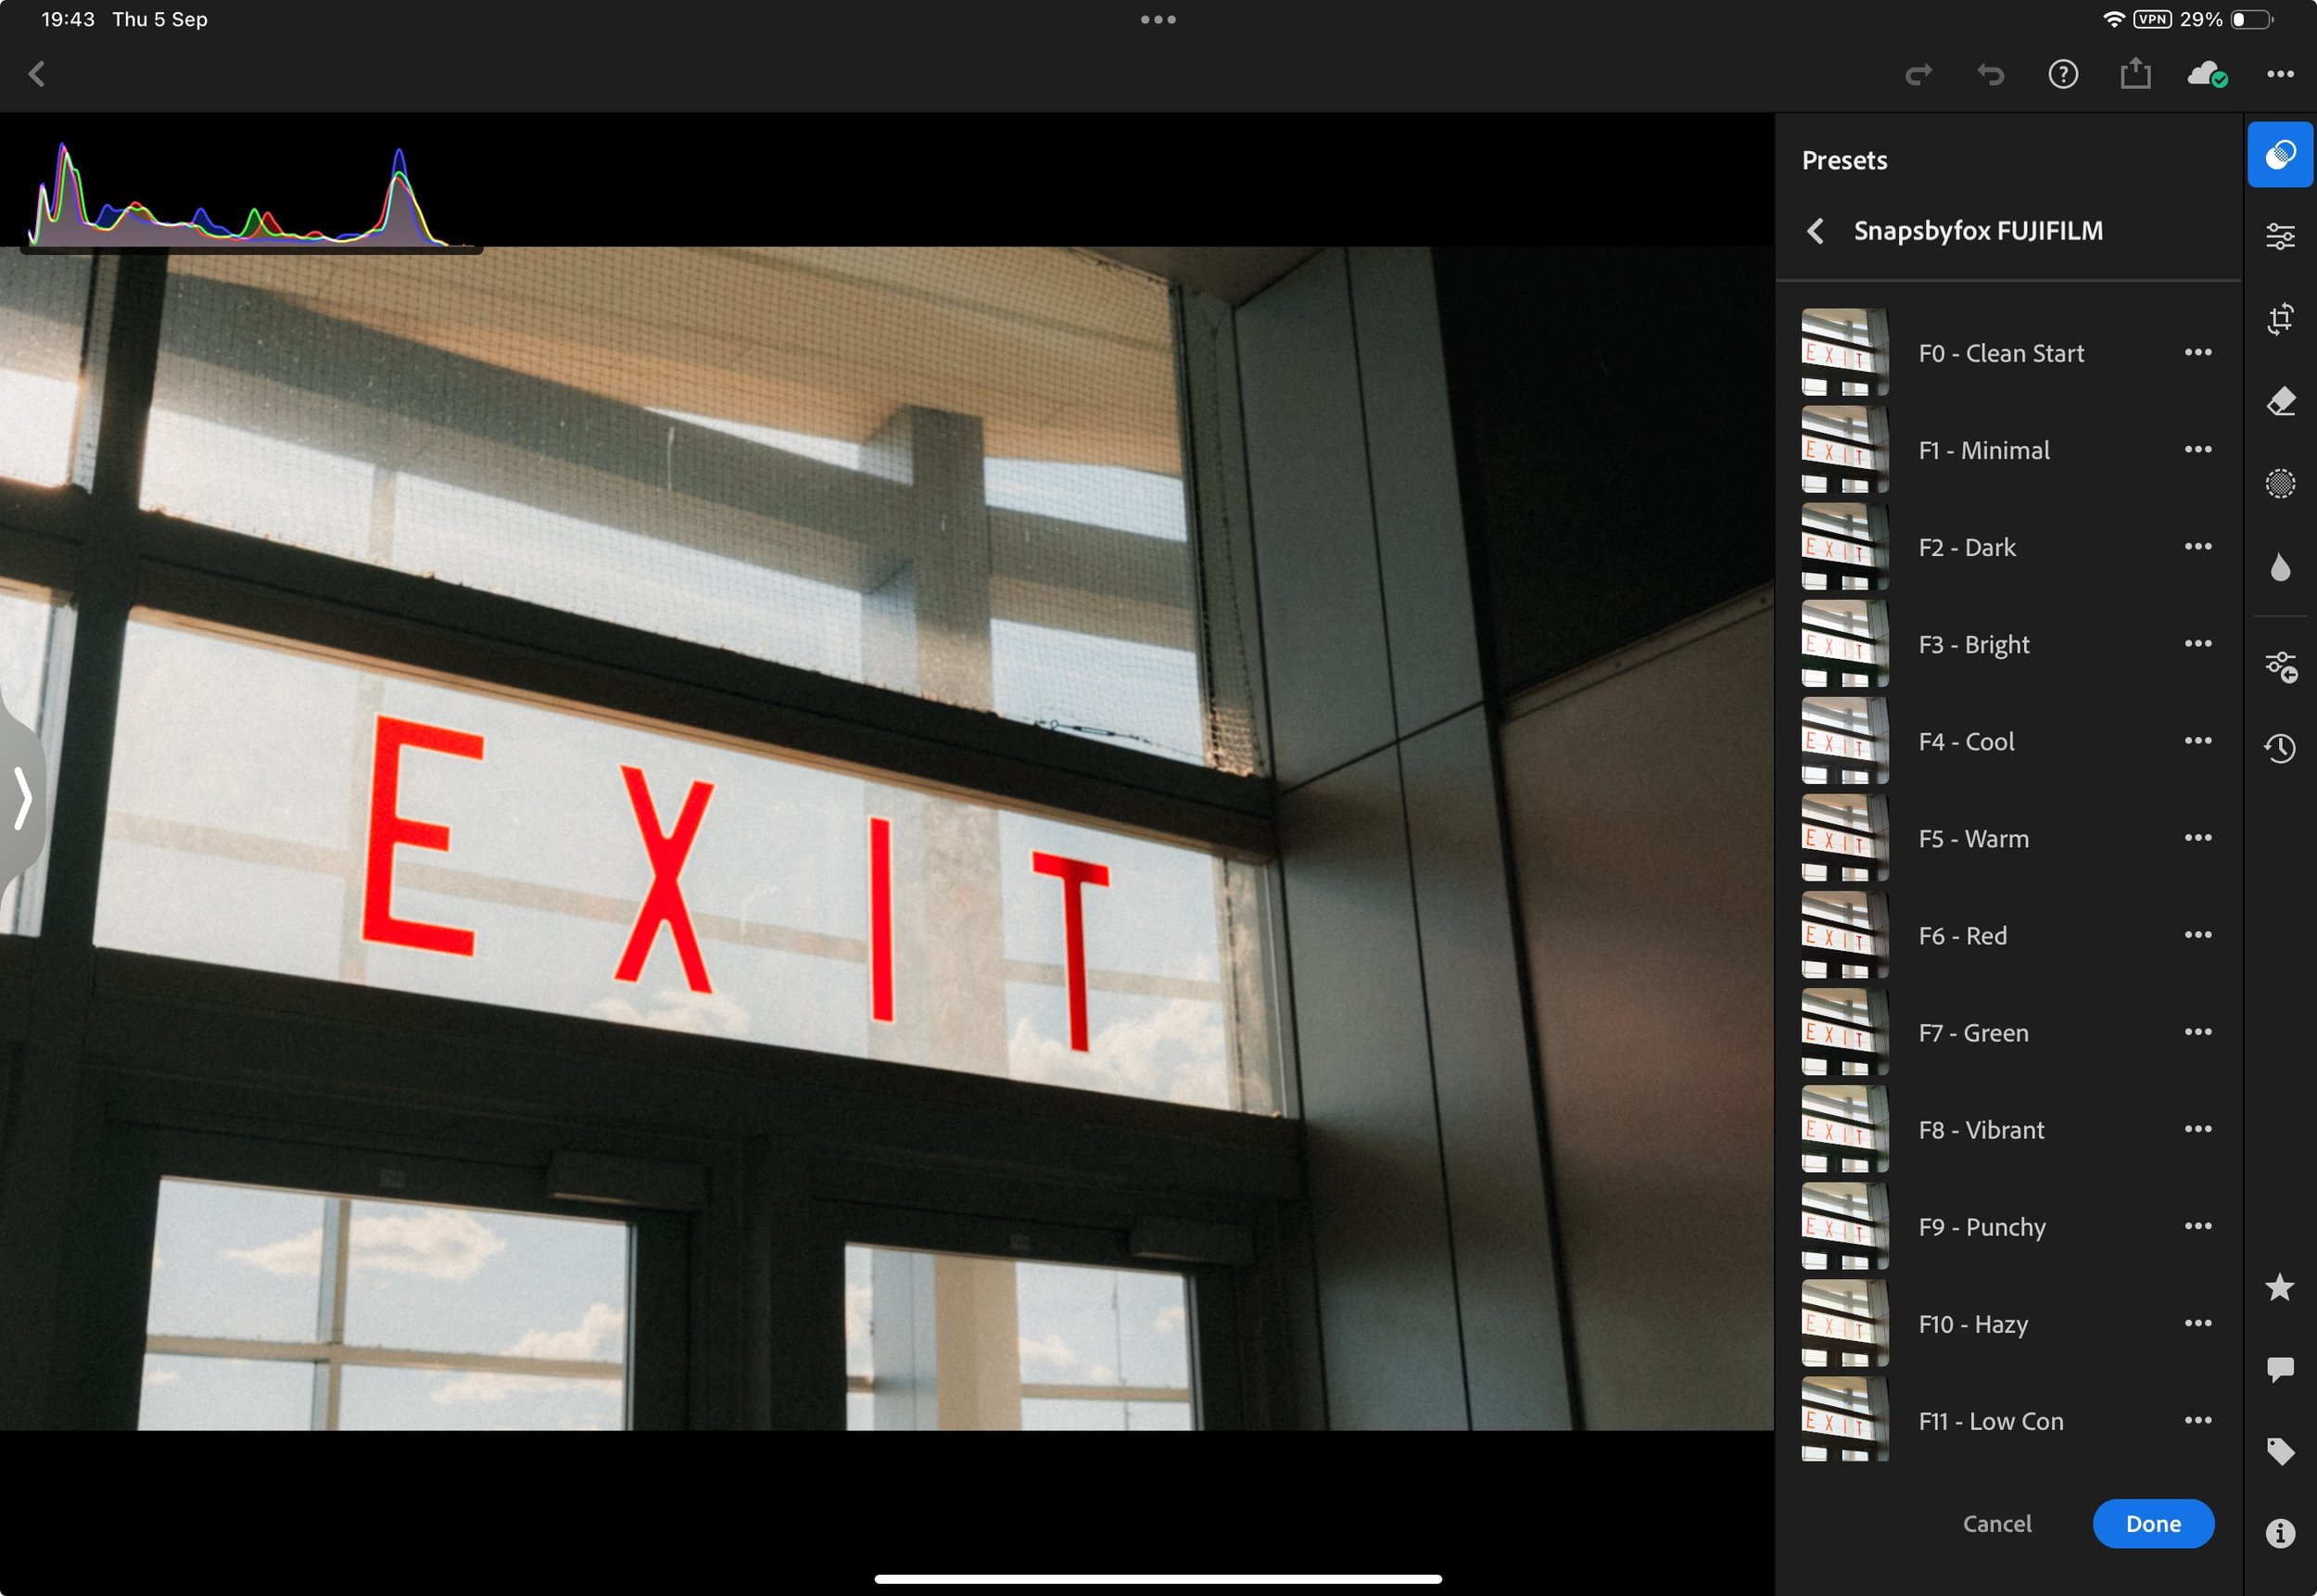
I then do another pass, this time applying one of my presets as a starting point, correcting geometry, and setting the crop. By this point, I usually have a good sense of which images will work and which won't. Anything that isn’t good gets deleted. Finally, I empty the deleted folder.
Important Step
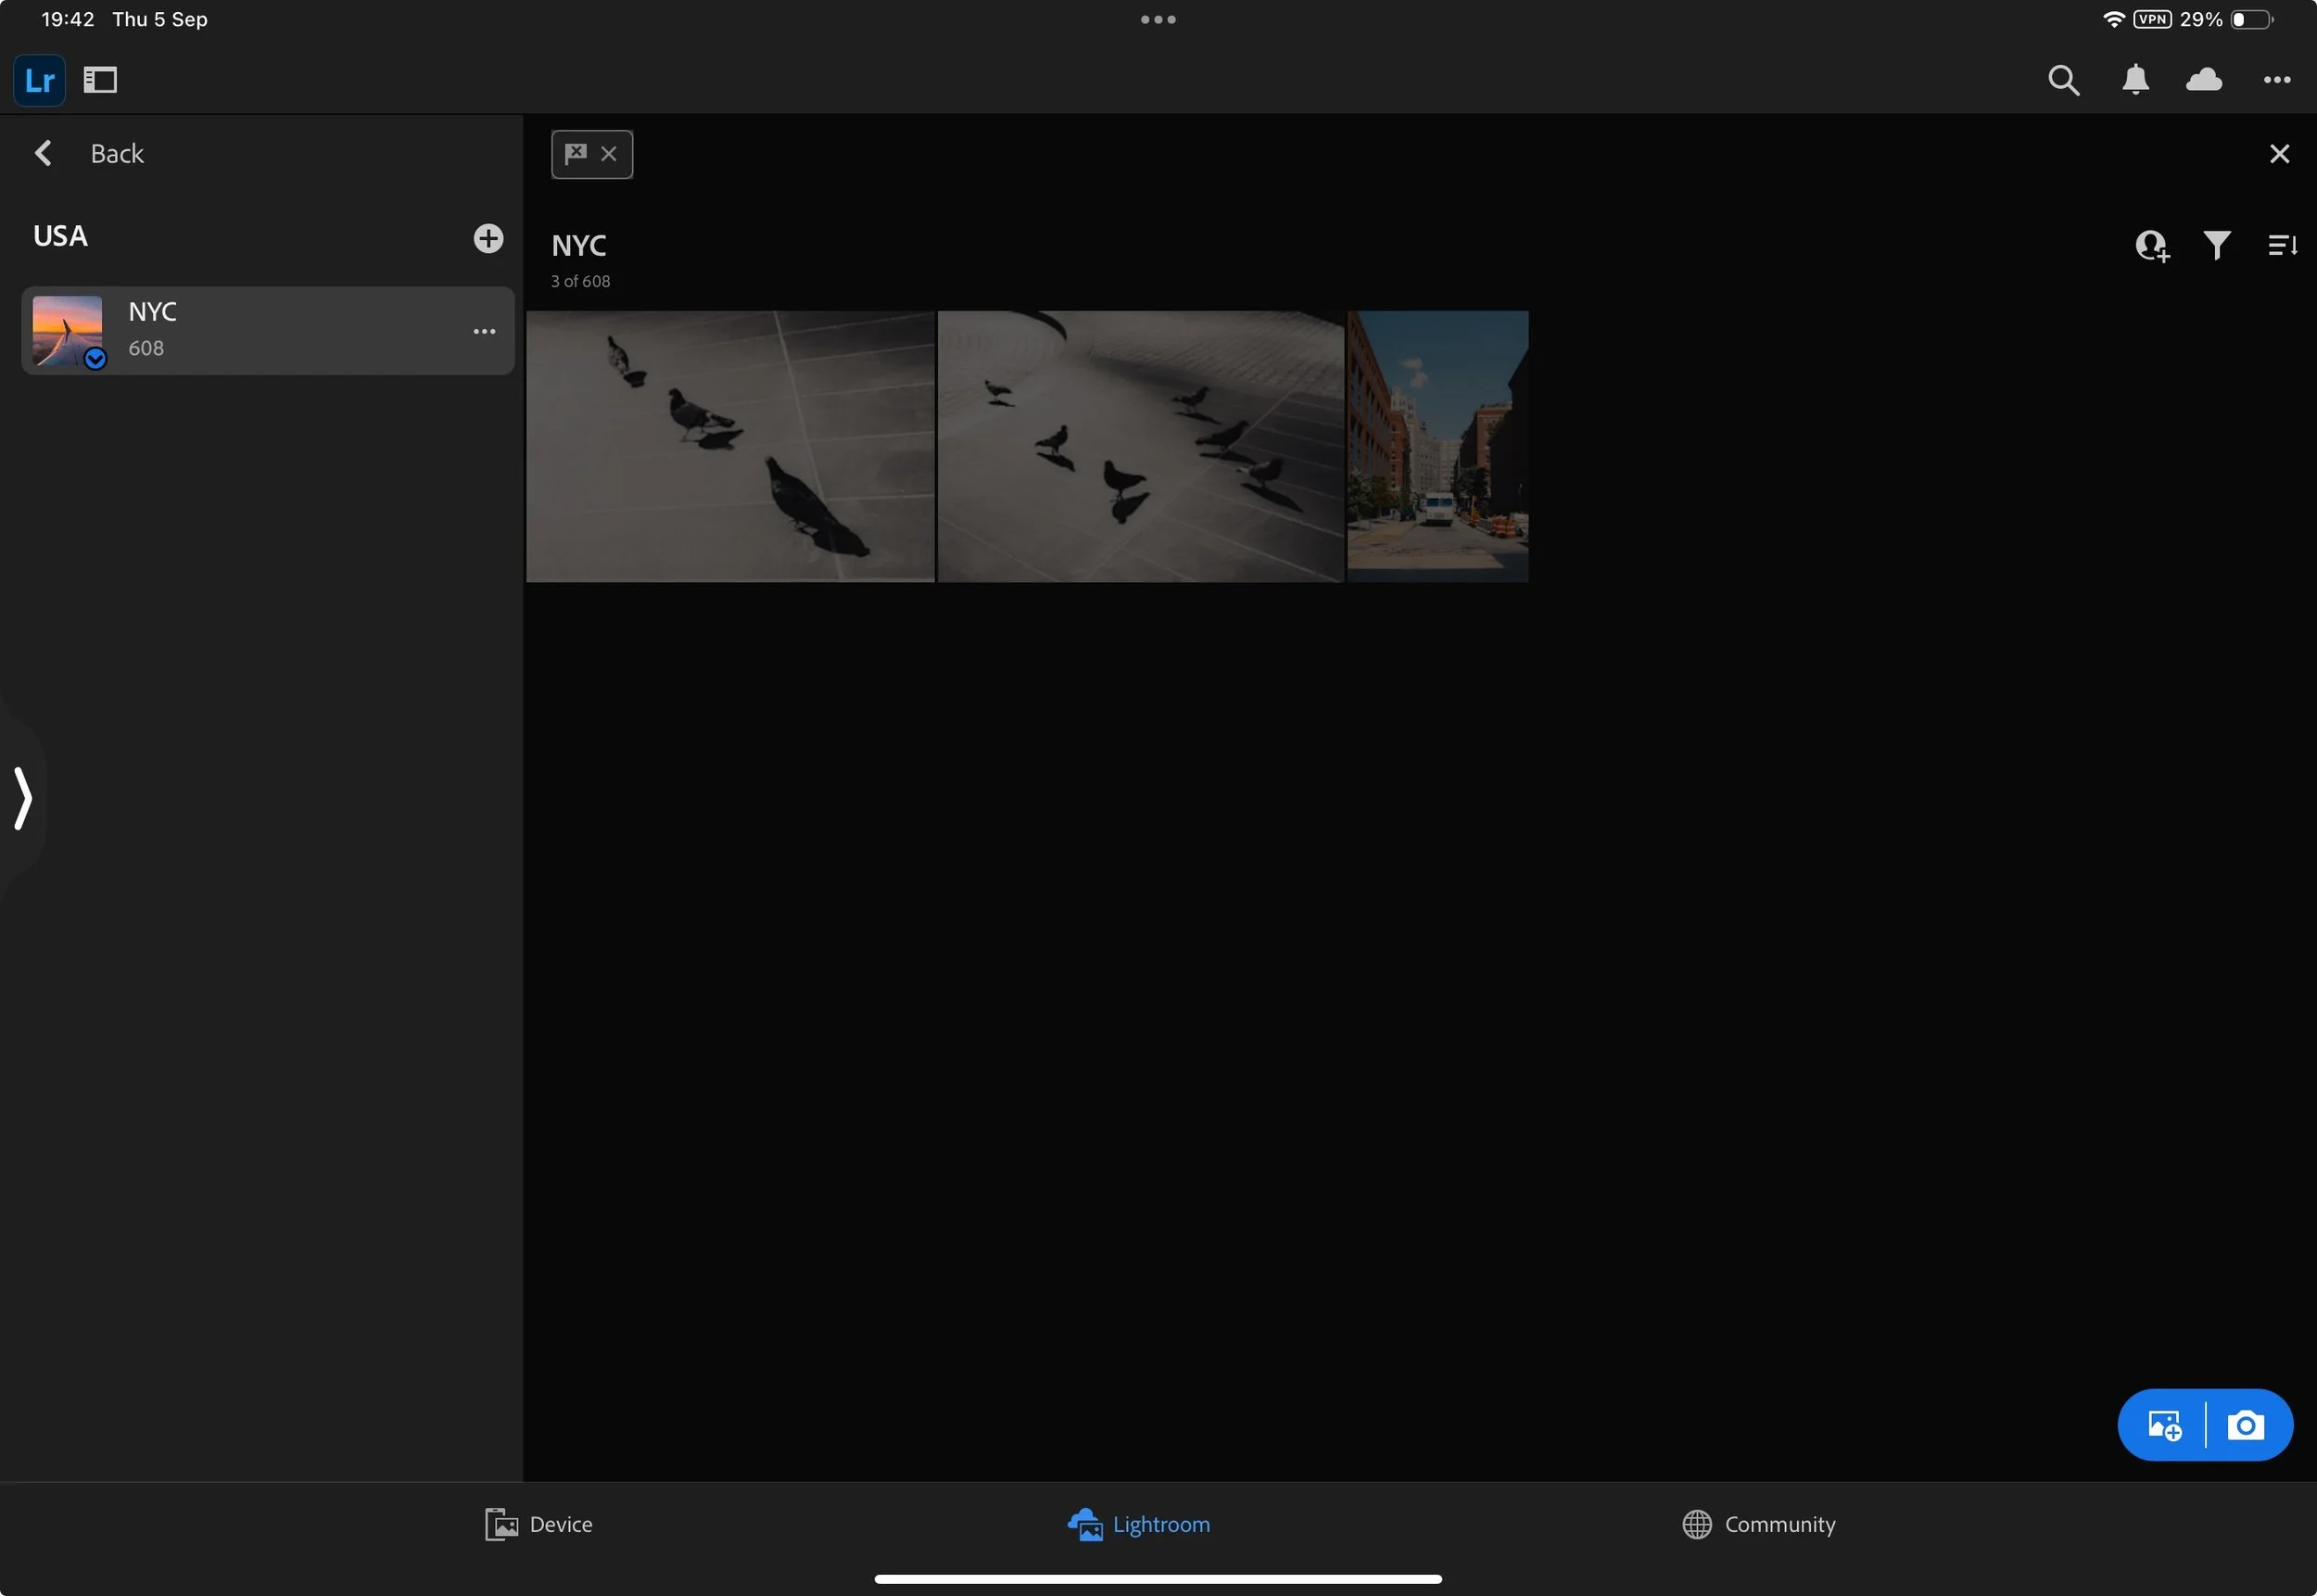
Before proceeding, we need to enable a couple of settings. First, go to the app settings, then to cloud storage and sync, and enable "Only Download Smart Previews". This ensures that your iPad downloads editable smart previews. These previews allow full editing and export up to 2000 pixels, but they take up only a fraction of the storage space.

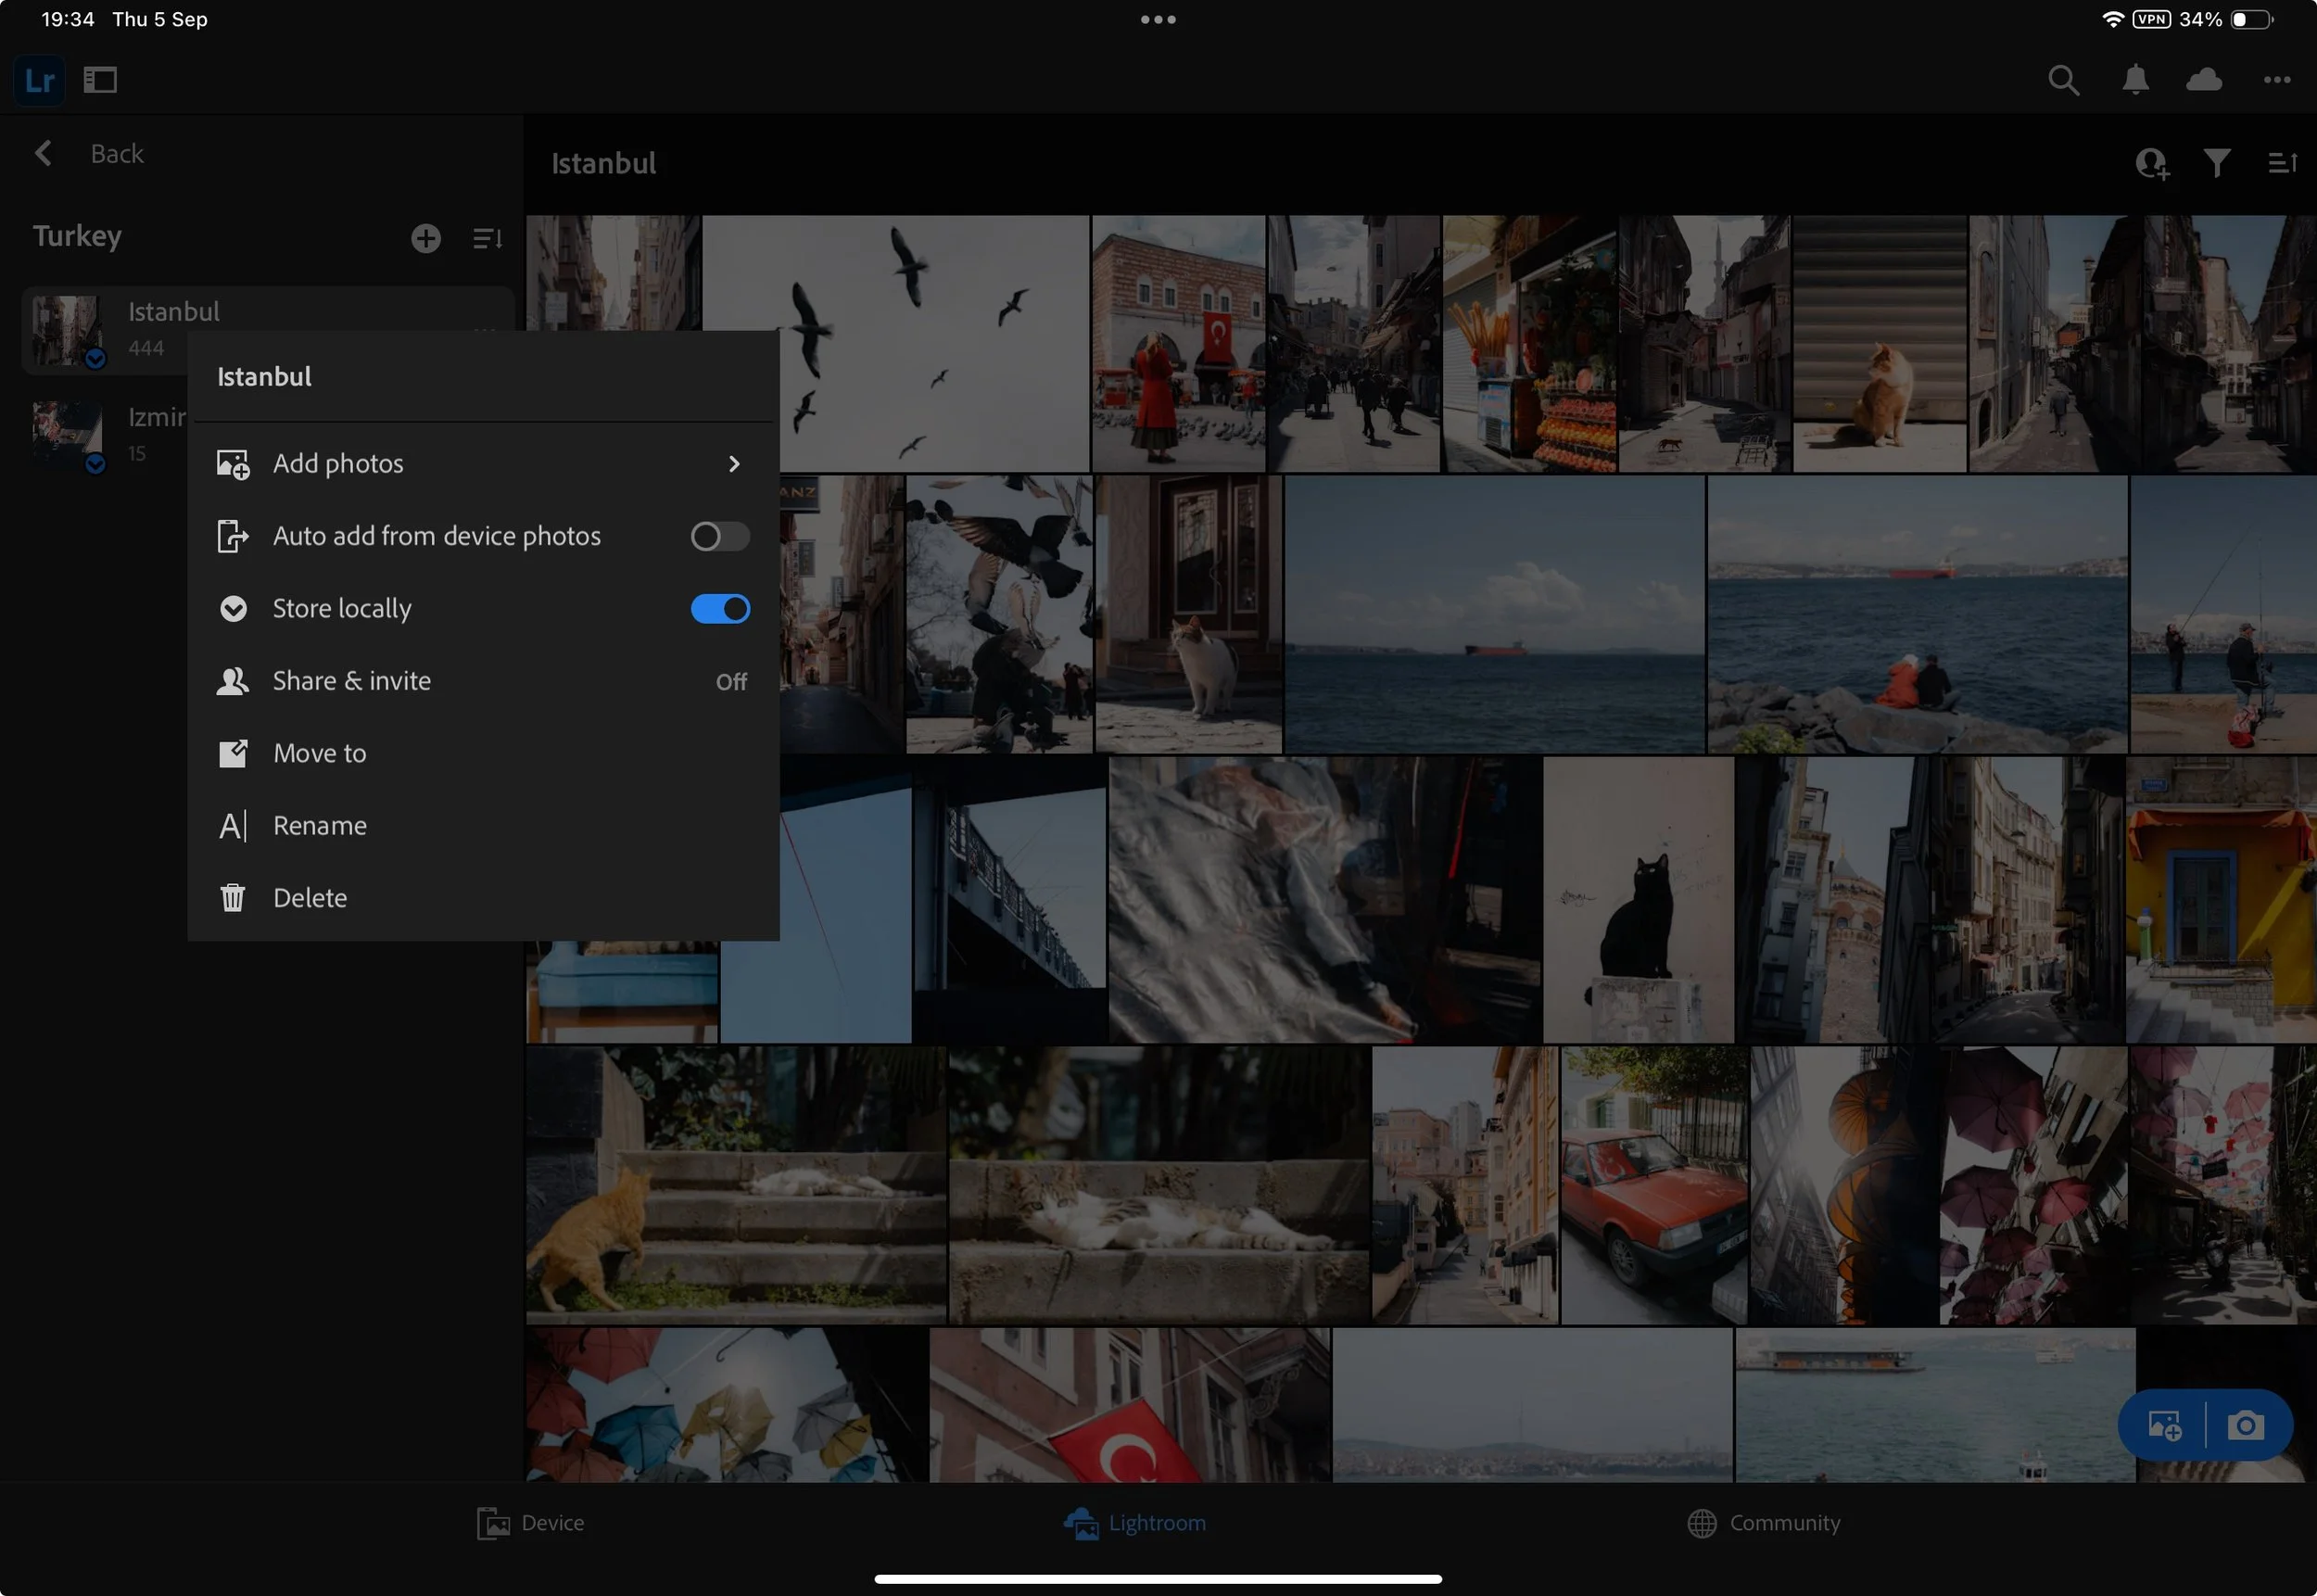
Next, go to the album created for the imports and click on the three dots to view the options. Enable "Store Locally" to ensure that the smart previews are always stored on your device. Now that this is set, you can enable syncing again.
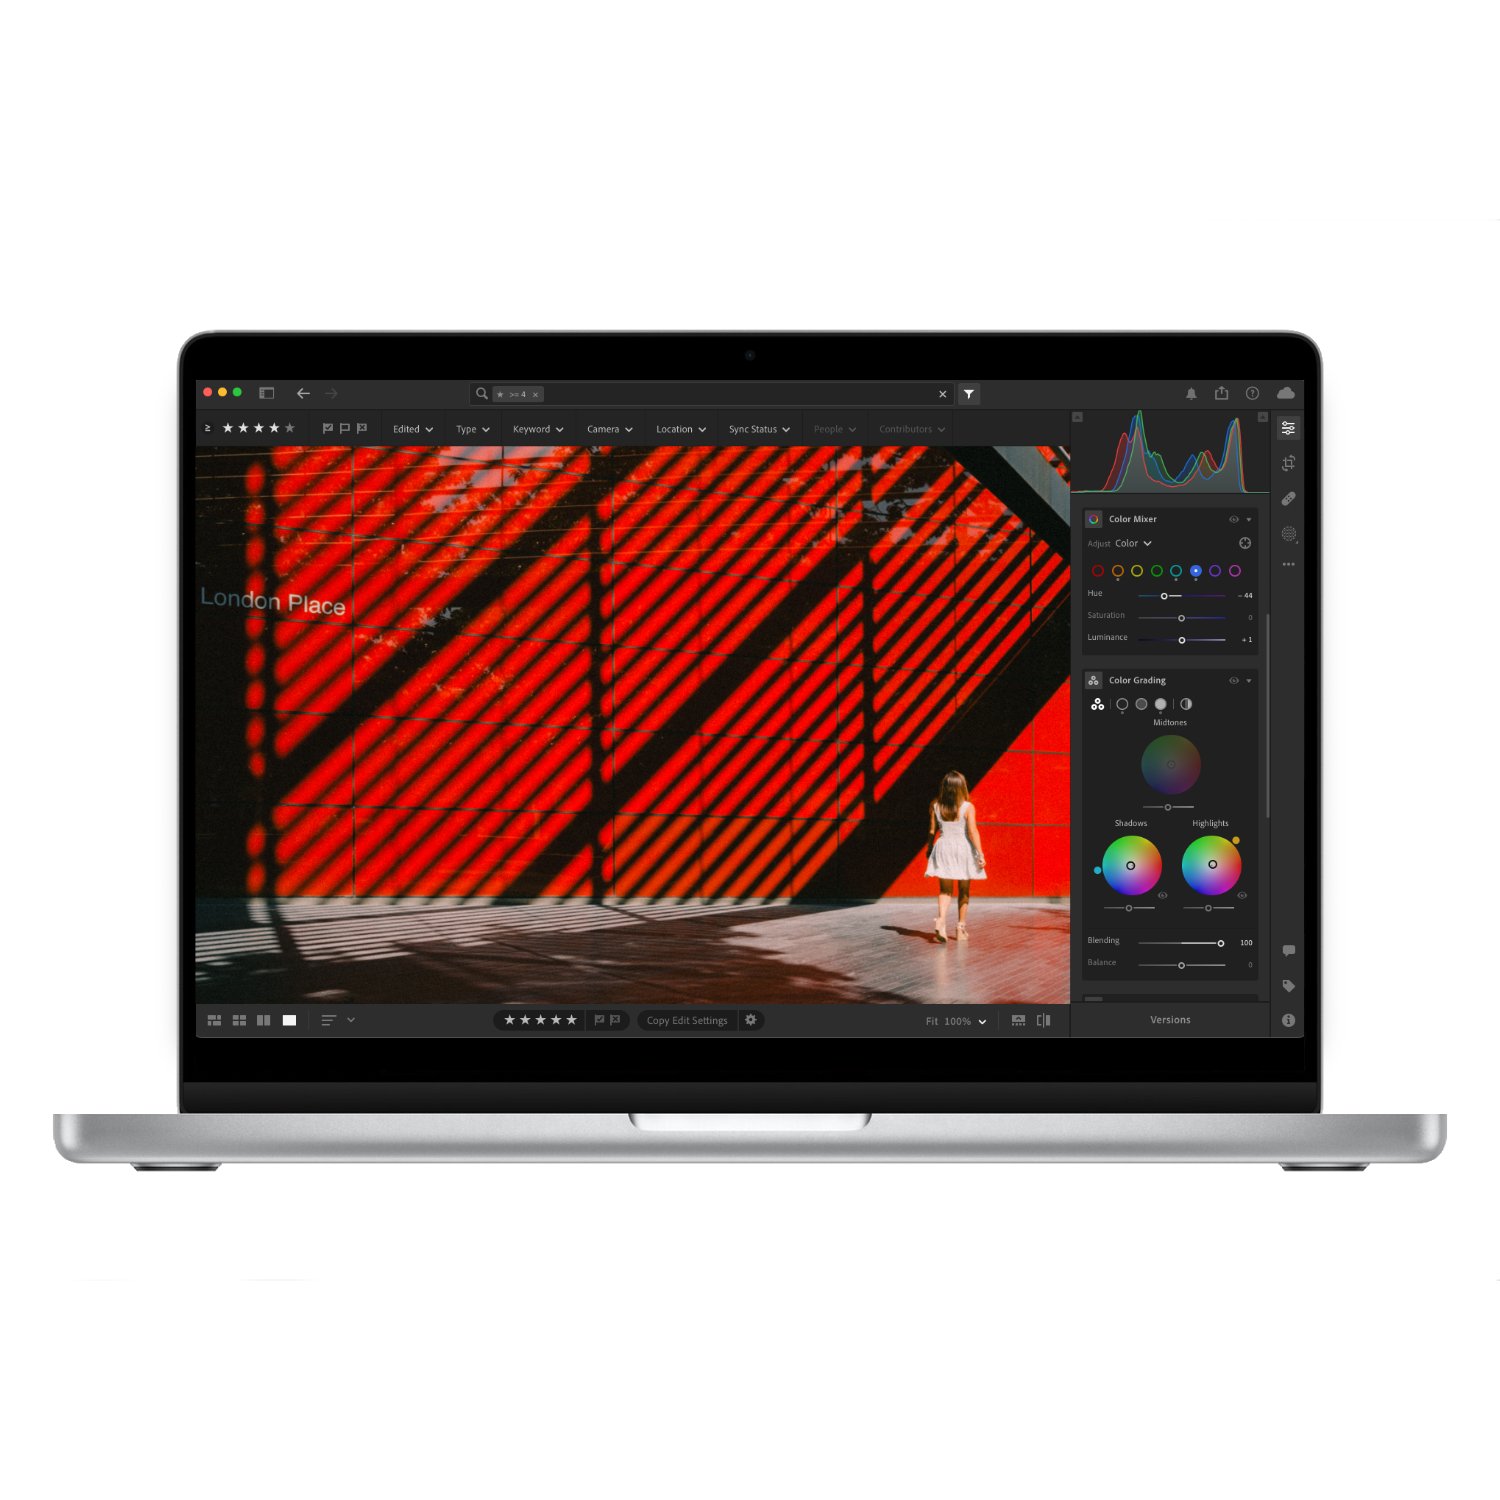
Editing
Once I have the final selection of images, I begin the editing process. This isn’t an editing guide, so I won’t go into the details here. Generally, I make a few passes, giving it some time before the final pass to ensure I haven’t overdone anything. You can read more about my editing process in a separate blog here.

Organising
After completing the edits, I assign a star rating between 1 and 5 to each image. I also assign relevant keywords, such as the location or the people in the photo. The star ratings are as follows:
5 stars: A "banger" – I only get around 10 of these a year.
4 stars: A very good photo.
3 stars: Good.
2 stars: Acceptable.
1 star: A poor photo, but it could be useful someday (for example, as a blurry background for a digital booklet).

Export
I typically export the images at the highest possible size and quality. These files are what I upload to Instagram and import into Apple Photos. If I need to upload the image to my website, I export a smaller version at 90% quality.

Backup
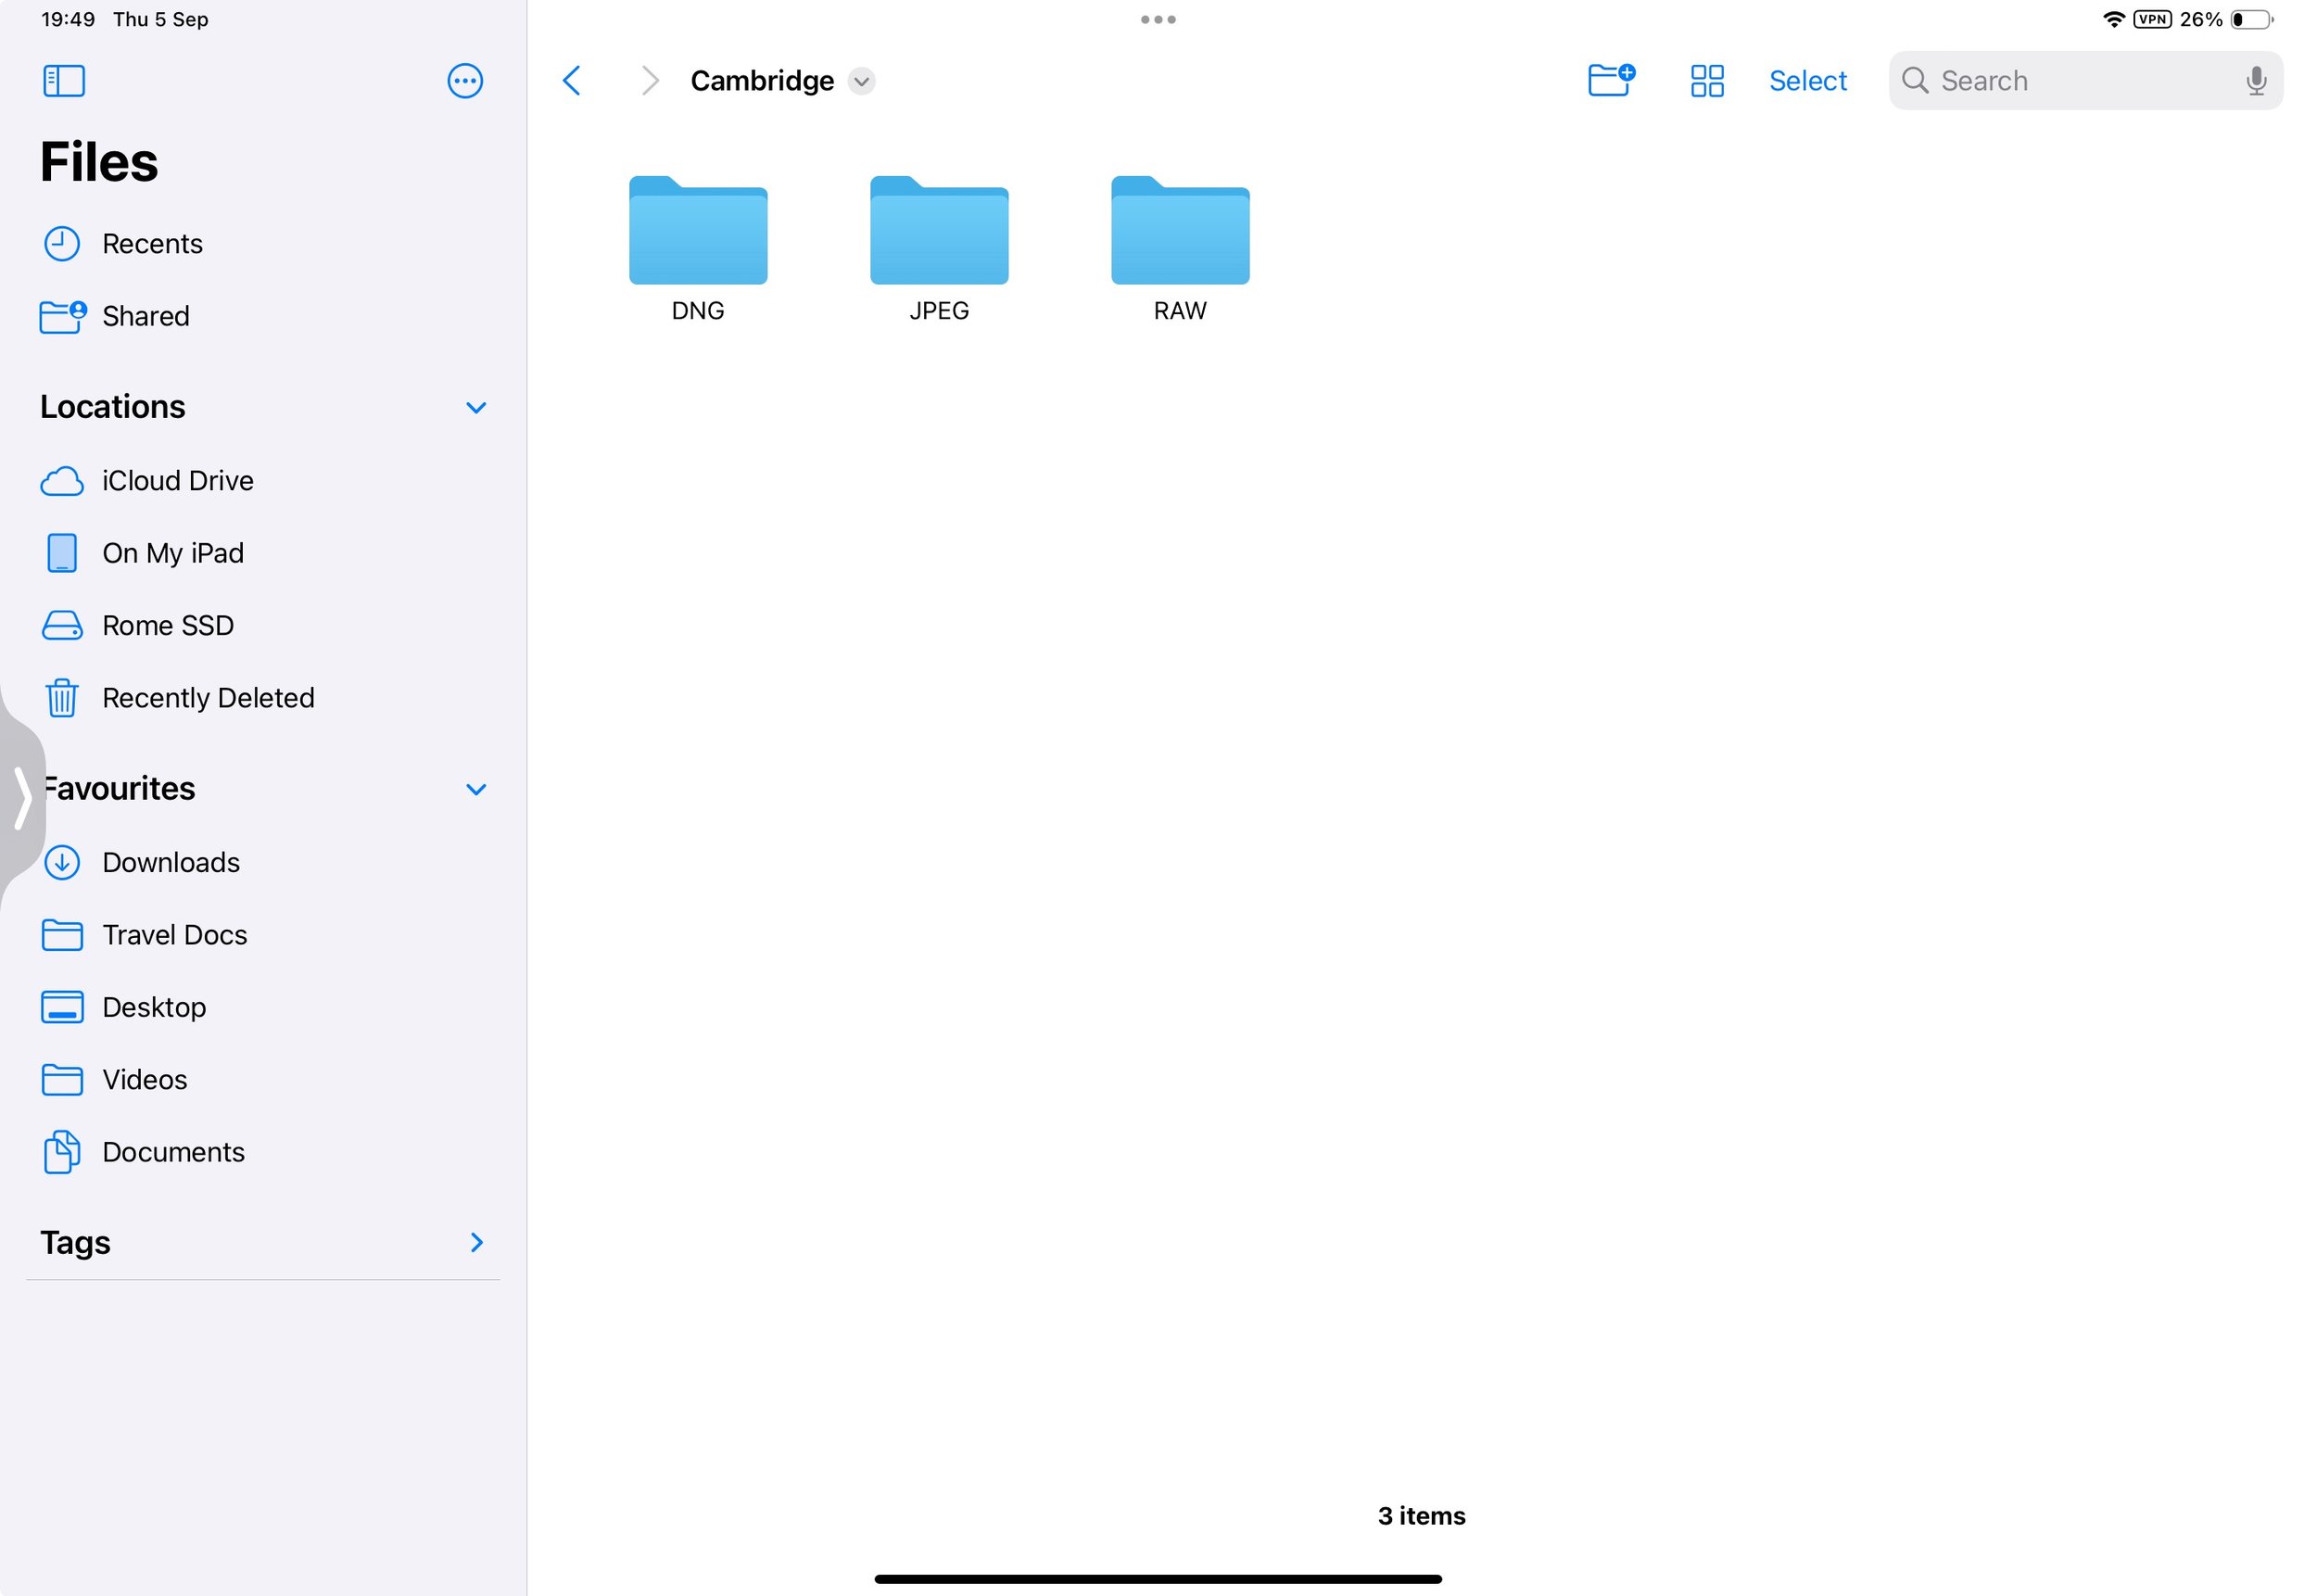
The final step is a physical local backup. This isn’t just a regular backup—it also functions as my offline library, accessible from any computer. Everything is stored on an SSD because it’s fast, reliable, and easy to access. The folder structure mirrors my Lightroom catalogue, but within each folder, the images are split into three additional folders.
The first contains all the original RAW files.
The second holds all the final full-size JPEGs.
Finally, there’s a DNG folder, which contains Adobe DNG files (essentially the RAW file plus Lightroom edits).
With everything organised like this, I know I’m covered for any scenario. Once this is done, the process is complete, and I can move on to taking more photos.
Clearing Cache
As an extra step, you can ensure that your iPad doesn’t get clogged with RAW files you may not use again. In the app settings, navigate to Local Storage, where you can delete cache files and imported RAW files. Your smart previews will always remain locally stored, while the full-size RAW files are removed from the iPad and stored online. Since these files are already backed up to the SSD and in the cloud, there’s no need for them to take up valuable internal storage on your device.