
Quick & Simple Street Photography Camera Settings (2023 Updated)
It’s been nearly 2 years since I made a street photography settings blog and a few things have changed. Today I will share with you what settings I use for all my street & travel photography.
Intro / Context
I would like to start by saying that there are fundamentally no right or wrong street photography settings. As long as you are getting the results you want and you have no pain points, then carry on with what works for you. What I will share is simply what has worked for me over the last 5 years of taking photography seriously.
In this blog I will only be referencing Fujifilm cameras because that’s all I use. However the methods, principles and settings I will share will for the most part carry over to other cameras.
Finally my philosophy when it comes to how I set up a camera for street photography is simple. The camera needs to get out of the way. Every second I spend messing round with camera settings, is a second where I am not paying attention to what’s around me.
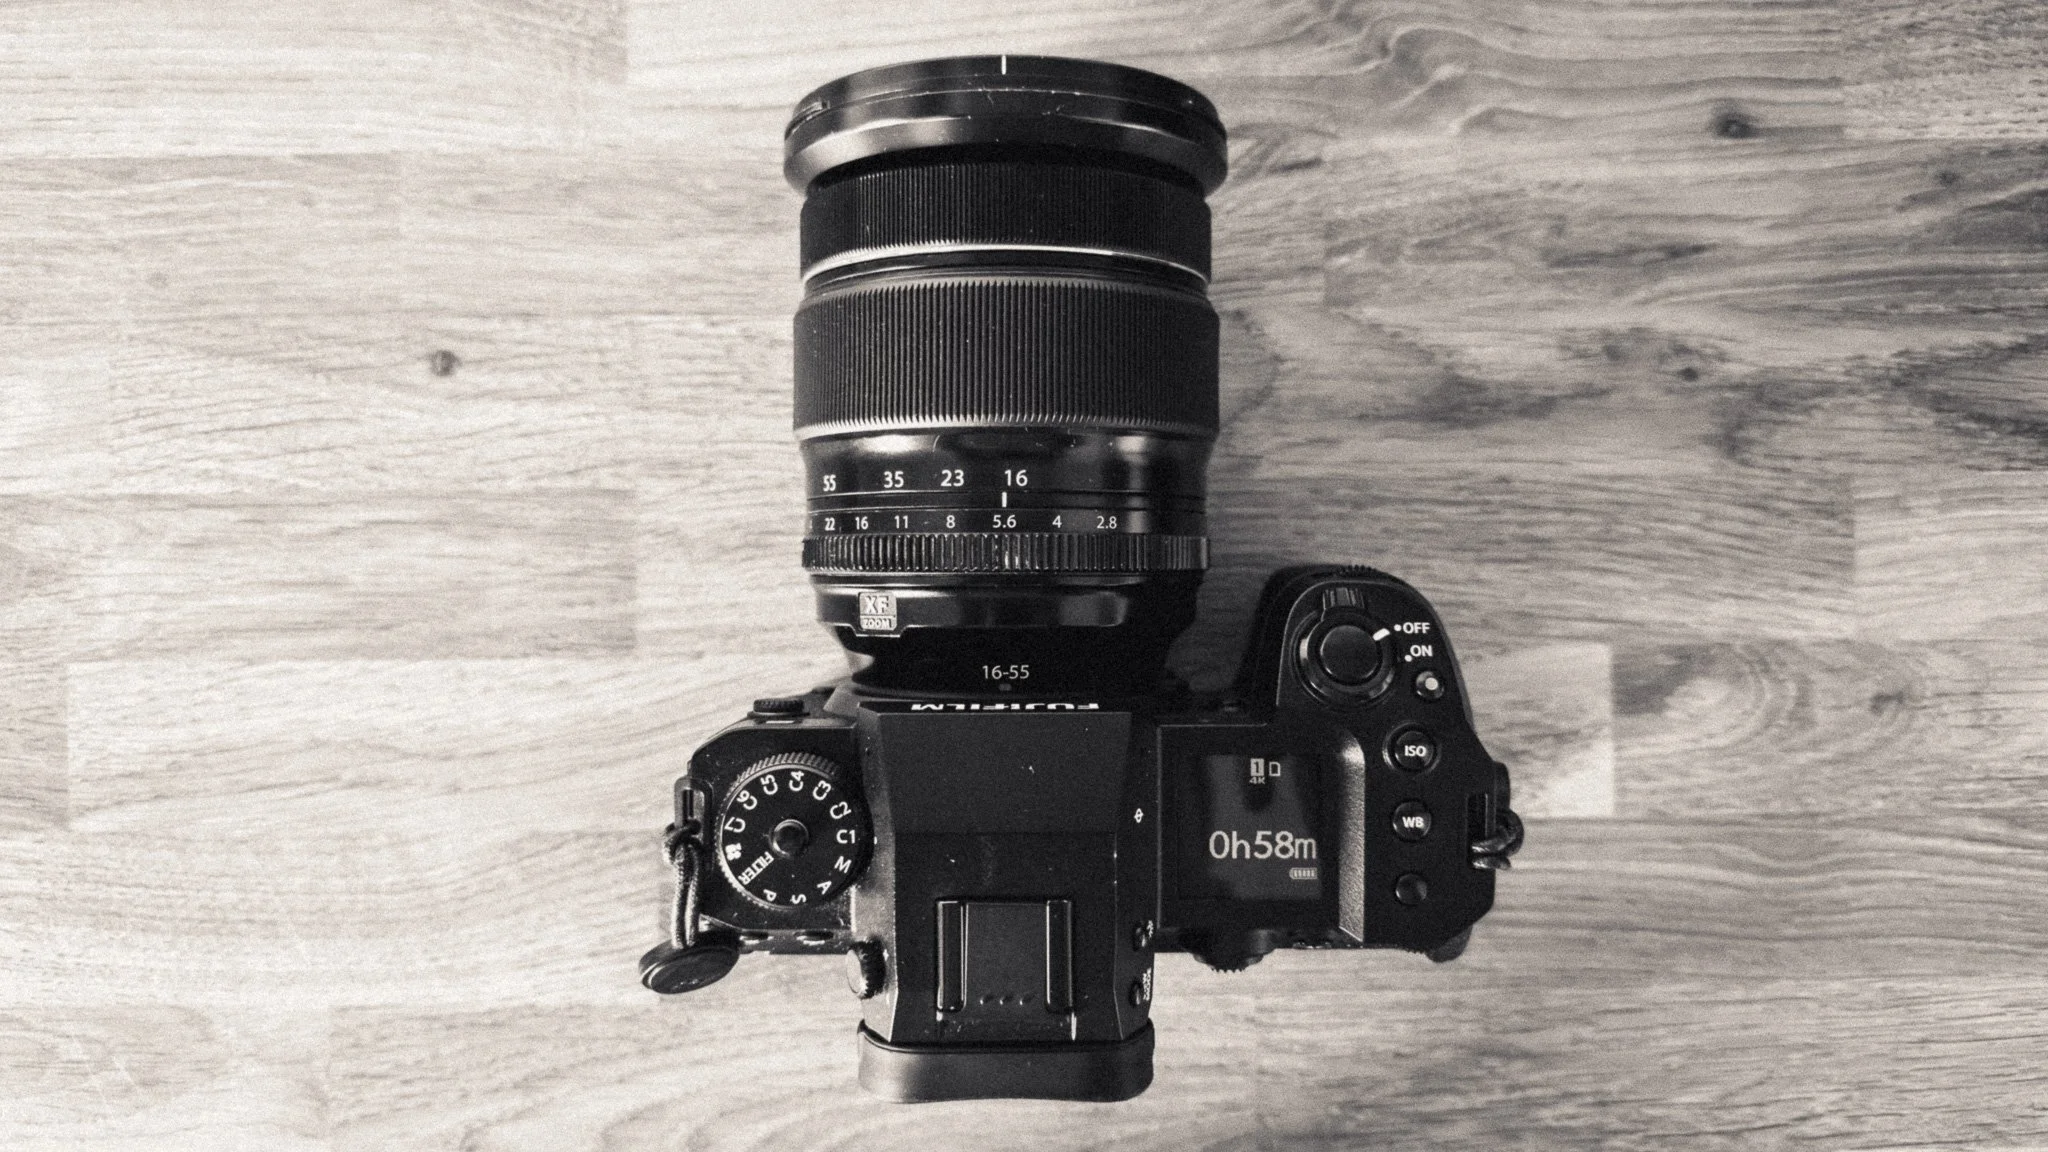
Key Buttons
Let’s start with key buttons and this one will really vary from camera to camera. How you program these will depend on your camera, how you hold it and even how big your hands are. However as long as you have these set up, you will have all the essentials covered.
First is a button that allows us to change the focus type. This means quickly going from single point to a wider zone based mode.

Next we need a button for your photometry setting. This will allow you to quickly change whether you’re exposing the whole scene or from a specific point.

Moving on a way to lock your exposure is a must. Almost all cameras will have a dedicated AEL button.

Similar to exposure, you need a way to lock your focus. On the Fuji it is called AFL Auto Focus Lock. Personally I re-programmed the AF-ON button for this.

Finally we need a button assigned for Auto ISO custom settings. This will prove invaluable when ambient light changes.

Between these buttons, you will be covered for 99% of all adjustments that you might need to do in a hurry when out shooting. Set them up how you like, develop the muscle memory and soon enough you will be instinctively changing these settings without much thought.
Exposure
90% of all my street photography is in aperture priority for 3 reasons. First of all it gives me the greatest creative control over what is in focus and how much background blur there is. Secondly it gets out of my way and lets me shoot without always worrying about settings. Thirdly it is the quickest way I can adjust how much light is coming into the camera. The remaining 10% will be in shutter priority when I want images with motion blur. However that is for another blog.
The first thing we need to set is our Auto ISO. Fuji systems have 3 separate modes which means you can have a daytime, nighttime and a shutter priority mode. The daytime setting has a base ISO of 160 and is limited to 3200. The minimum shutter speed is 1/200. I use this when the light is good.


The night time setting has a base ISO of 500 and is limited to 6400. The minimum shutter speed is 1/100. I use this when the light is bad.


The third setting has a base ISO of 1000 and is limited to 12800. The minimum shutter speed is 1/500. I use this when getting no motion blur is priority.


With the ISO set, next is deciding on what aperture value to use. My starting point is f4. Of course if you’re shooting in the desert it might need to be f11. If you’re shooting at night then perhaps wide open. For daytime photography I found anywhere between f2.8 and f8 to be the sweet spot.

Next we need to set the exposure compensation. Generally for a sunny day I will leave it either at 0 or -0.3. Cloudy days I will over expose by up to +0.6. Night time I will under expose by -1.6
After this we need to decide how to meter. For most scenarios I will use a multi metering mode that sets the exposure based on the whole scene.


If I need to be more specific or I want to go for that highlight and shadow look, then spot metering is my choice.


Finally we have the AEL auto exposure lock button. Now I can have the camera expose for the highlights, lock it then change my composition. Or i can just leave it all locked while I want for the right subject.
Focusing
When it comes to focusing I always leave the camera in continuous autofocus. 95% of my focusing is done in this mode with the remaining 5% being in manual focus.I tend to only use manual focus in scenarios where the camera is struggling. For example in heavy fog or very difficult lighting conditions.
There are only two focus modes I use. The first one is called zone focus. In other cameras it might be different. By this I don’t mean the traditional zone focusing technique, that’s something different. This simply means a bigger area within which the camera will decide what to focus on. In other words a large focus point full of smaller focus points. I personally set this to the smaller size and have it hovering around the rough area I want the camera to focus on.

The second method is single point autofocus. As the name suggests, this is one point and the camera will only focus on that. As a rule of thumb, If I am moving around, I use zone. If I am still, I use single. Zone will be quicker to focus but with less accuracy. Single point will be more accurate but slower to acquire focus.

Finally we have AFL auto focus lock. As the name suggests, it locks focus. So I can pre-focus, lock and wait or recompose. This is especially great if you have a lot of movement or foreground elements that could throw the focus off.
Of course there are plenty of other cameras settings however the ones I mentioned here are in my opinion the essentials. If you can master these, then you’re 95% there. I hope this blog has proved to be useful and thanks for your time reading!
Help support this blog by checking out my products below

If you're planning to visit London or you’re a local and want to know some of the best locations for photography, this guide is for you.
What you need to know:
- 170 Page PDF document (94mb)
- 50+ Locations
- 100+ Photo spots
- Only covers locations that consistently deliver good photo opportunities
- Clickable maps
- GPS Coordinates
- What 3 Words Coordinates
- Addresses
How will this guide help you:
- Save you time and give you a clear checklist of where to go
- Show you real world photos I took from the suggested locations
- Show you coordinates for those photos if you want to take the same
- Give you feedback on any pitfalls with specific places and attitudes to photographers
- Food / Drink / Restroom suggestions
- Lens choice suggestions
- General visiting advice
- Inspire you to head out and shoot by removing the “where shall I go” barrier
This guide is a result of years spent living and photographing London in all conditions and seasons. I have only recommended locations that have consistently delivered good photos that I have been happy with. This guide does not cover every spot, that would be impossible and a lifetimes work. This guide is there to put luck in your favour when visiting the capital.
Please note that due to the nature of digital products, refunds are generally not accepted. However, if you experience any issues, feel free to contact me and I’ll review your situation individually. You are welcome to use this product for personal or commercial projects, but you may not copy, distribute, or resell the files in their original or modified form.
Finally I want to say a massive thank you for supporting me. Buying this guide is the most direct way you can support my work thus allowing me to make more videos / photos / tutorials for you.
Thank you for your support!

What on earth is this and why is this so expensive?!?!
A zine is a self-published body of work and serves the following purposes:
It showcases all photos from a given trip or period of time. Think of this as a digital contact sheet. I only share about 50% of the final photos online. This has them all.
It can act as a source of inspiration.
It can act as a visual planning tool for your travels. It will show you the types of photos one can get at said location.
Allows you to support my work, especially if the other products in my store are not suitable for your needs.
So what is a lifetime zine?
One payment gives you access to all current and future zines. You can download to store them offline, and even print them if you fancy.
As it stands, there are 39 zines published, and my first milestone is 100.
The price you pay today gives you full access for life, even if the price increases in the future.
One payment. No subscriptions. Lifetime of zines.
Ewww, digital… really?!
I can’t even imagine the logistical nightmare to print these and ship them to every corner of the globe.
Saves wasting resources.
Works out MUCH cheaper for you. Imagine buying 100 zines…
Formatted for tablets, phones, and laptops.
Makes this accessible to more people.
What’s inside each zine?
Between 100 and 350 photos.
Only the images, no writing.
Each zine focuses on a specific trip, location, or period of time.
When purchased, you will get a PDF document. In the document is a link where you can access all the zines. Each zine can be up to 200mb although I try to keep them closer to 100mb. This allows you to zoom in and see the images up close. However, due to this higher resolution, some older devices might take longer to load the images. For the best viewing experience, I suggest viewing on a device with a big screen, and if you have a choice between scrolling or swiping to change pages, I suggest scrolling for the best experience.
Please note that due to the nature of digital products, refunds are generally not accepted. However, if you experience any issues, feel free to contact me and I’ll review your situation individually. You are welcome to use this product for personal or commercial projects, but you may not copy, distribute, or resell the files in their original or modified form.
Finally, I want to say another massive thank you for supporting me. This is the most direct way you can support my work.
Thank you for your support!

This Fujifilm XT4 set-up guide is designed to save you time and get your camera set up and working just like I do. You will learn what the major features do and why I chose to set them in a certain way. I will show you how to assign the buttons and custom menus in order to have the most important features at your fingertips. Finally, I will walk you through how I expose and focus.
This guide is not a replacement for your user manual and does not cover 100% of the features. It covers the features that, in my experience, 90% of the people use 90% of the time. This is based on years of personal experience.
This guide is best suited for those who want to be up and running quickly with a tried-and-tested set-up.
This is a digital download and not a physical product. The download is around 21mb.
Please note that due to the nature of digital products, refunds are generally not accepted. However, if you experience any issues, feel free to contact me and I’ll review your situation individually. You are welcome to use this product for personal or commercial projects, but you may not copy, distribute, or resell the files in their original or modified form.
Finally, I want to say a massive thank you for supporting me. Buying this guide is the most direct way you can support my work, thus allowing me to make more videos, photos, and tutorials for you.
Thank you for your support!

This Fujifilm X100V set-up guide is designed to save you time and get your camera set up and working just like I do. You will learn what the major features do and why I chose to set them in a certain way. I will show you how to assign the buttons and custom menus in order to have the most important features at your fingertips. Finally, I will walk you through how I expose and focus.
This guide is not a replacement for your user manual and does not cover 100% of the features. It covers the features that, in my experience, 90% of the people use 90% of the time. This is based on years of personal experience.
This guide is best suited for those who want to be up and running quickly with a tried-and-tested set-up.
This is a digital download and not a physical product. The download is around 16mb.
Please note that due to the nature of digital products, refunds are generally not accepted. However, if you experience any issues, feel free to contact me and I’ll review your situation individually. You are welcome to use this product for personal or commercial projects, but you may not copy, distribute, or resell the files in their original or modified form.
Finally, I want to say a massive thank you for supporting me. Buying this guide is the most direct way you can support my work, thus allowing me to make more videos, photos, and tutorials for you.
Thank you for your support!