Leica Q3 43 - The Best Video Settings
In this blog, I’ll share a simple and straightforward video setup for your Leica Q3 and Q3 43. This guide will help you get up and running quickly while providing a solid foundation. If you find this blog helpful, want to support my work, and are eager to learn more about your Leica Q3, check out my full camera guide for the Q3 and Q3 43 below. Finally, these are the settings that work for me. They’re not necessarily the best or the “correct” ones, because there’s no such thing. Read through the blog, try out different settings, keep what works for you, and disregard the rest.

Custom Buttons
Leica has the best implementation of custom buttons that I’ve come across; however, given how few buttons you have, it’s important to make sure you utilise them fully. If you press the button once, it will trigger a specific task just like any other camera. However, if you press and hold it, you will enter a menu where you can change what that button does. The best part is that you can modify how many options that menu has, meaning you can change the button layout very quickly depending on what mode you’re shooting in and what you want to achieve. I will first go through each button to show you what is selected and then explain the methodology behind my decisions. To modify the menu, you need to go to CUSTOMISE CONTROL.
FN1
This is the first focus-dedicated button. By default, it’s set to AF MODE. The menu only shows AF MODE and FOCUS ASSIST.

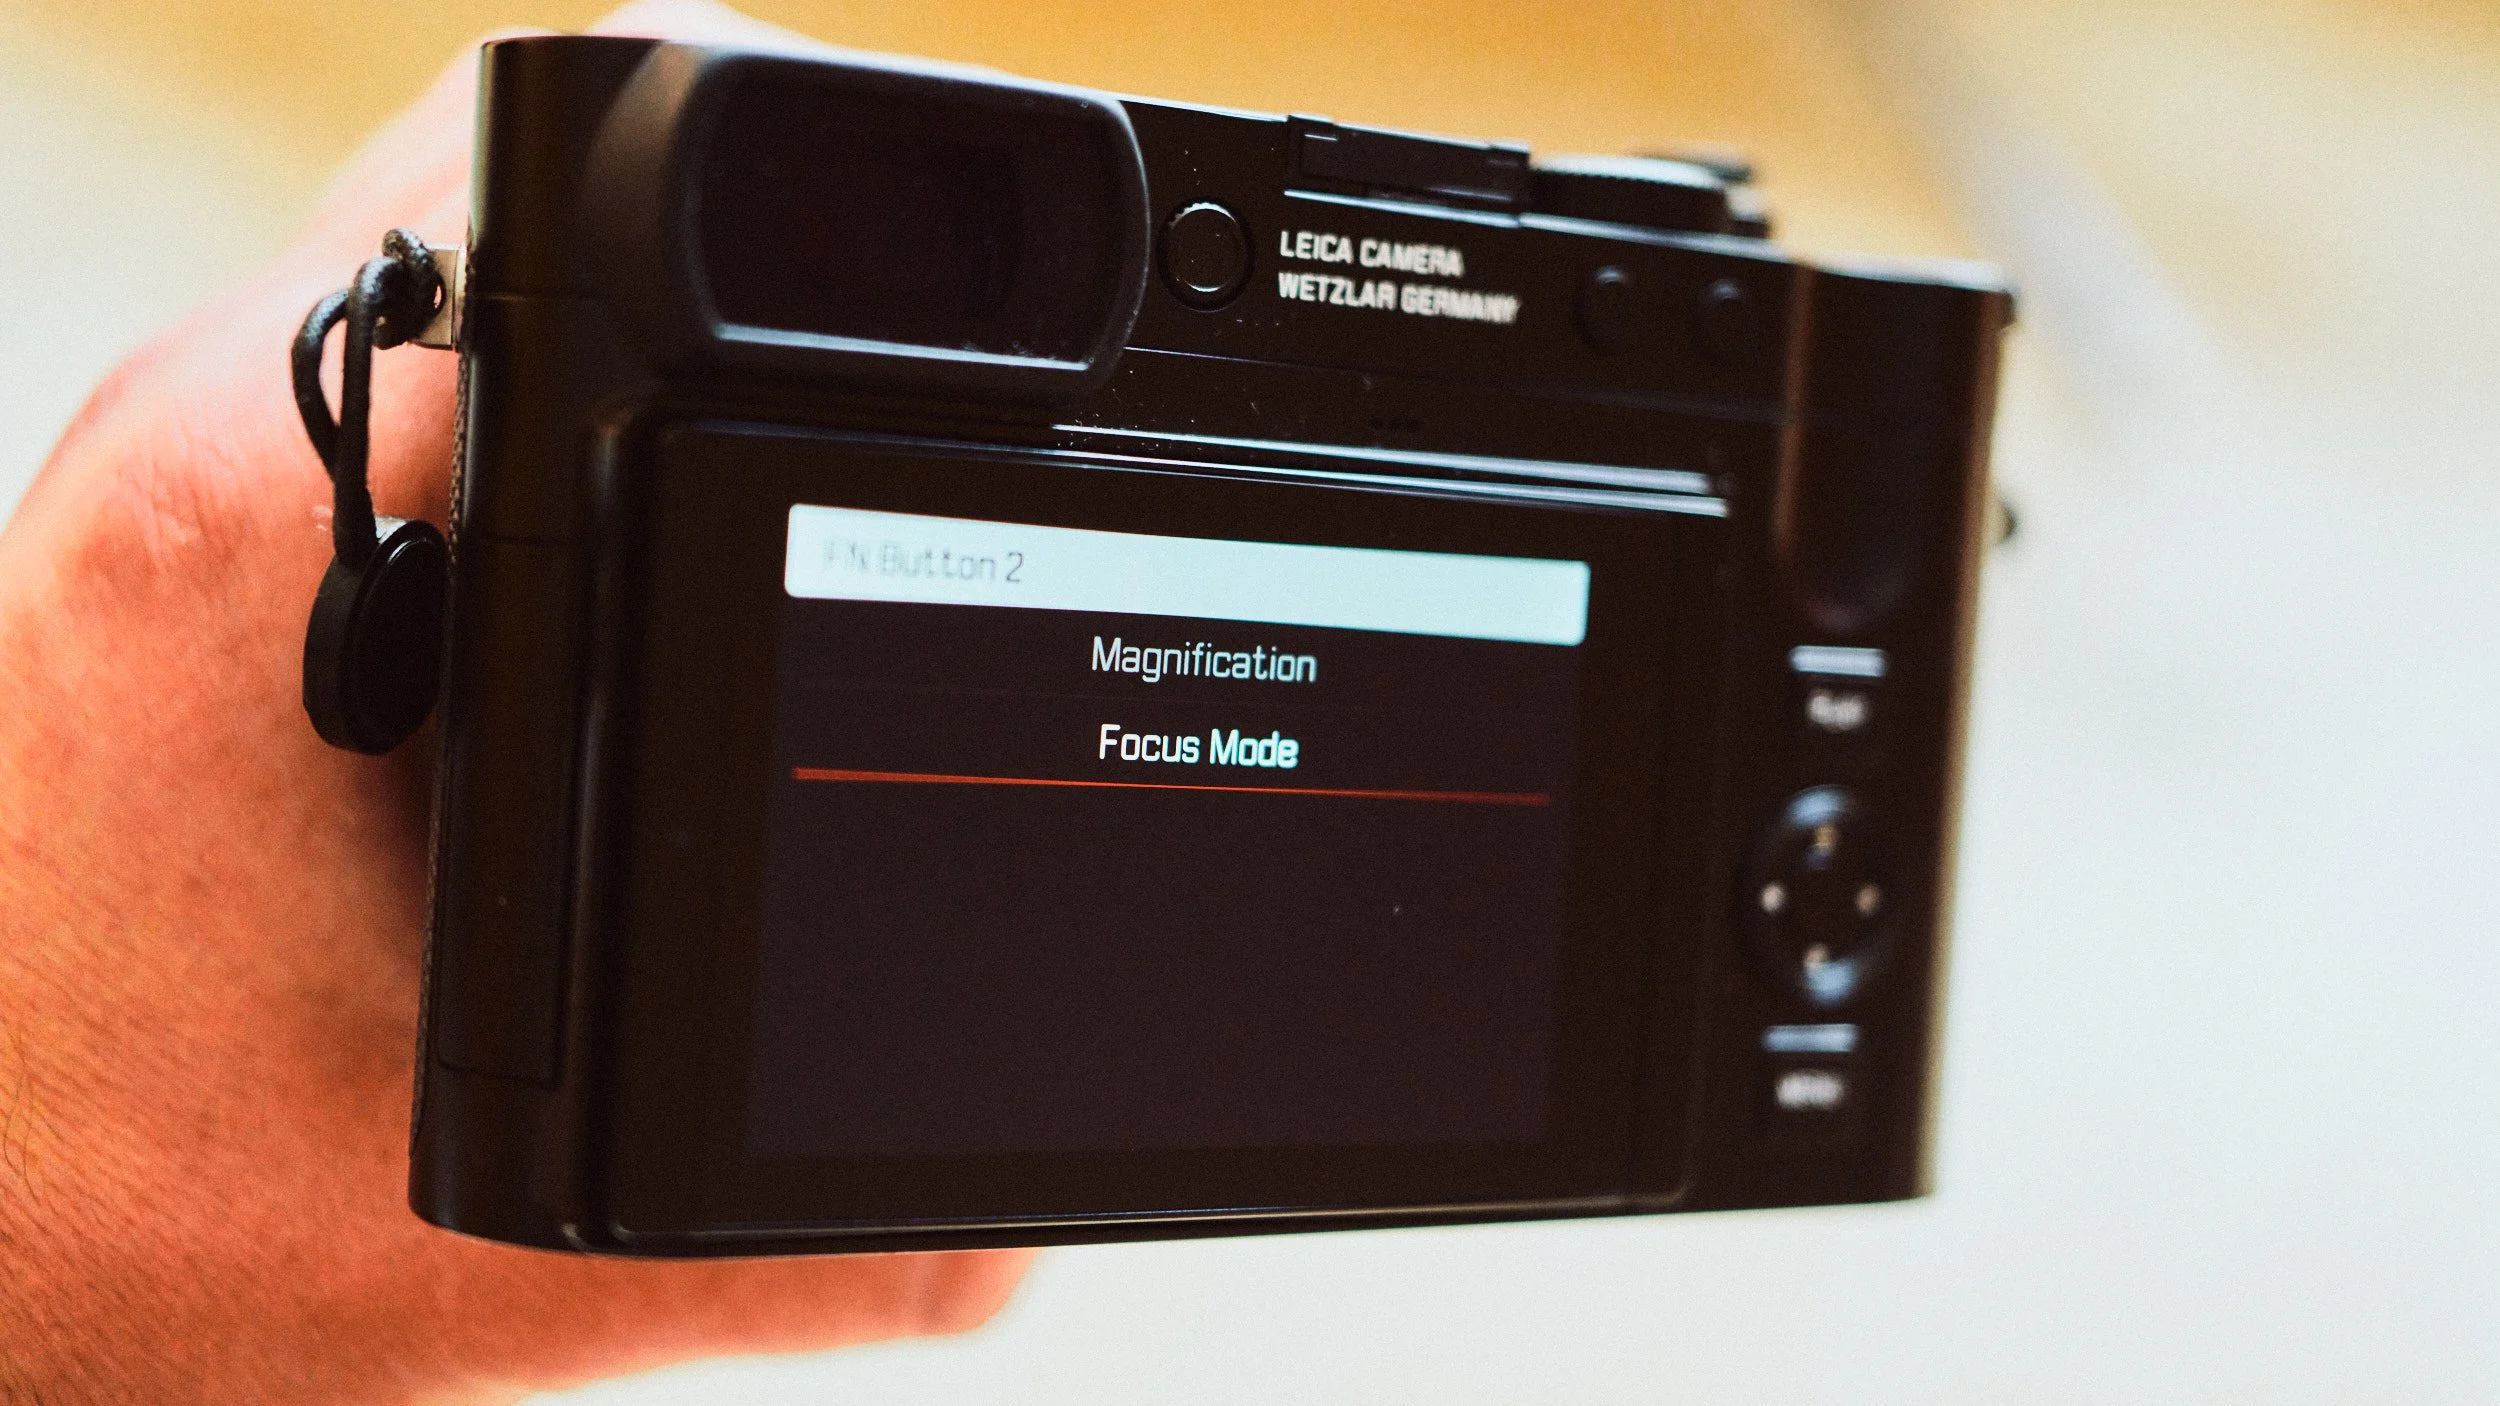
FN2
This is the second focus-dedicated button. By default, it’s set to FOCUS MODE. The menu only shows FOCUS MODE and MAGNIFICATION.
Thumbwheel Button
This button deals with all white balance tasks. Default is White Balance with the others being Colour Temperature and Grey Card.

Centre Button
This button controls all the other critical functions. By default, it’s set to PHOTO - VIDEO, because I use the Q3 as a hybrid camera. The menu also shows EXPOSURE METERING and ISO.

FN1 + FN2
Between these two, I have full control of autofocus and access to manual focus assists. When shooting in AF, I use FN1 to change between autofocus modes such as zone or spot. When shooting in MF, I use FN1 to toggle various manual focus assist features. When shooting in AF, I use FN2 to toggle between AF-S and AF-C. When shooting in MF, I use it to toggle magnification on and off, allowing me to double-check my focus when absolute accuracy is required. The reason these two buttons are limited to only focusing features is to ensure simplicity and muscle memory.
Thumbwheel Button
This button is in charge of all white balance-related features. Even if shooting in Log, making sure the white balance doesn’t change and is correct, is critical. This allows me to efficiently change between different WB modes or set it based on a reference grey in the scene.
Centre Button
This button is assigned to other critical features that I use from time to time but not often enough. The default setup allows me to quickly switch between photo and video. This is what I use 90% of the time because, for me, the Q3 is a hybrid camera. You might never use that feature, so perhaps setting it to exposure metering might be more beneficial.

Video Format
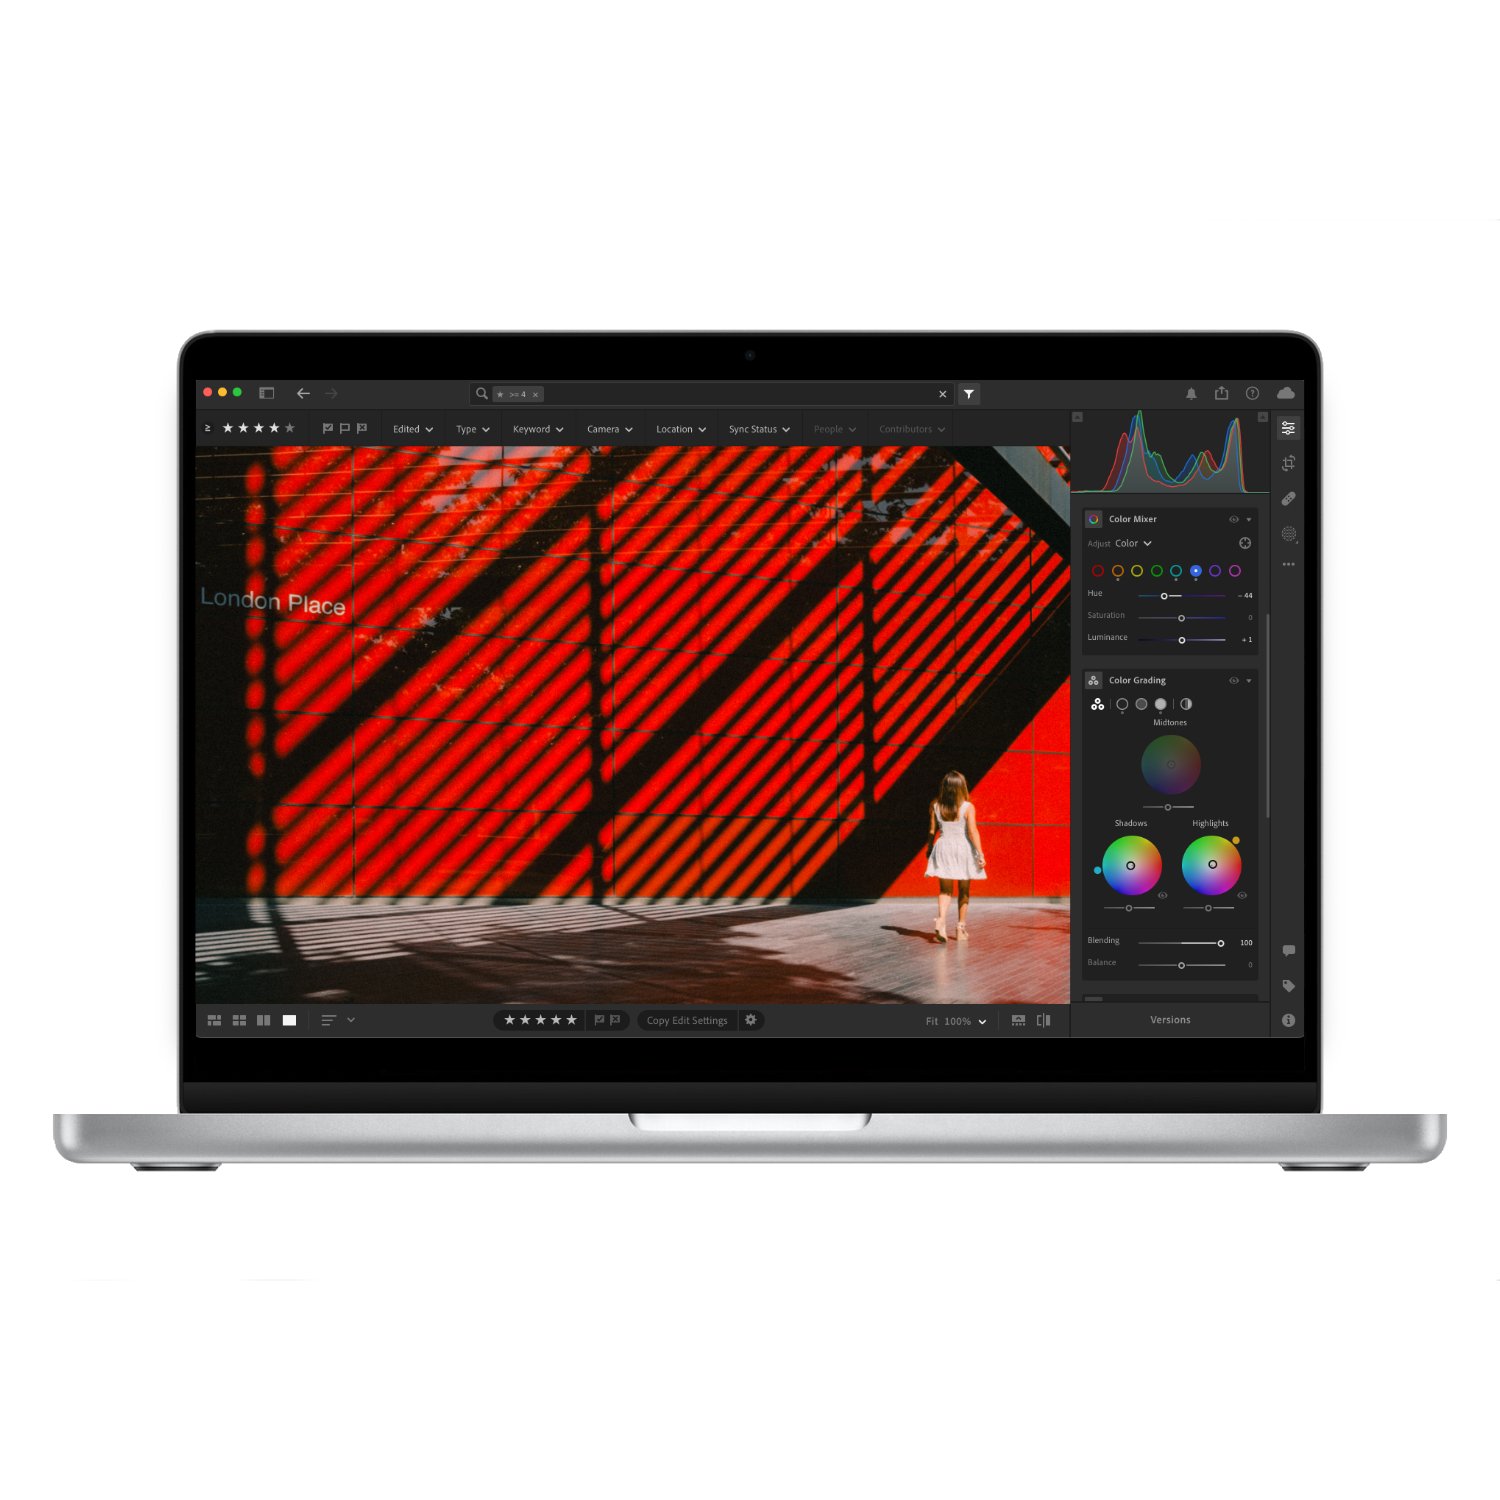
While there are many different modes, I personally use 4K / 25fps / ALL-I / 400mpbs / 422 10bit / MOV. I find that this mode gives me the best quality file that can be colour graded without the risk of falling apart. If you will not be colour grading your footage or want to use the built-in Leica Looks, then perhaps picking a lower quality file like an 8Bit MP4 might be more suitable. If you will be shooting in Log, I would highly recommend using the higher quality file.

Video Gamma
I use L-Log because I would like to colour grade my footage later. If you would rather have a baked-in look, turning Video Gamma off might be a better option.

Aperture VS Shutter Priority VS Manual
There are three ways in which you can expose video using the Q3. Manual mode will give you the most control as you’re in charge of everything. Given that at the time of writing, there is no AEL function in video mode, shooting in manual is the only way you can ensure the exposure doesn’t shift during filming. The downside is that this is a more involved process. The second way is to use Shutter Priority, this is where you set a specific shutter speed and let the camera do the rest. This will probably be the most useful semi-auto feature given how critical shutter speed is to video. The third way is to use Aperture Priority if you must control the depth of field while filming. Personally, I’d recommend manual mode for the Q3 43.

Exposure Compensation (doesn’t apply to manual exposure)
This allows you to set a global exposure depending on the scene you’re shooting. In some cases under-exposing is required, whilst other scenarios call for an over-exposed photo. This isn’t a rule but I found the following to work for me:
Sunny - (0)
Cloudy - (+0.6)
Low Light - (-1)

Exposure Metering (doesn’t apply to manual exposure)
If you’re shooting in any mode other than full manual, you’ll have access to Exposure Metering, which determines how the camera exposes the scene. While there are several useful modes, I personally favour Multi Metering. This gives you a good overall exposure based on the whole scene. Another good option is Highlight Metering. This mode ensures that highlights are properly exposed at all times, reducing the risk of blown-out details. Additionally, it makes it much easier to achieve that dramatic highlight-and-shadow look directly in-camera.

Autofocus
The autofocus system could fill an entire separate blog, but for now, I will cover the specific modes I use 99% of the time. The first choice is to select between AFs and AFc. Single AF (AFs) locks focus once acquired and is perfect for still life, architecture, and landscapes. Continuous AF (AFc) keeps adjusting focus, ideal for moving subjects. I don’t use iAF as I’d rather retain manual control between single and continuous AF.

Next, you need to set the AF mode, and I use three types:
Spot - Most precise but slowest.
Zone - Covers a larger area for faster focus.
Field - A balance between spot and zone.
If you move the focus points around, you can reset them by double-tapping the screen. If using zone or field, press and hold the screen until red arrows appear, then use the thumb dial to adjust the size.