
How To Photograph In Harsh Midday Light
Harsh light has a bad reputation. Ask any photographer and most of them will tell you to avoid it and only shoot at sunrise or sunset. Well that’s all well and good for the privileged few who can catch every sunrise or sunset. But what about the rest of us?

The reality is you can’t always shoot at sunrise or sunset and most of the time you will need to deal with harsh light. Take me for example, around 95% of my photos are not during golden hour. So in this blog I will discuss a few things you can do to still get good shots even at midday in July.
Contrast & Exposure
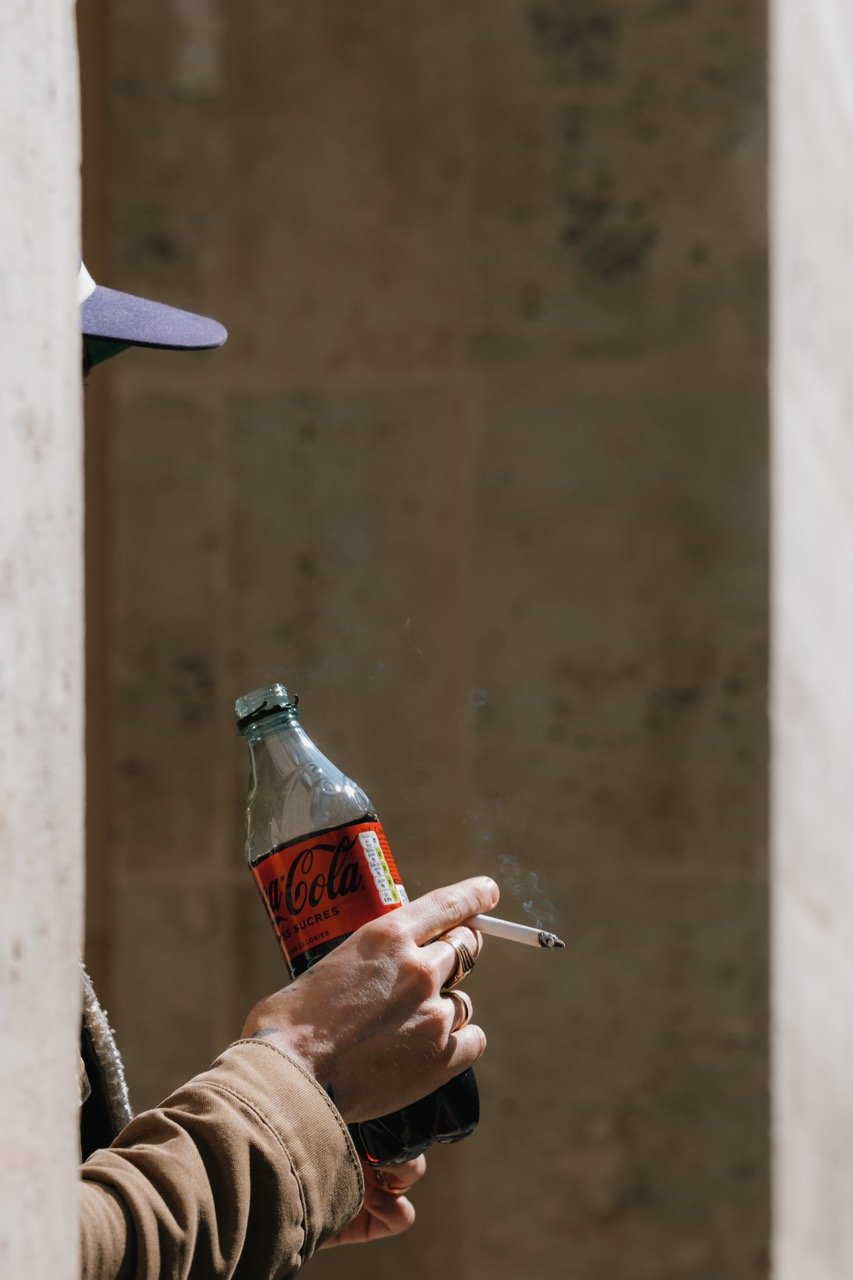
Let’s start with contrast and exposure. Arguably the most important aspect of this blog. When shooting in harsh light you would typically come across low contrast washed out scenes and very high contrast situations. The first thing we want to avoid is trying to turn a low contrast scene into a high contrast one and vice versa.
Low contrast scene
High contrast scene
For example you come across a high contrast scene where you might have a slither of light and the rest is falling into shadow. Trying to make this scene low contrast either in camera or in post is just going to give you a muddy result.

Correct contrast

Incorrect contrast
Equally trying to shoot a low contrast scene usually found in an open environment with uniform light, well if you try to force contrast you will end up with a rather unpleasant and unnatural look.

Correct contrast
Incorrect contrast
My advice is to work with the natural contrast you have in front of you. If you have high contrast, then shoot for high contrast. Equally if you have low contrast, then shoot with that aesthetic in mind.In many cases you might even want to further exaggerate the natural contrast to get the desired look.
Following on from contrast, make sure you expose correctly. Don’t just assume you need to under expose everything. In many cases that will result in a muddy image that would need a lot of editing and correcting.
Personally I shoot between 0 exposure and -0.3 exposure compensation to just take the edge of it. However there have been some cases where I could over expose by 0.3 to get the desired result. Remember if it’s very bright outside, then the photo needs to reflect it. Otherwise it will just look a bit odd.

Correct exposure - over exposed in editing

Incorrect exposure - straight out of camera
Finally please avoid falling into the HDR trap. Just because your Sony has 598 stops of dynamic range, it doesn’t mean every single pixel needs to be exposed. Some elements like the sun or extremely bright light need to be blown out. Because let’s face it, the sun is kind of bright.

Looks natural

Too much HDR
Avoid too much detail
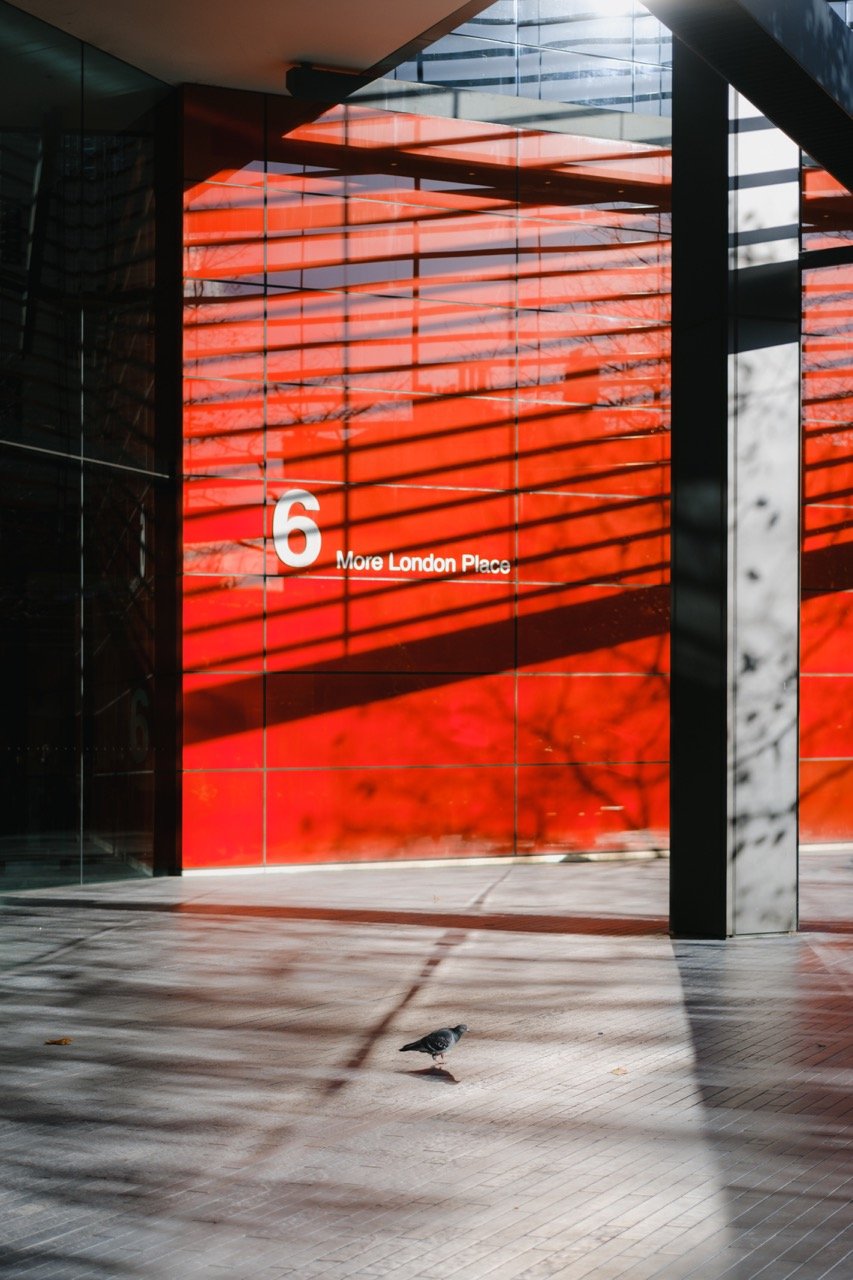
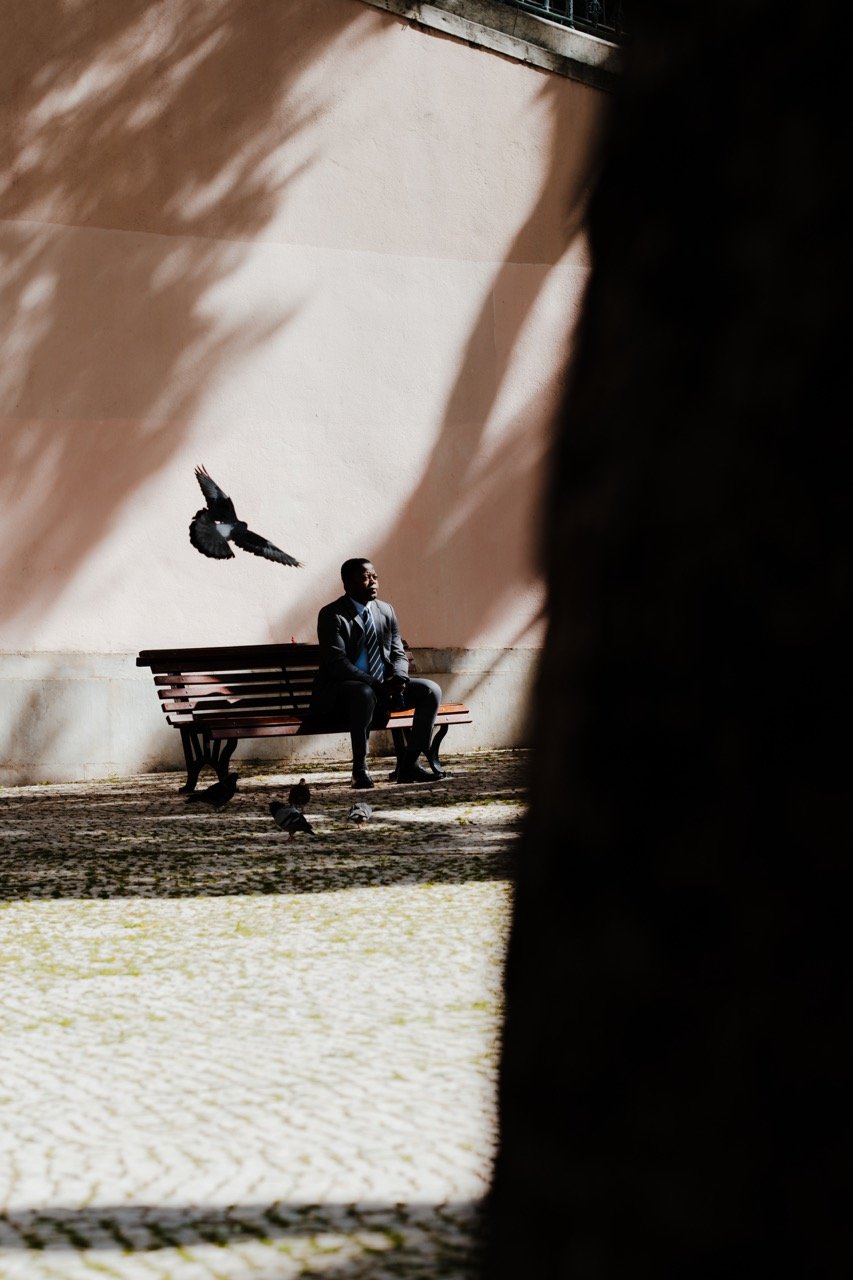
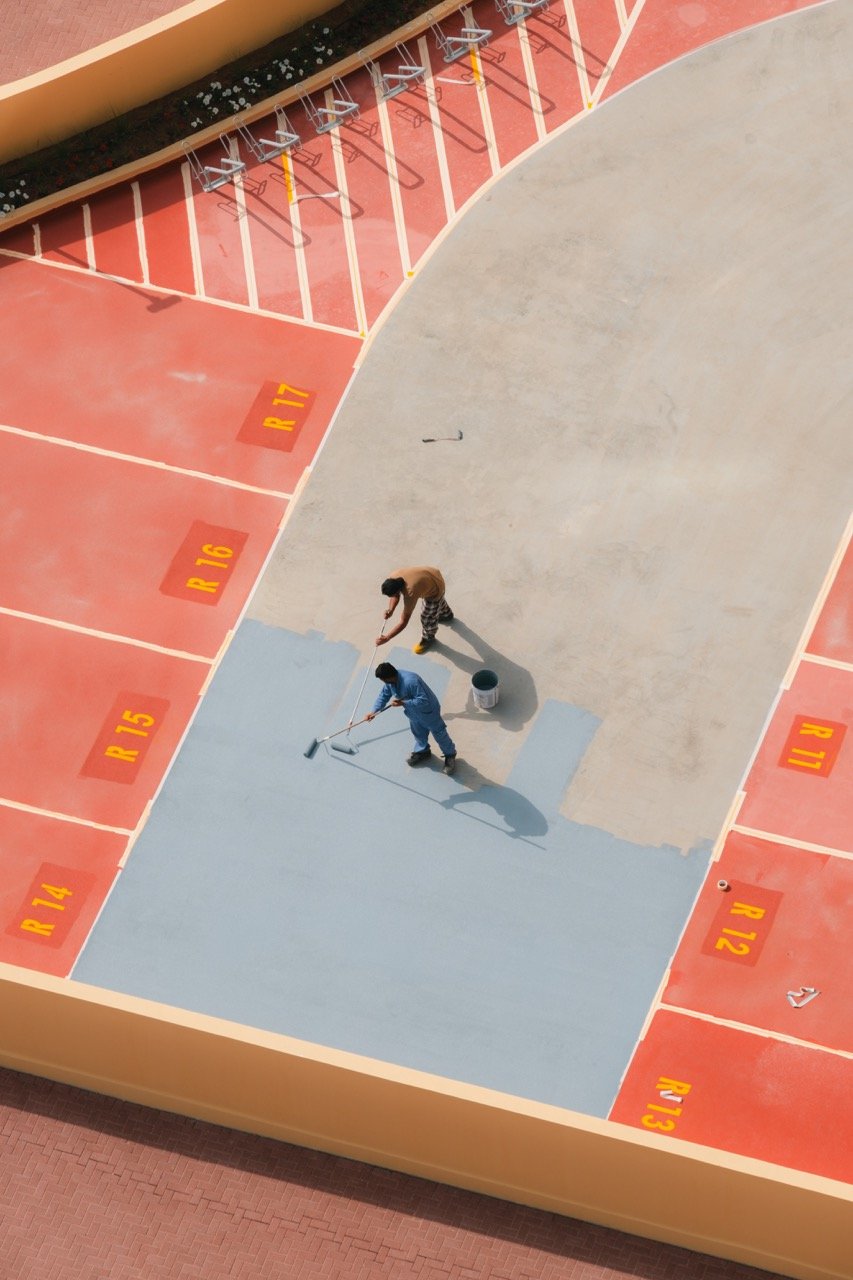
Having to deal with harsh light already means that the image will not be that soft and for sure it will feel busier due to how the light falls and reacts with the environment. So avoid adding to the problem by having a very busy scene with lots of detail.


When I am shooting in harsh light, I try to keep my compositions as simple as possible. This could mean just one clear subject or perhaps a few subjects that are simple and not too complicated. If this seems a little overwhelming, then I suggest using a longer lens to start with a longer lens like an 85mm or above will really help you with simplifying your compositions. As you get better, then you can go a little wider if you want.
Pay Attention To Colour
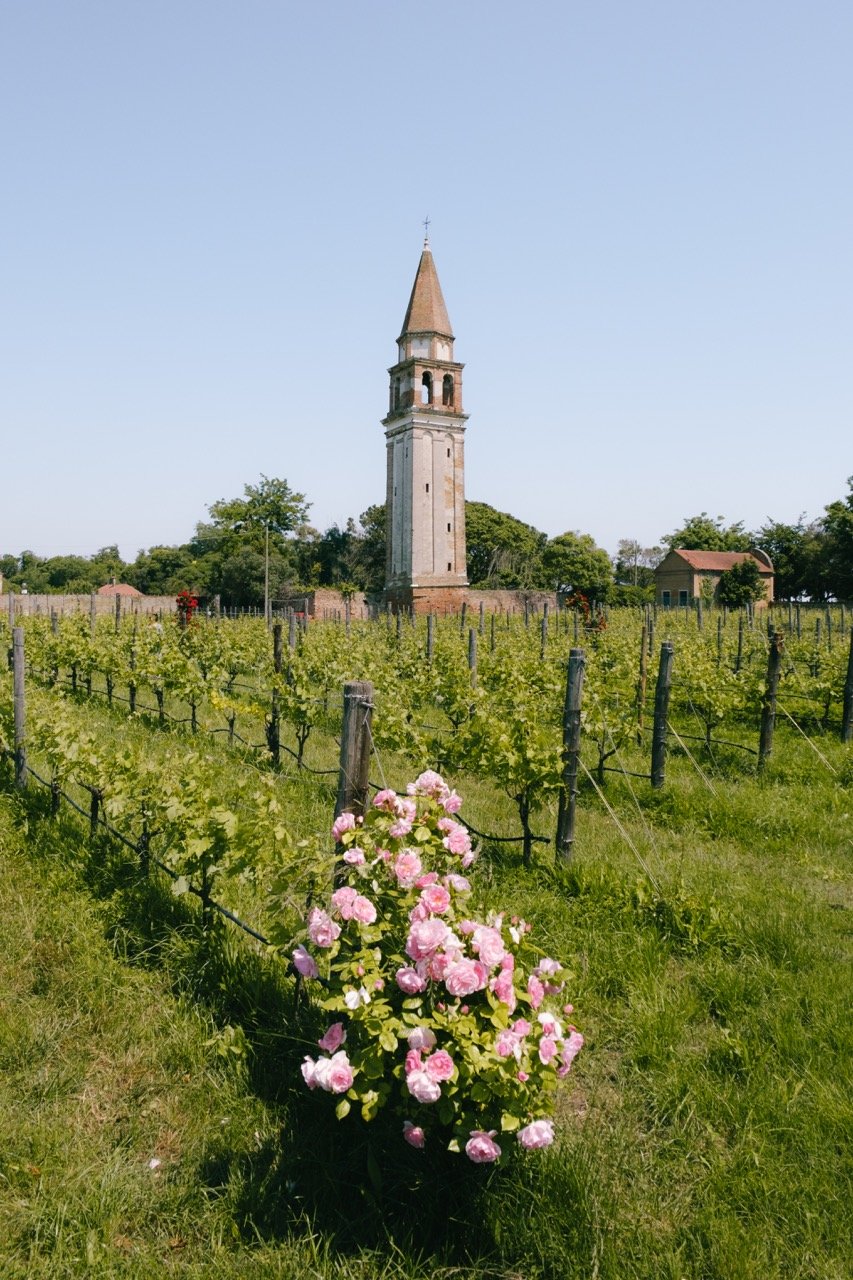
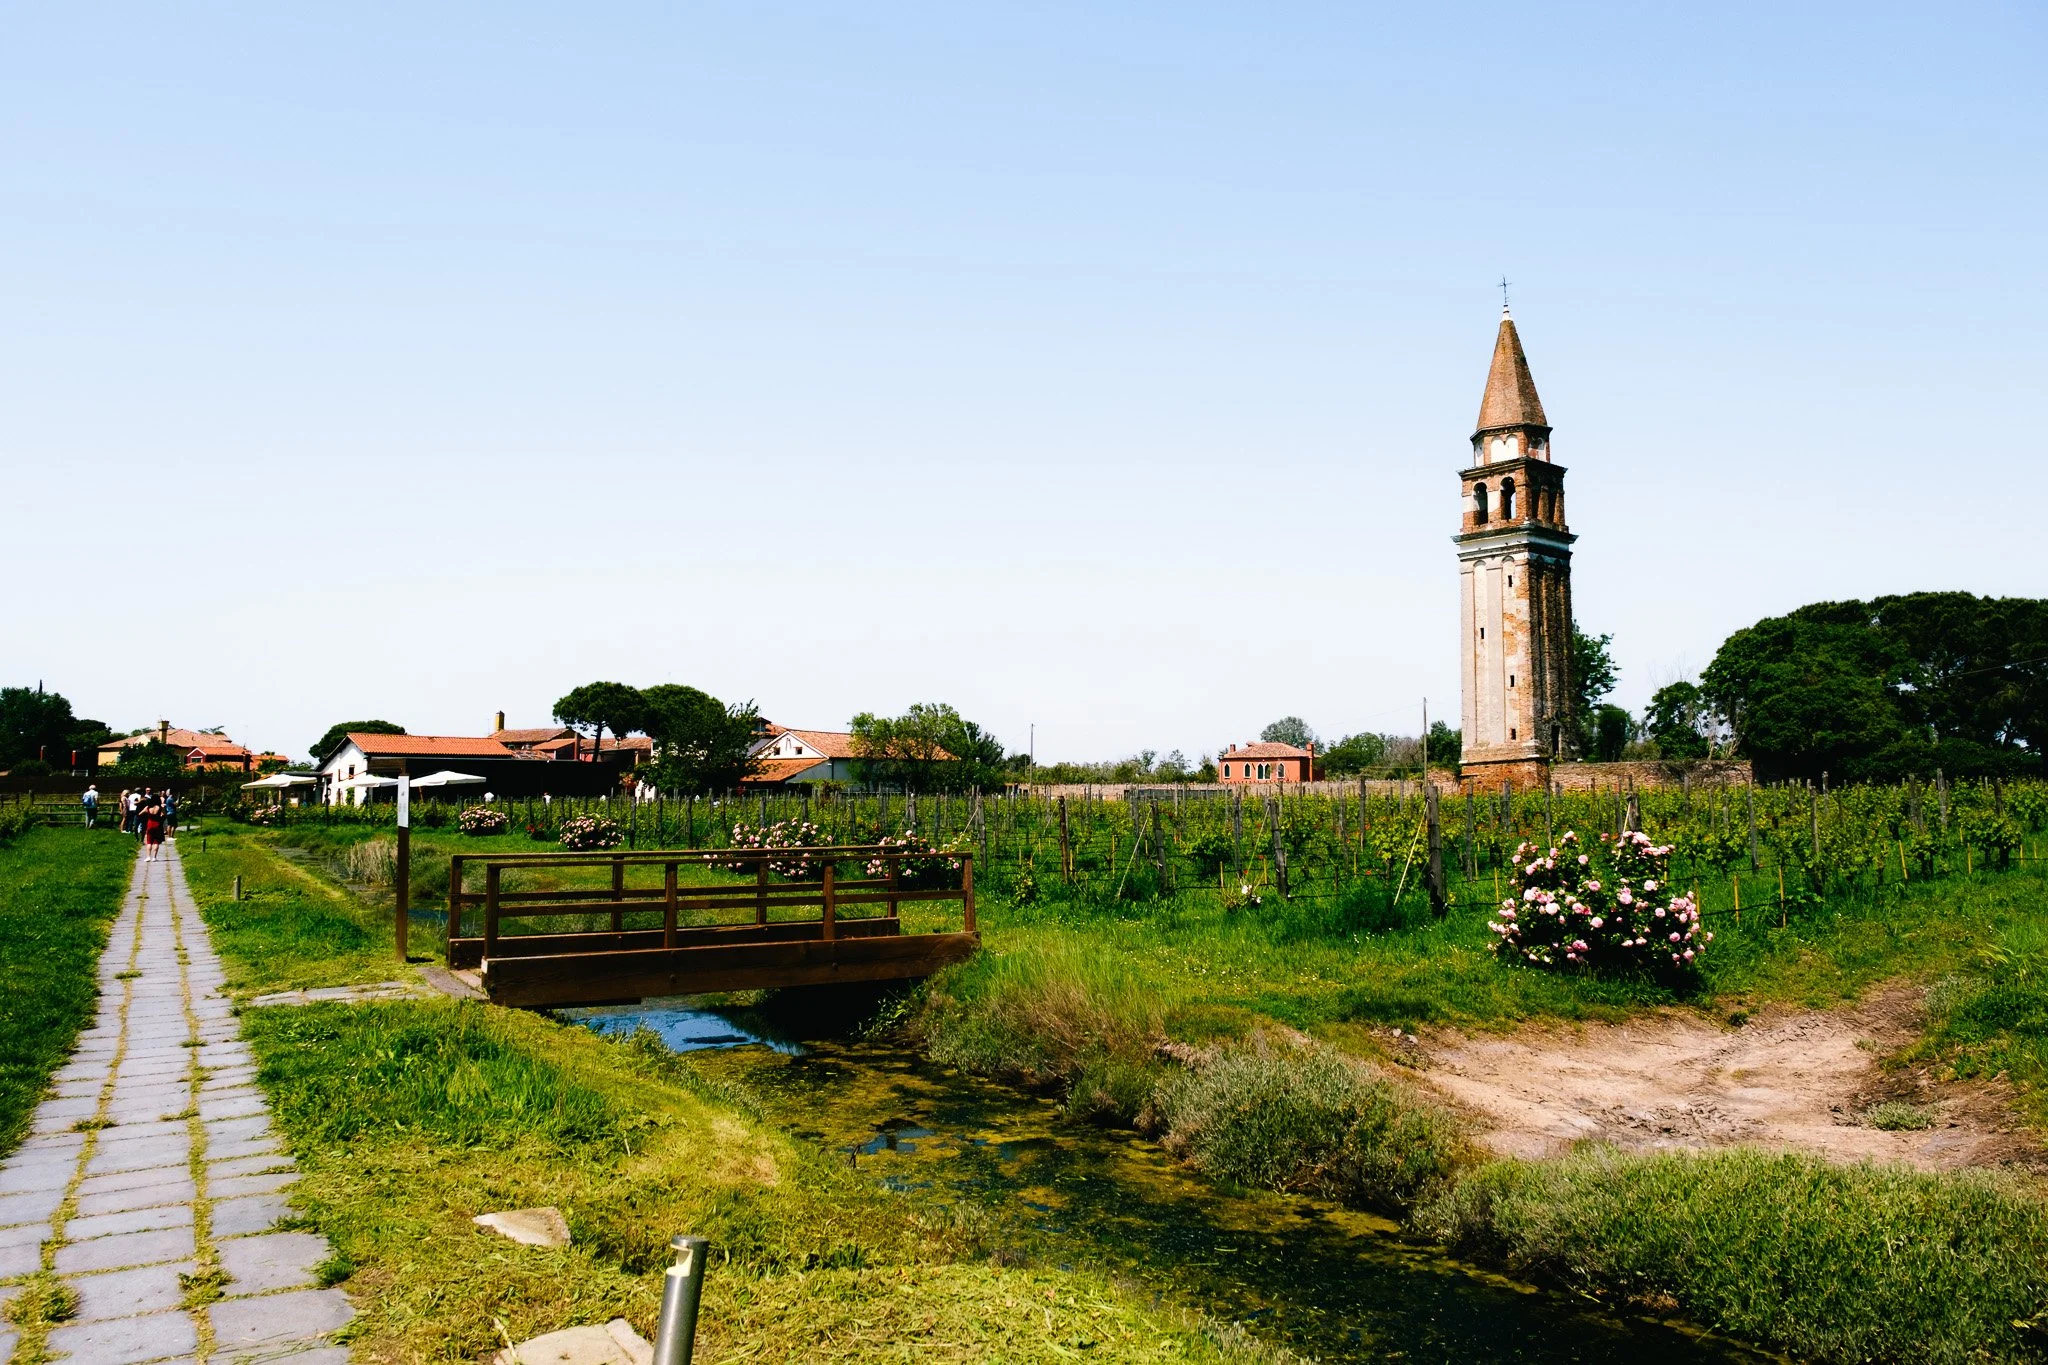
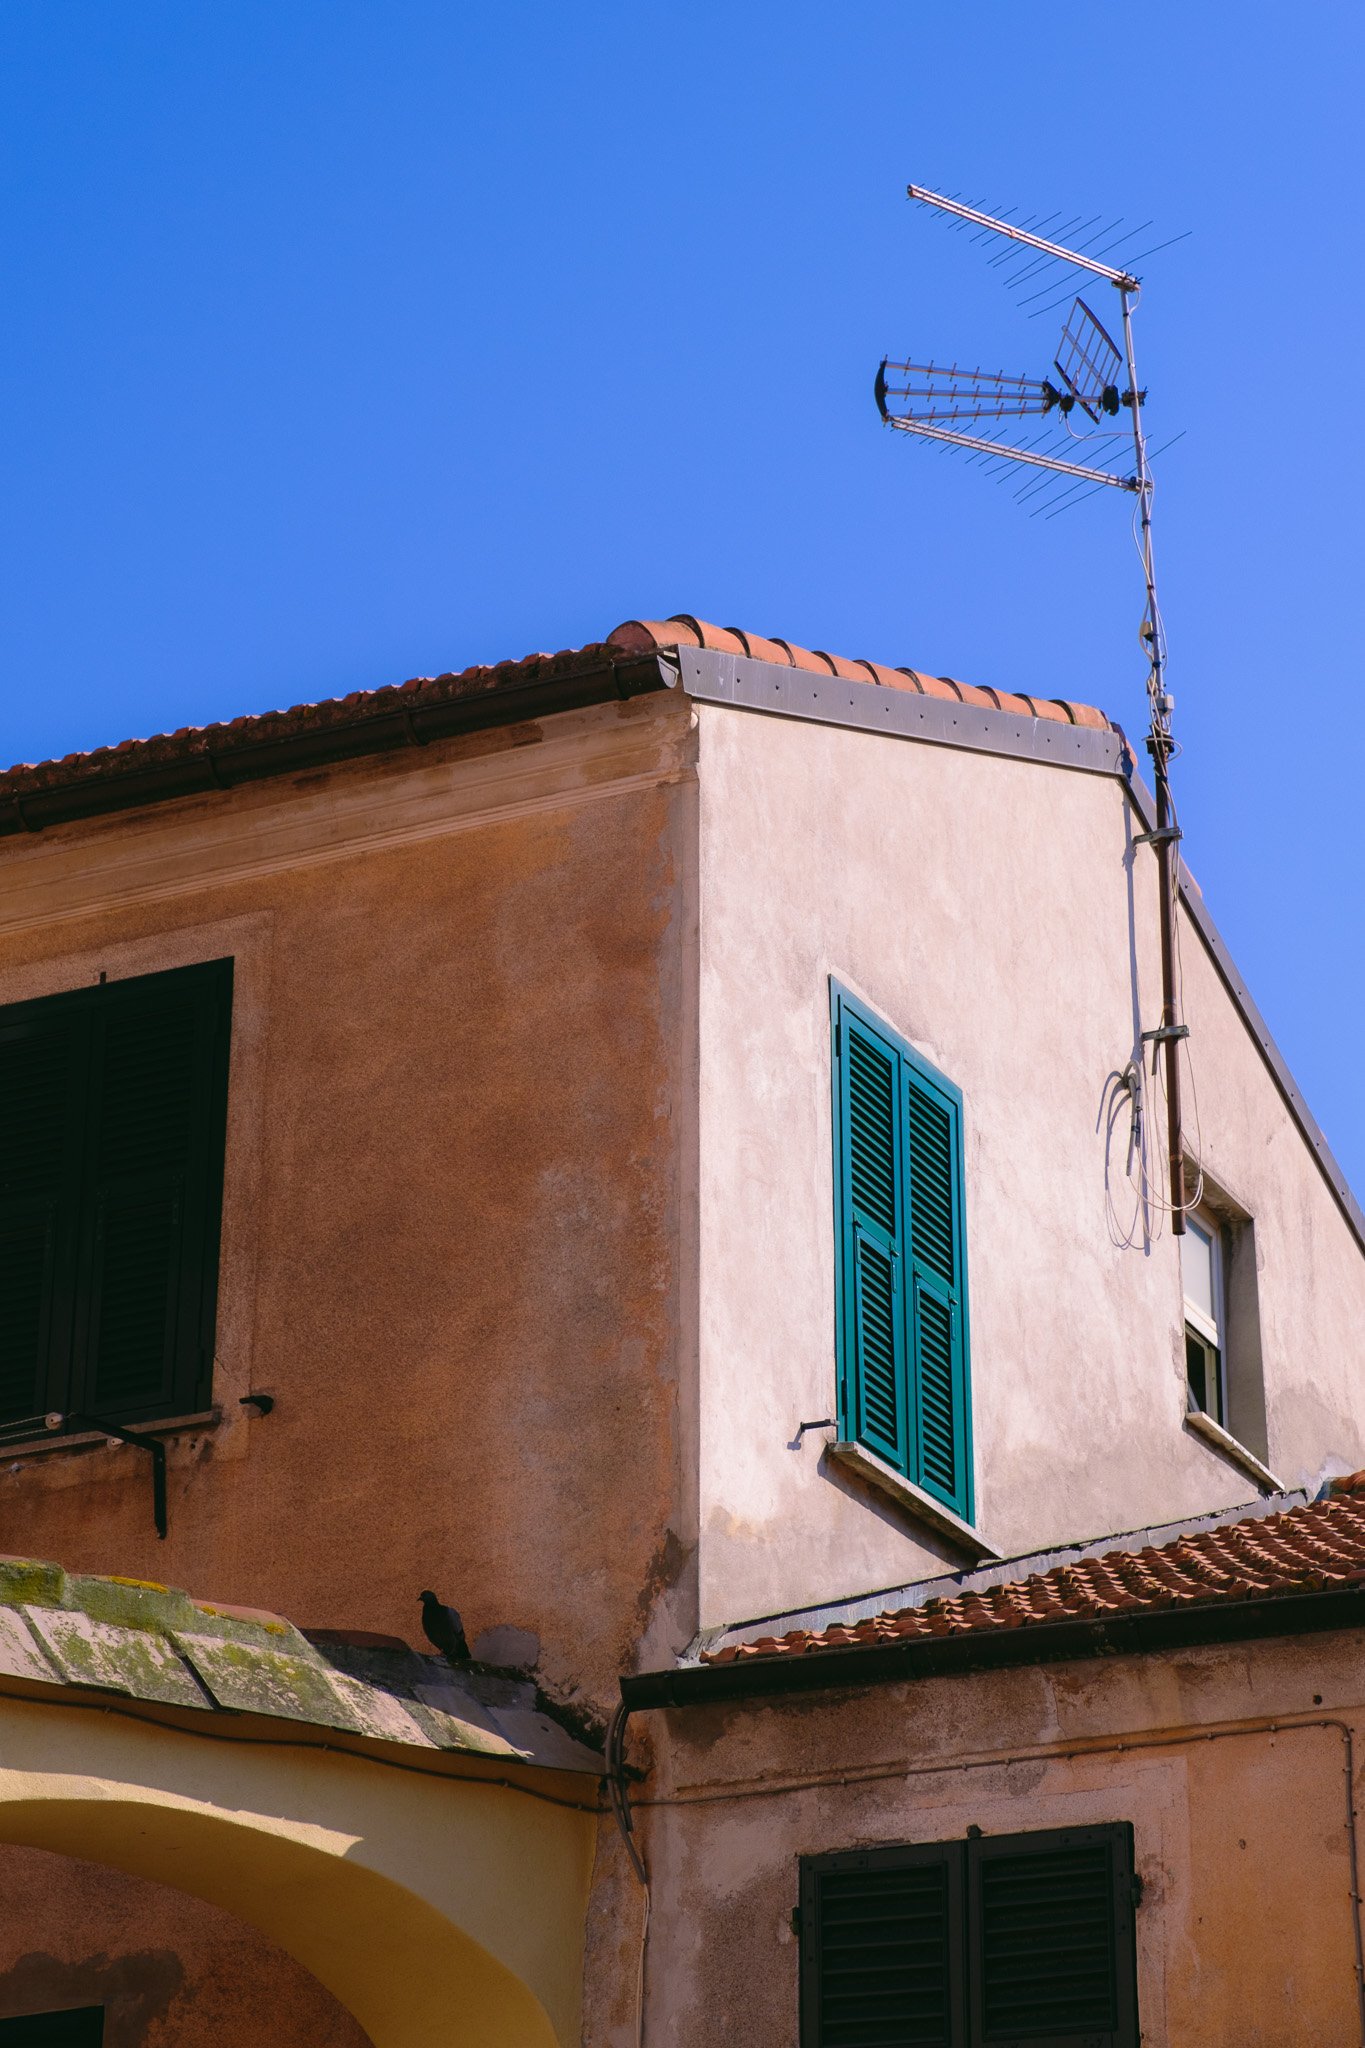
Unless you’re shooting black and white, pay attention to colours and use them to your advantage. Specifically I mean try to find vibrant scenes and complimentary colours if possible. Having good strong colours will remove some of that washed out look one might get under harsh light.
When it comes to editing you want to make sure that all the colours are in proportion and balance out in the image. For example if you have a very overpowering blue sky, then perhaps reducing some contrast and saturation while increasing the brightness would make it feel more natural in the image. Equally changing the hue a touch from blue to a slight mix of blue or teal could make it more visually appealing.

Sky in proportion
Over powering sky
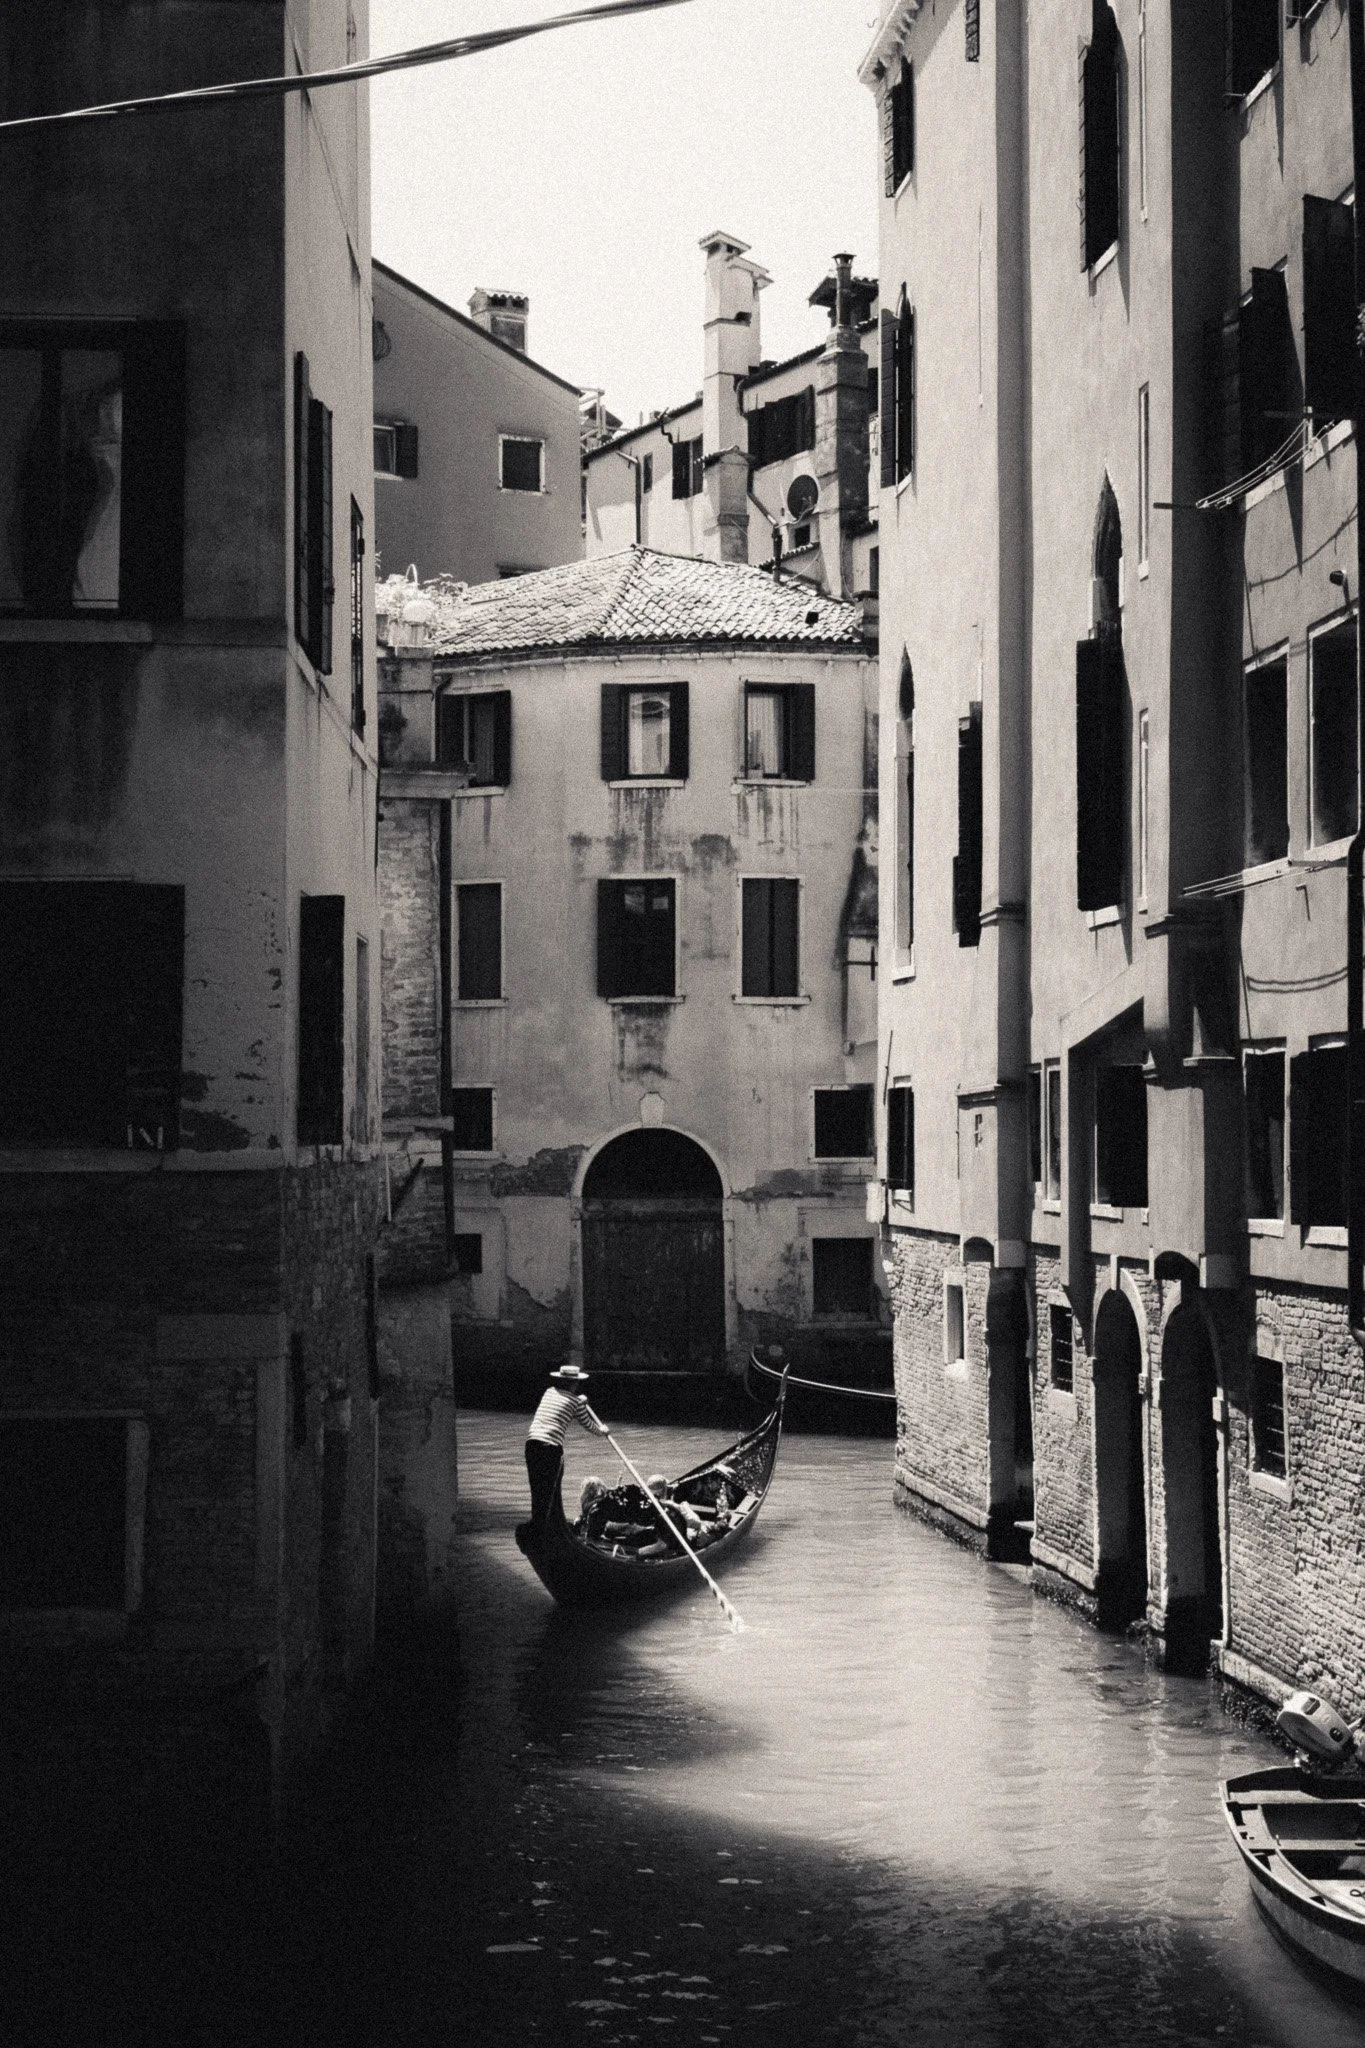
Of course if the scene is extremely harsh and there is no colour to work with, then why not switch to black and white. That way you can focus solely on the composition and light while having more freedom with contrast and exposure.
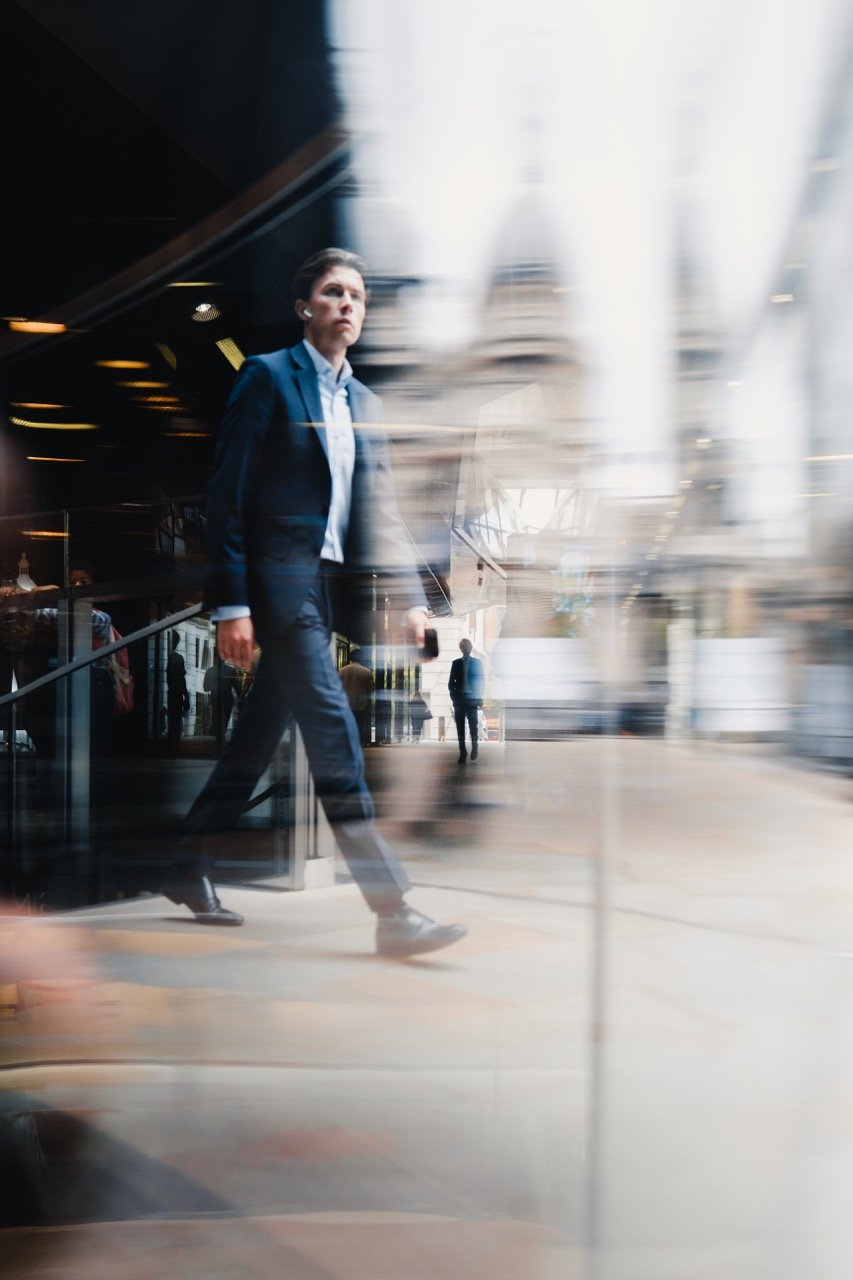
Look For Reflection & Diffusion
Another way to deal with harsh light is to look for reflections. Reflections can be in form of windows, mirrors or any reflective surface.

As well as adding an interesting abstract element to your image, they also help to diffuse some of the light and remove some of that harshness too. Reflections can also come in form of light reflecting from a building and lighting up part of the scene. Also if you find a good reflection spot, you can work that area for some time and it can even turn an otherwise boring harsh scene into a great abstract shot.
Finally look for diffusion. Essentially this is when the light has to go through something first. This could be a window, some kind of fabric or even a reflection off a building. This could also come from very high thin cloud which is actually some of my favourite lighting conditions. Diffused light is softer and much easier to work with.