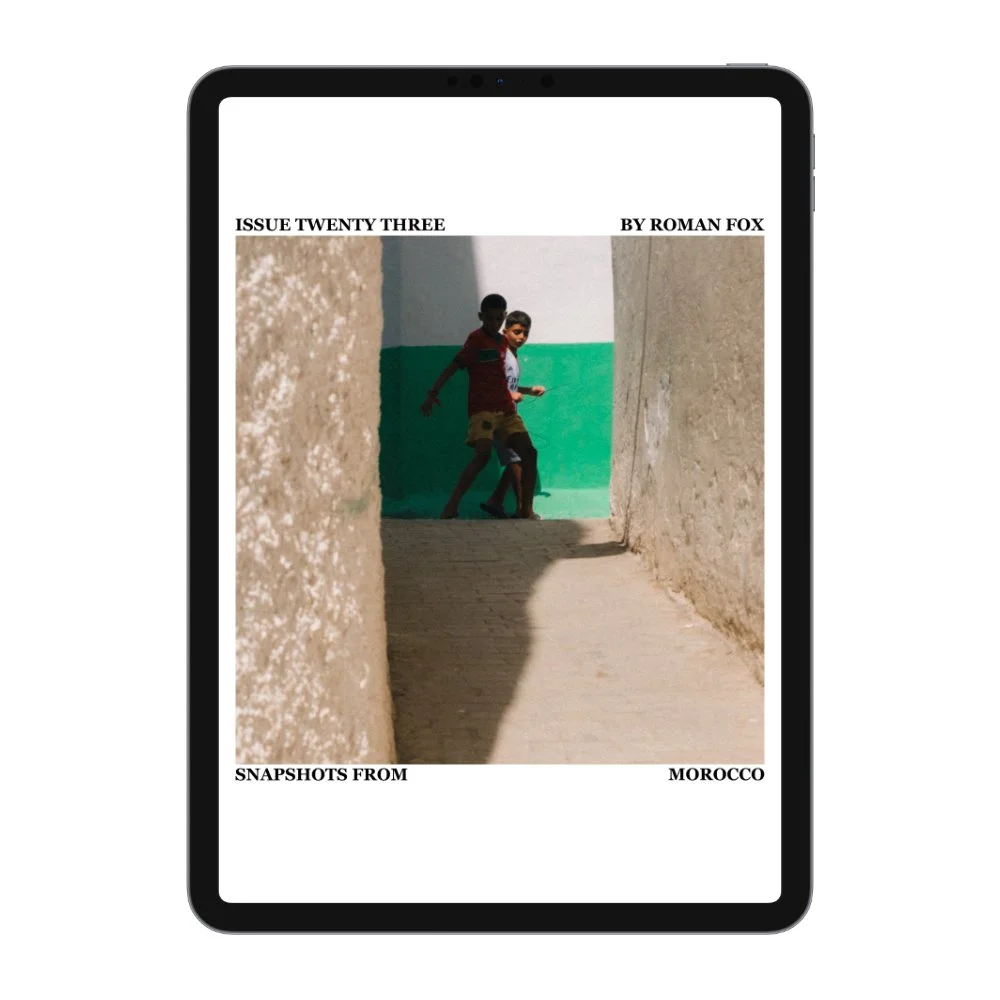
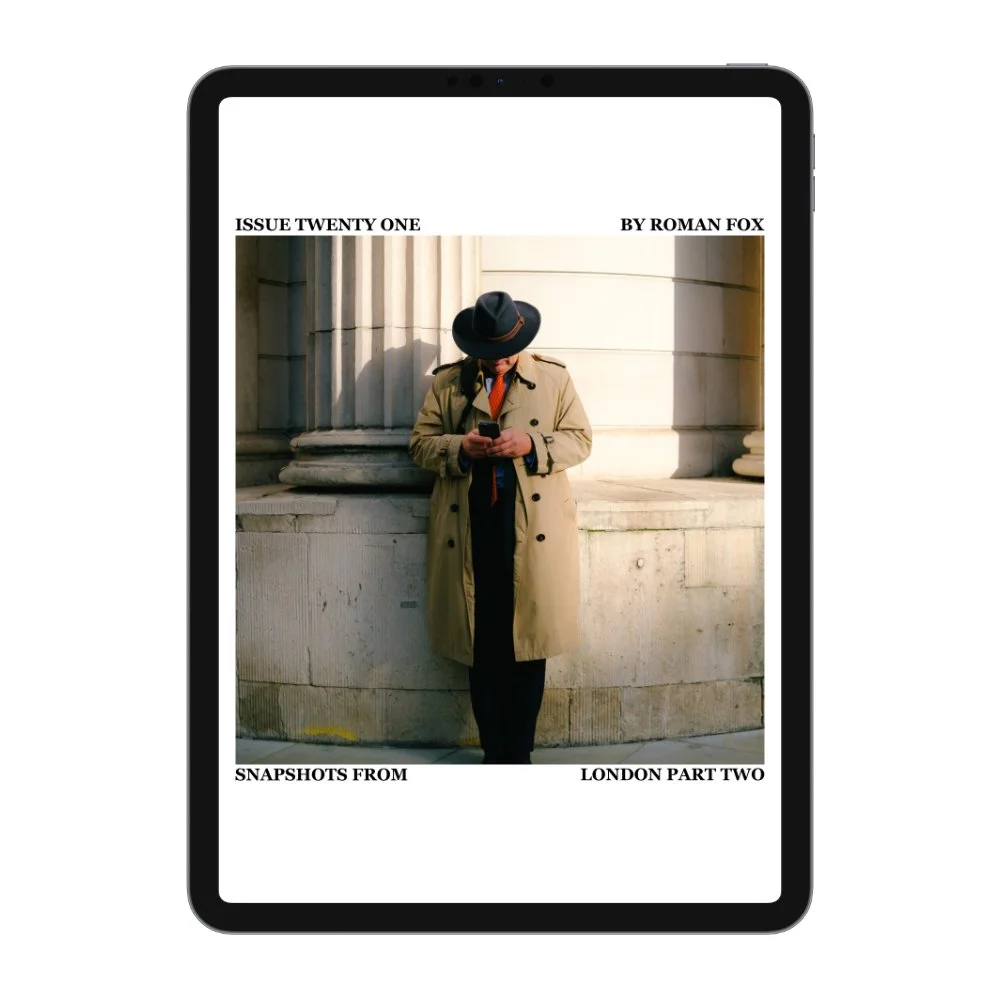
A Guide To Fujifilm Aperture Priority
In this blog, I will share a simple and effective system for aperture priority exposure photography using your Fujifilm camera. Although this blog focuses on the Fuji XT5, the concepts also apply to the XH2, XS-20, X100, X-Pro, and many other models. Furthermore, the theory I discuss is relevant to all cameras and digital photography in general. Finally, please bear in mind that this is simply the method that works for me and how I prefer to shoot. It may or may not suit you, so feel free to adopt what works and disregard the rest.
Why Aperture Priority?
Aperture priority is my go-to setting for photography and is what I use 80% of the time. From a creative standpoint, aperture has the most significant visual impact on your photos (aside from slow shutter motion blur). With aperture, you can decide what’s in focus and what’s blurred out. It allows you to guide the viewer’s attention to the subject or showcase the entire scene. With more lenses now equipped with aperture dials, it’s also the quickest way to adjust the aperture value and control the amount of light entering the camera. Finally, aperture priority lets you focus on photography and creativity rather than balancing multiple settings.
Downsides of Aperture Priority
The biggest downside to aperture priority is the lack of shutter speed control. Unfortunately, in Fuji cameras, even if you set a desired minimum shutter speed, the camera can still override this, leading to blurry photos. I’d much prefer the image to be underexposed in such cases, but perhaps this is something that can be fixed in the future.
Auto ISO / Minimum Shutter Speed
The one setting that can make or break your aperture priority experience is Auto ISO. If you’ve ever shot in aperture priority or full auto and ended up with blurry photos, this setting is likely to blame. Auto ISO allows you to set the minimum and maximum ISO, as well as the minimum shutter speed. This ensures the camera operates within a defined set of parameters. For example, you might set ISO between 100 and 6400, with a minimum shutter speed of 1/200. Fujifilm cameras offer three different Auto ISO settings, which I set up as follows:
AUTO ISO 1:
I use this for daytime photography or when there is plenty of light.
Minimum shutter speed: 1/200
Minimum ISO: 125
Maximum ISO: 6400
AUTO ISO 2:
This is for shooting at night or in low light.
Minimum shutter speed: 1/100
Minimum ISO: 500
Maximum ISO: 6400
AUTO ISO 3:
I use this whenever I want to maintain a high shutter speed.
Minimum shutter speed: 1/500
Minimum ISO: 1000
Maximum ISO: 12800

Aperture
Once Auto ISO is set, the next step is adjusting the aperture. The aperture setting depends on two factors: light and depth of field. It’s impossible to provide definitive numbers without being present at the shoot, so I’ll share some rough guidelines:
Extreme light (summer, midday, open area): f/8 to f/11
Normal light (typical sunny day with some shade): f/4 to f/8
Changing light (e.g. sunny street to dark market): f/4 to f/8
Overcast light (typical cloudy day): f/2.8 to f/5.6
Low light (blue hour): wide open to f/4
Night: wide open to f/2.8
If I want everything in focus, I set the aperture between f/11 and f/16. For moderate background blur, I use f/5.6 to f/8, while for more pronounced blur, I prefer f/3.2 to f/5.6. For maximum blur, I shoot wide open (f/2.8 or lower).

Exposure Values
I generally try to keep the exposure around 0, but I’m comfortable adjusting by ±1 stop when shooting in RAW. Here are some guidelines I follow:
Extreme light (summer, midday, open area): 0 to +0.3
Normal light (typical sunny day with some shade): 0 to +0.3
Changing light (sunny street to dark market): 0 to +0.3
Overcast light (typical cloudy day): +0.3 to +0.6
Low light (blue hour): -0.3 to -1
Night: -0.6 to -1.6
That said, I always let the scene dictate the exposure rather than relying solely on the camera. Sometimes overexposure works best, while in other cases, exposing for the highlights produces better results.

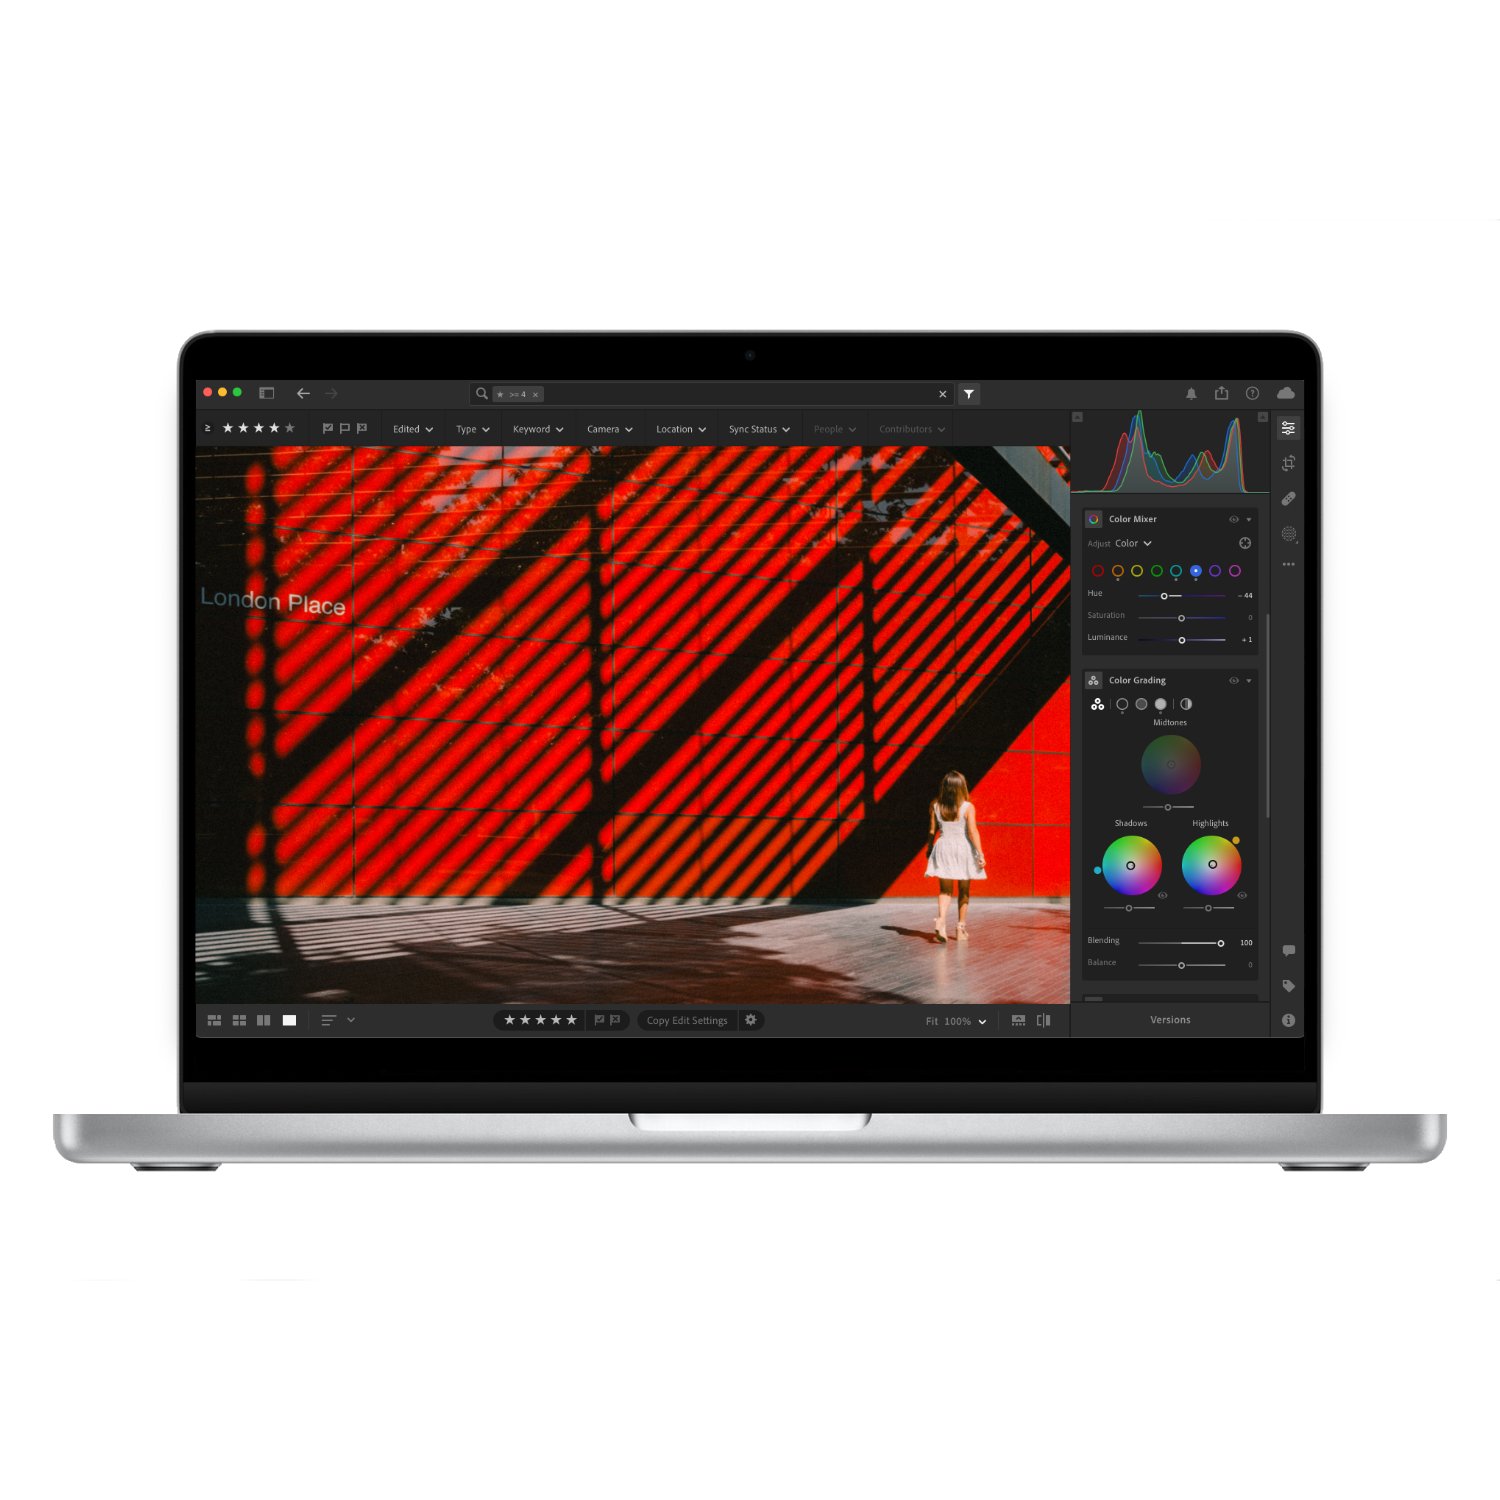
Metering Modes
When shooting in manual mode, you control the metering since you decide what to expose for. In aperture priority, however, you need to tell the camera what it should expose for. Selecting the right metering mode for your situation and desired outcome will lead to better results straight out of the camera.
MULTI: This is my go-to mode for most photography. It’s an intelligent mode that evaluates the entire scene and adjusts exposure accordingly. It works well for most scenarios but may struggle in high-contrast environments or when you need to expose for a specific subject.


CENTRE: This mode is useful when you need to expose for whatever is in the middle of the scene and disregard the edges. For example, shooting through a window or a gap, or any situation where the only exposure that matters is in the centre.


SPOT: A very creative option, this works best with single-point autofocus. It has a significant impact on exposure and is ideal if you want to expose for specific highlights or a particular part of the scene.


AVERAGE: I personally don’t use this mode. It calculates the average exposure for the entire scene. While it may be helpful in some specific cases, I have yet to find one.
Auto Exposure Lock (AEL)
The final and most powerful aspect of aperture priority is Auto Exposure Lock (AEL). Pressing this button locks the exposure settings as they are, allowing you to expose for one part of the scene, lock it, and then recompose. This gives you a great deal of creative freedom, and I often use this feature to achieve the desired exposure for one part of the scene before composing a different shot altogether.