Lightroom Mac Photography Workflow (2024 Updated)
Usually a few times a week I get messages regarding how I organise all my photos, and in this blog I will share with you the entire process. Please keep in mind that this process is individual and not some gold standard method. This is simply what works for me. My suggestion is take aspects of this that you like, try them and see if they work for you. Secondly this my job so I would naturally spend more money to make my life easier especially on the gear and cloud storage side. You don’t need to spend as much and there are cheaper alternatives. For example fast expensive SSDs can be replaced with a normal drive for the fraction of the cost. Fast CF Express memory cards can be replaced with UHS1 SD Cards for a fraction of the cost.
Gear
On my main workhorse A7RV I shoot on Lexar CF Express Type A cards and on the X100VI / Q3 / A7CII, I shoot on the Sony Tough UHS2 SD cards.
Next is a Sandisk SSD. This is a 4tb version for backups and offline access.
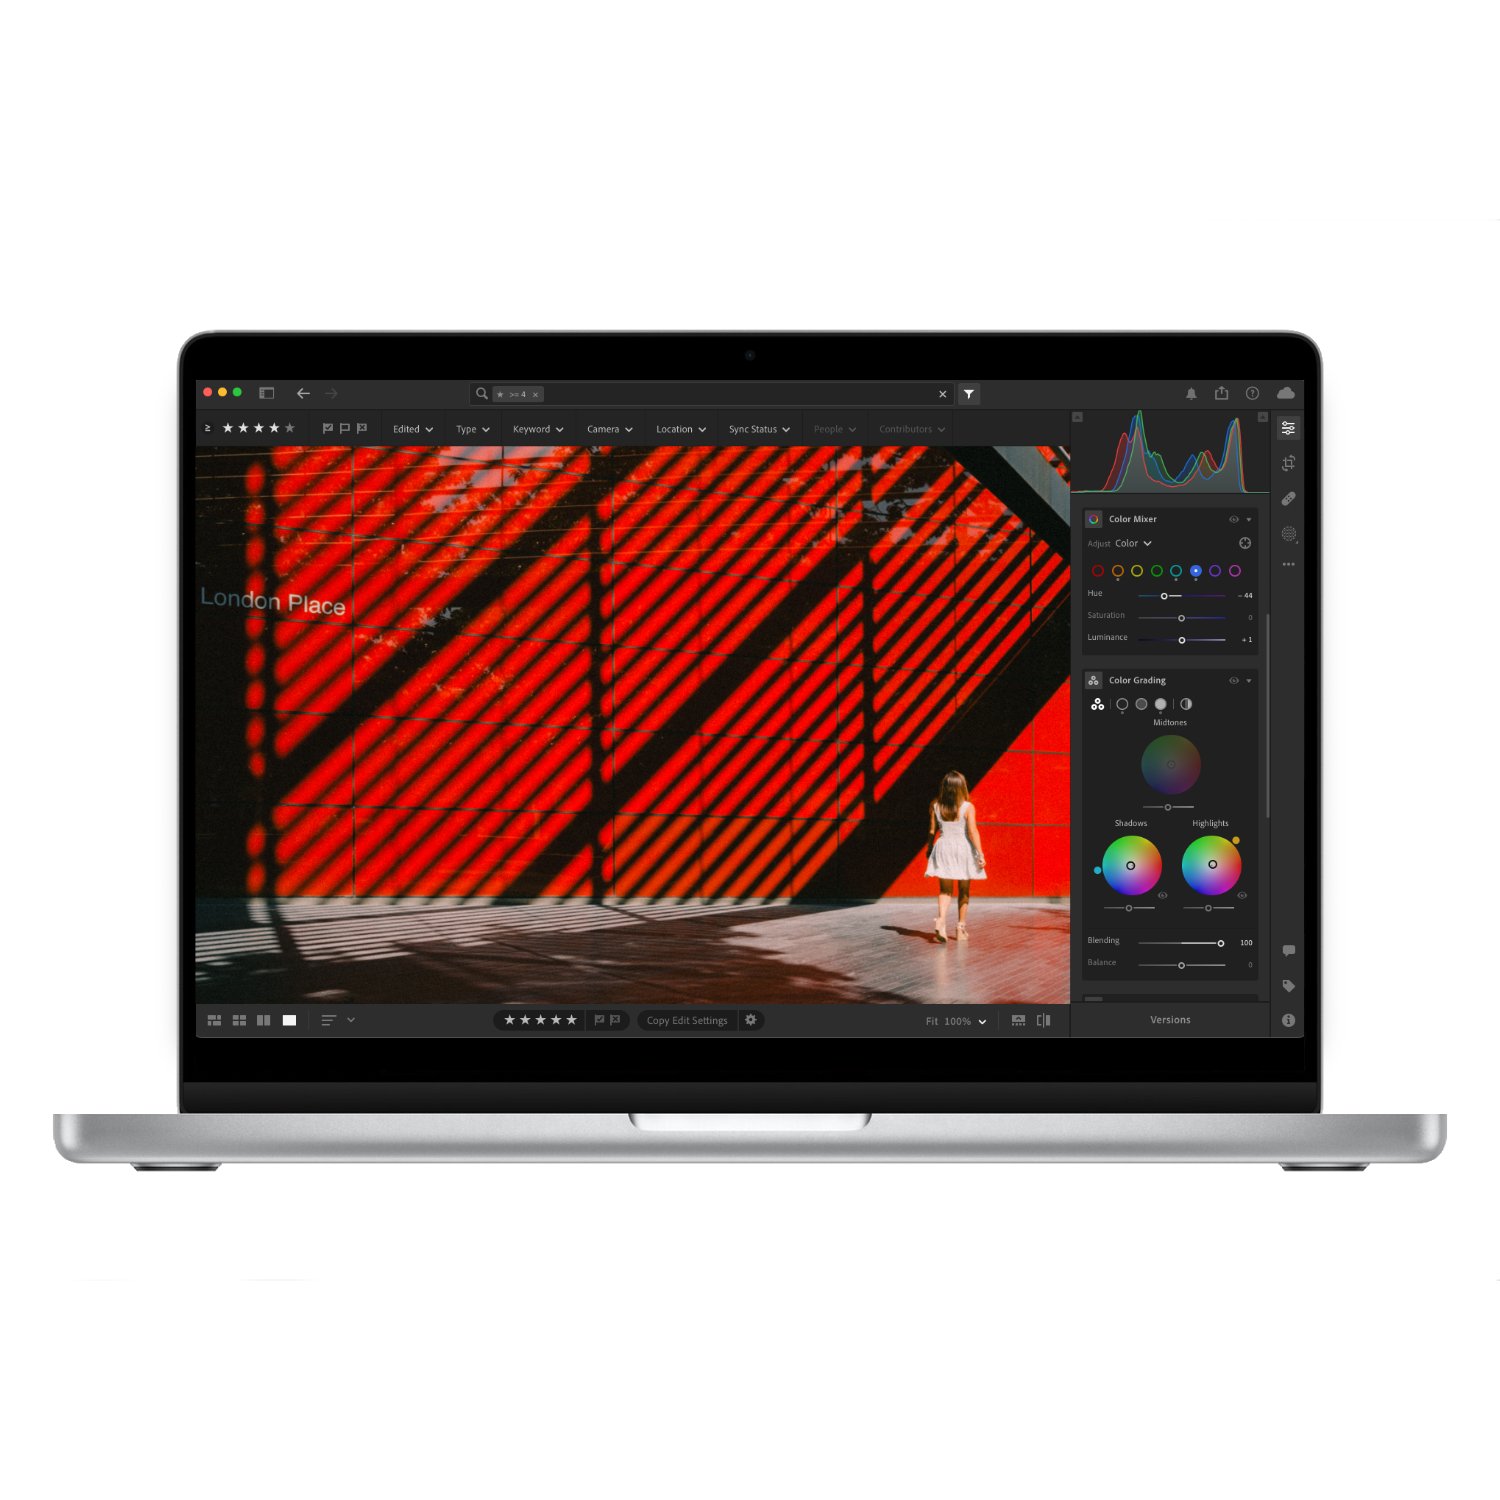
I use a 14 inch MacBook Pro and an 11 inch iPad Pro. The MacBook is my main indoor desktop while the iPad is my laptop and comes with me everywhere. The only time the Mac will come with me is if I am going away for a very long time or need to do extensive work.
Software
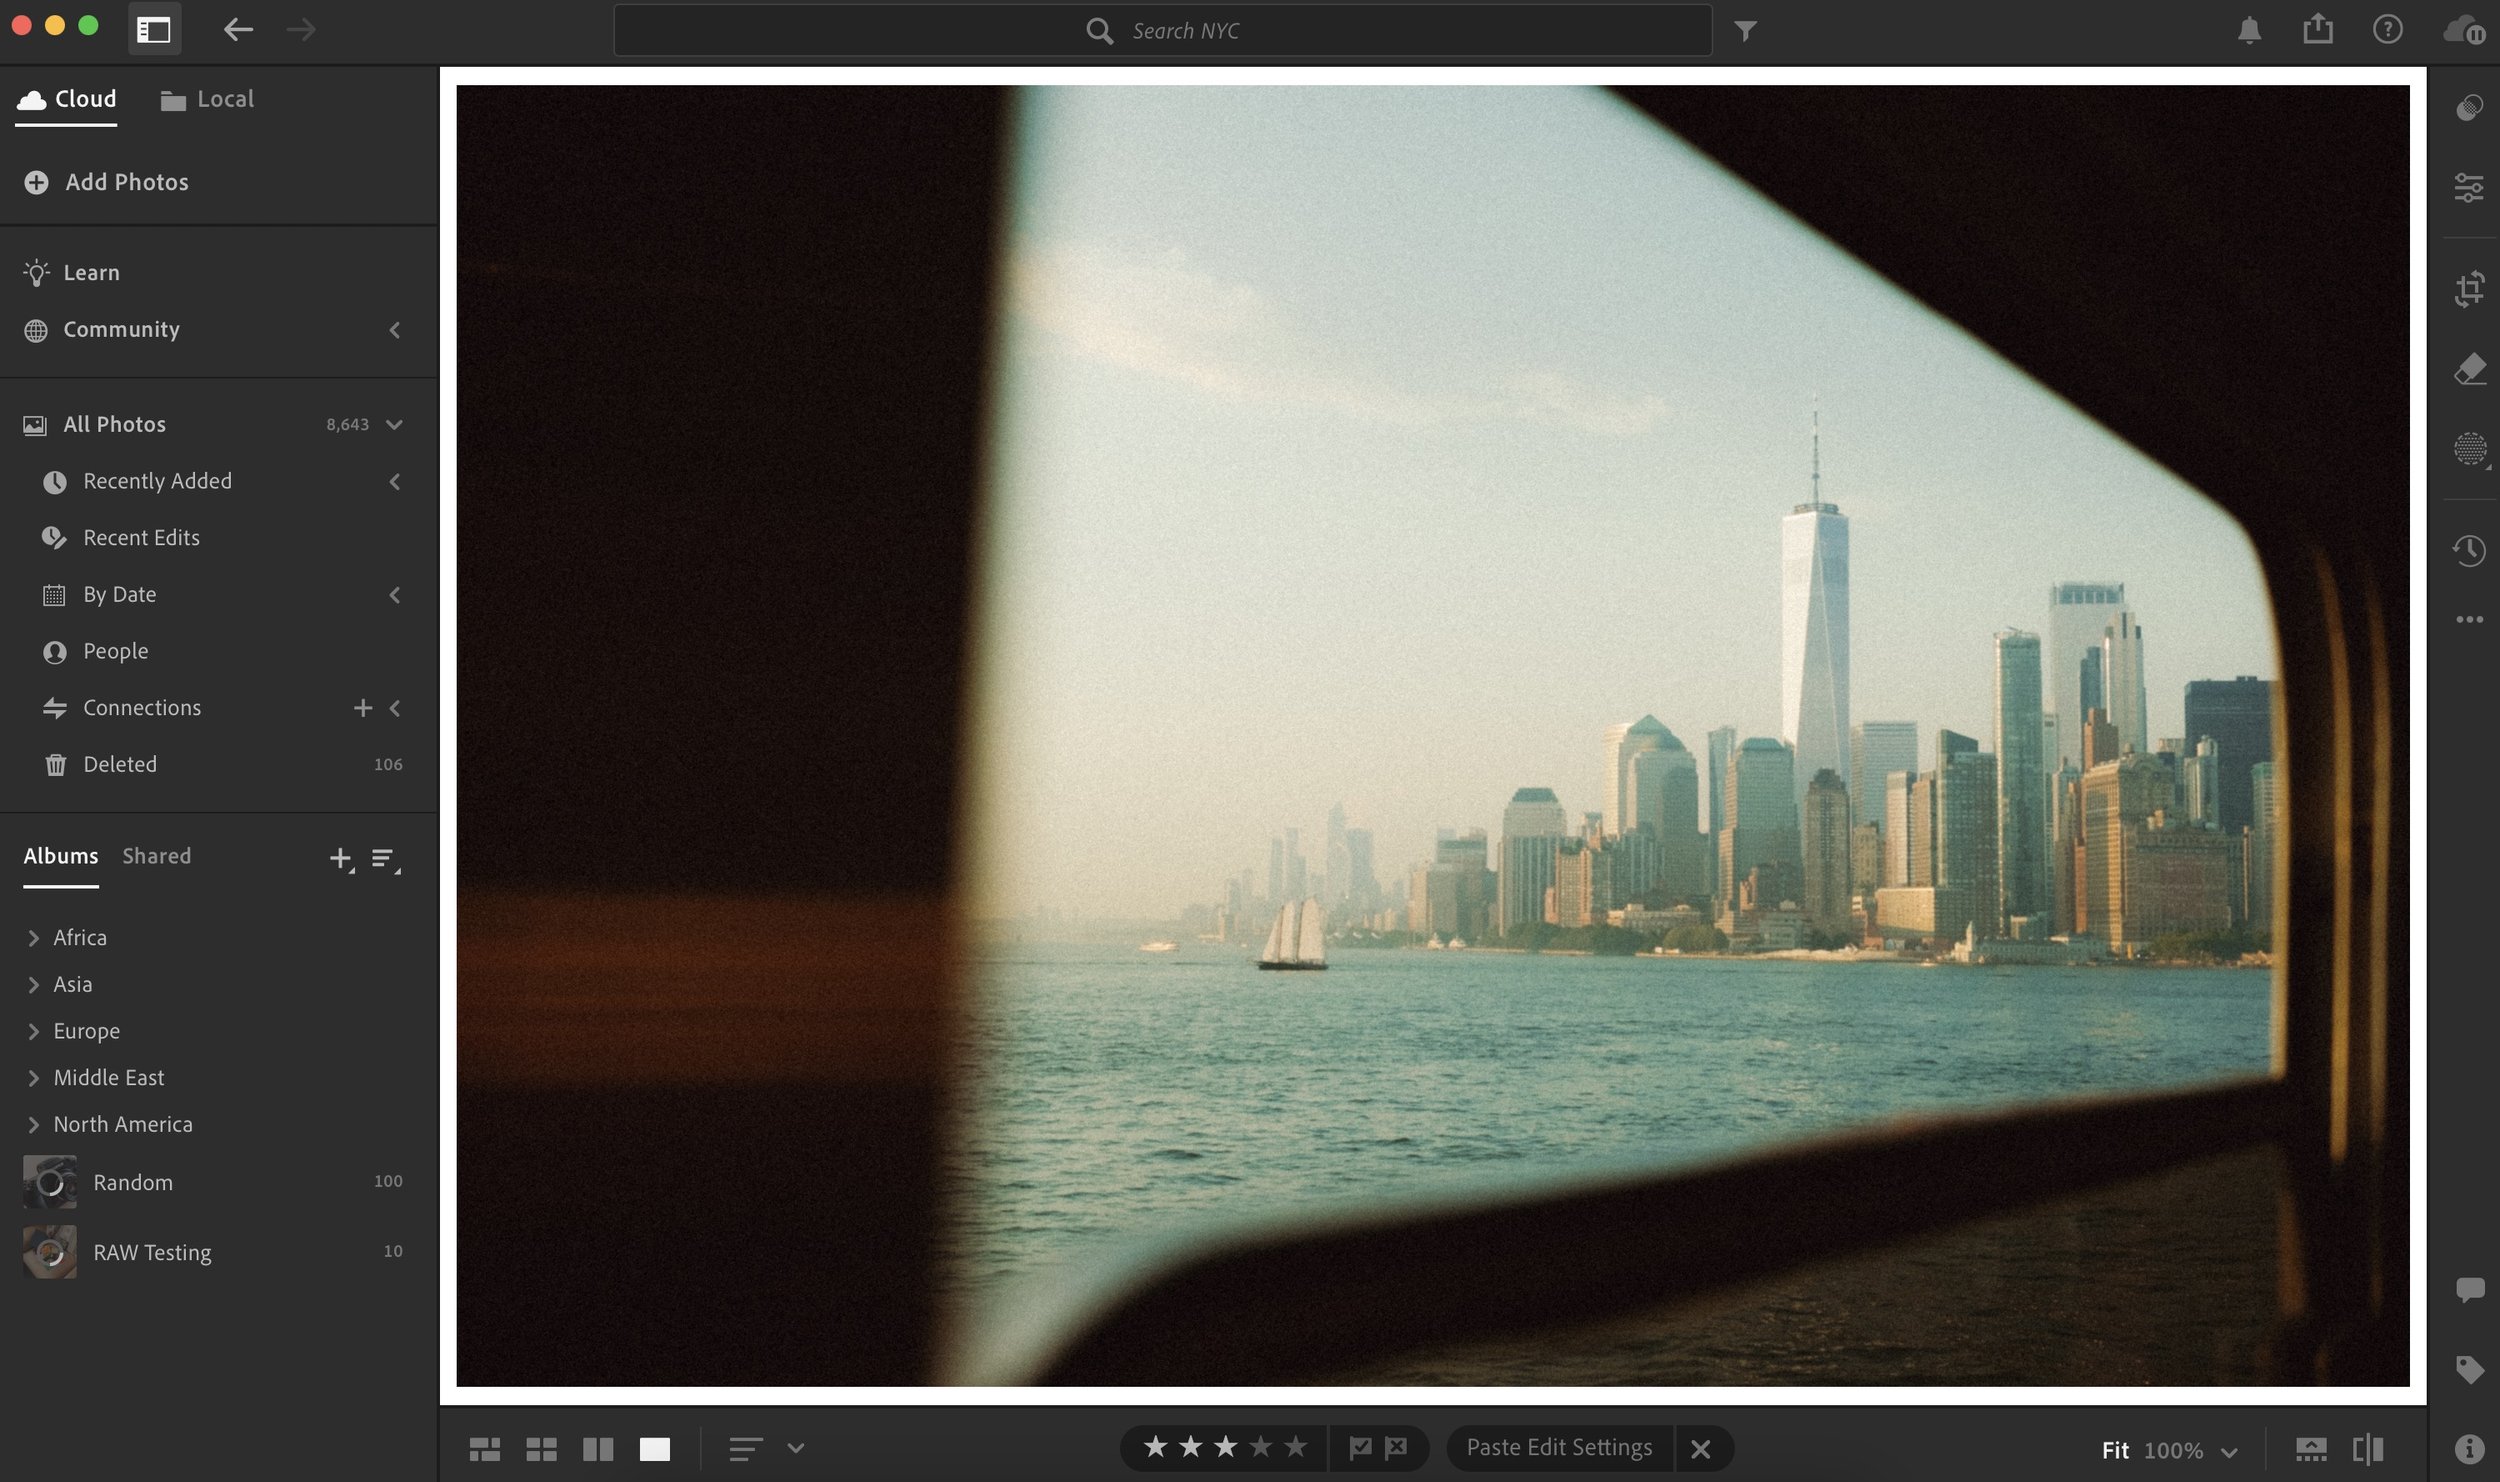
My main raw photo storage, organising and editing software is Lightroom. The non classic one. It comes with 1TB of storage which for the foreseeable future is enough. After that I can just upgrade or think of how to remove some photos offline, perhaps a topic for the future. The Adobe Cloud allows me to access and edit my files on any device and on the web if for some reason I need to use someone else’s computer. Downside is you’re trapped in a monthly subscription and dependancy on Adobe Cloud. This is something I am still not 100% with but I guess it’s the world we live in today.
Second software is Affinity Photo which is what I use for more advanced editing and image manipulation. Just like Lightroom, any active projects are in the cloud so it makes it much easier to go from one device to the other if needed.
Finally I have Apple iCloud Photos where I store all my final JPEG files. I have about 2TB in the cloud so it will last me for years. I mainly use Apple Photos for sharing my work and as my personal photo album. Just like Lightroom, I can access them on any device and even on the web.
When it comes to social media I have an app called Unfold which allows me to make custom layouts for stories and posts.
Library
Everything lives in one library because that’s how Lightroom works now. I wish I could make multiple libraries but as things stand, it’s not an option.
All my photos are then organised into folders, sub-folders and albums. Given that my main photography at this moment is travel based, my library is organised geographically. It is broken down into continents then into countries and finally into cities or major events.
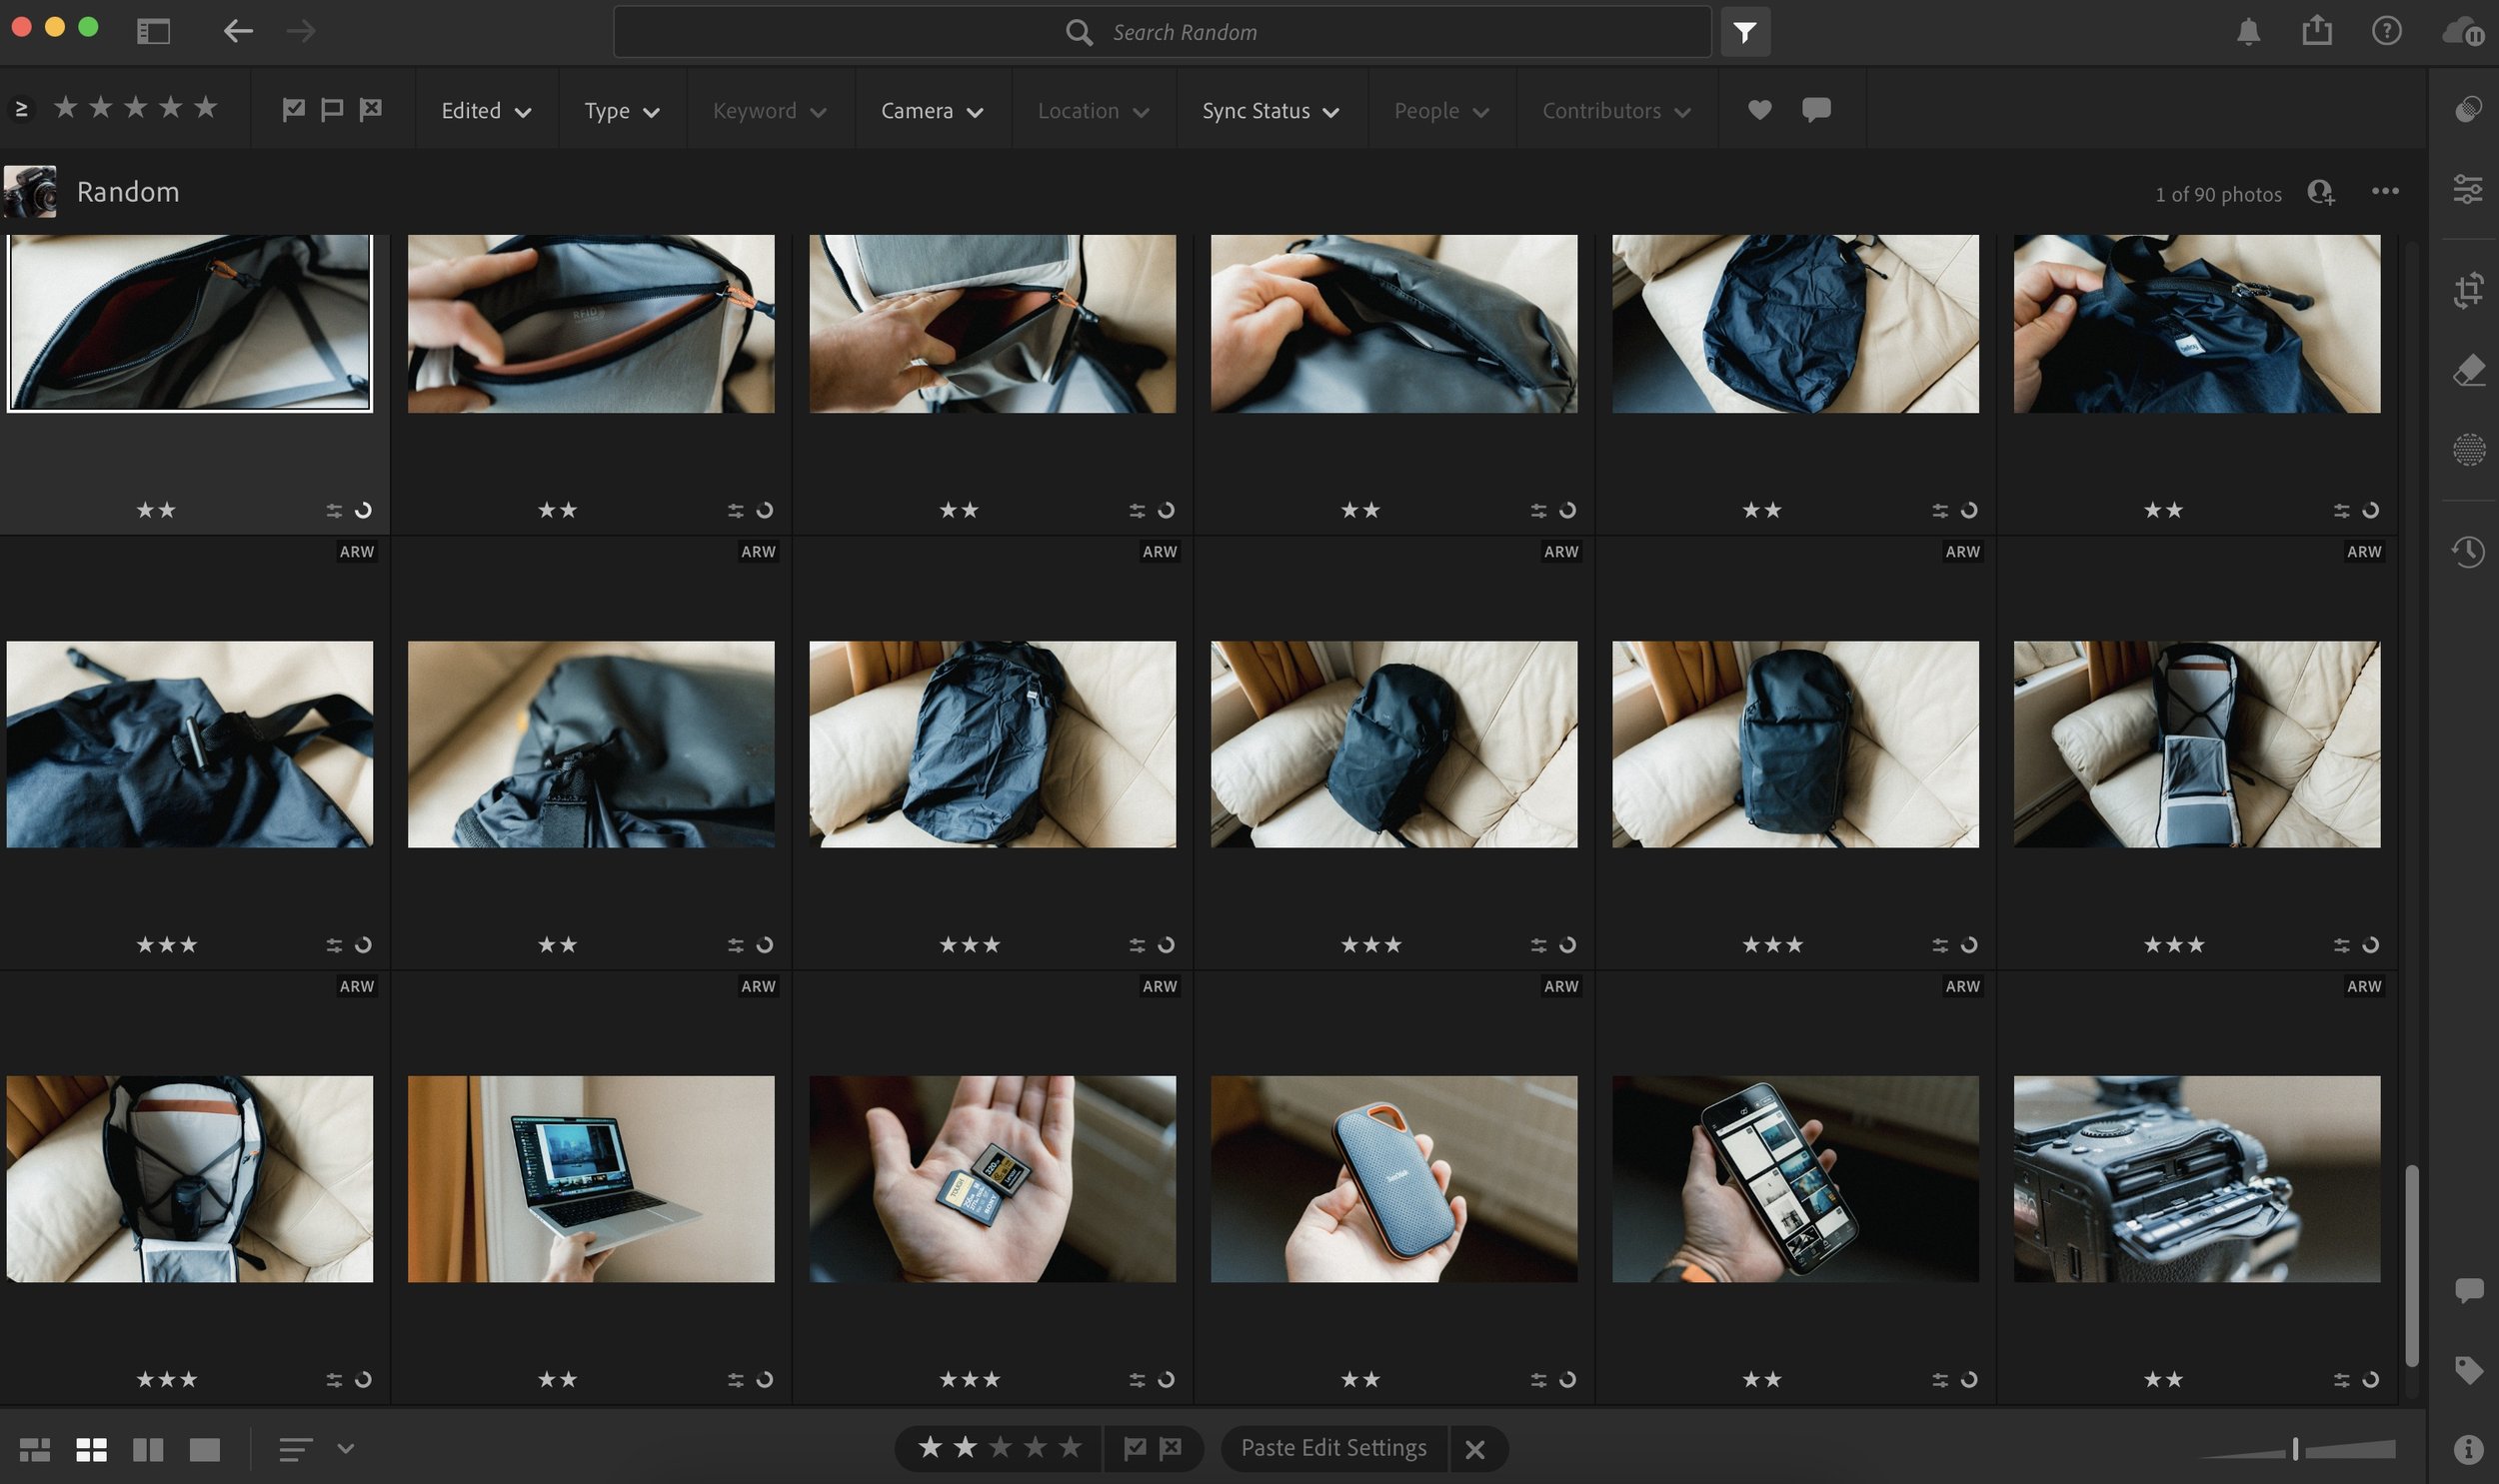
I used to be big into keywording but these days thanks to AI there isn’t much point given you can just search for what you want in Lightroom and Apple Photos. Finally all the photos are rated as follows:
5 stars is what you’d call a banger and I only really get 10 of them a year
4 stars is a very good photo
3 stars is good
2 is acceptable
1 is if the photo sucks but it could be useful for something someday, such as a blurry background for a digital booklet I’m working on.
Step 1 - Capture, Offloading & Culling
I always shoot on two cards for the simple reason of having a safety net. I don’t think I ever had a card go bad on me, but I definitely once formatted a card before getting everything off it. Thankfully I had the second card. If your camera doesn’t have 2 card slots, I suggest using smaller capacities and rotating them. So rather than one 128gb card, just use a bunch of 32gb cards. That way if one corrupts or you accidentally lose it, at least you only lost a portion of your files, not all of them.
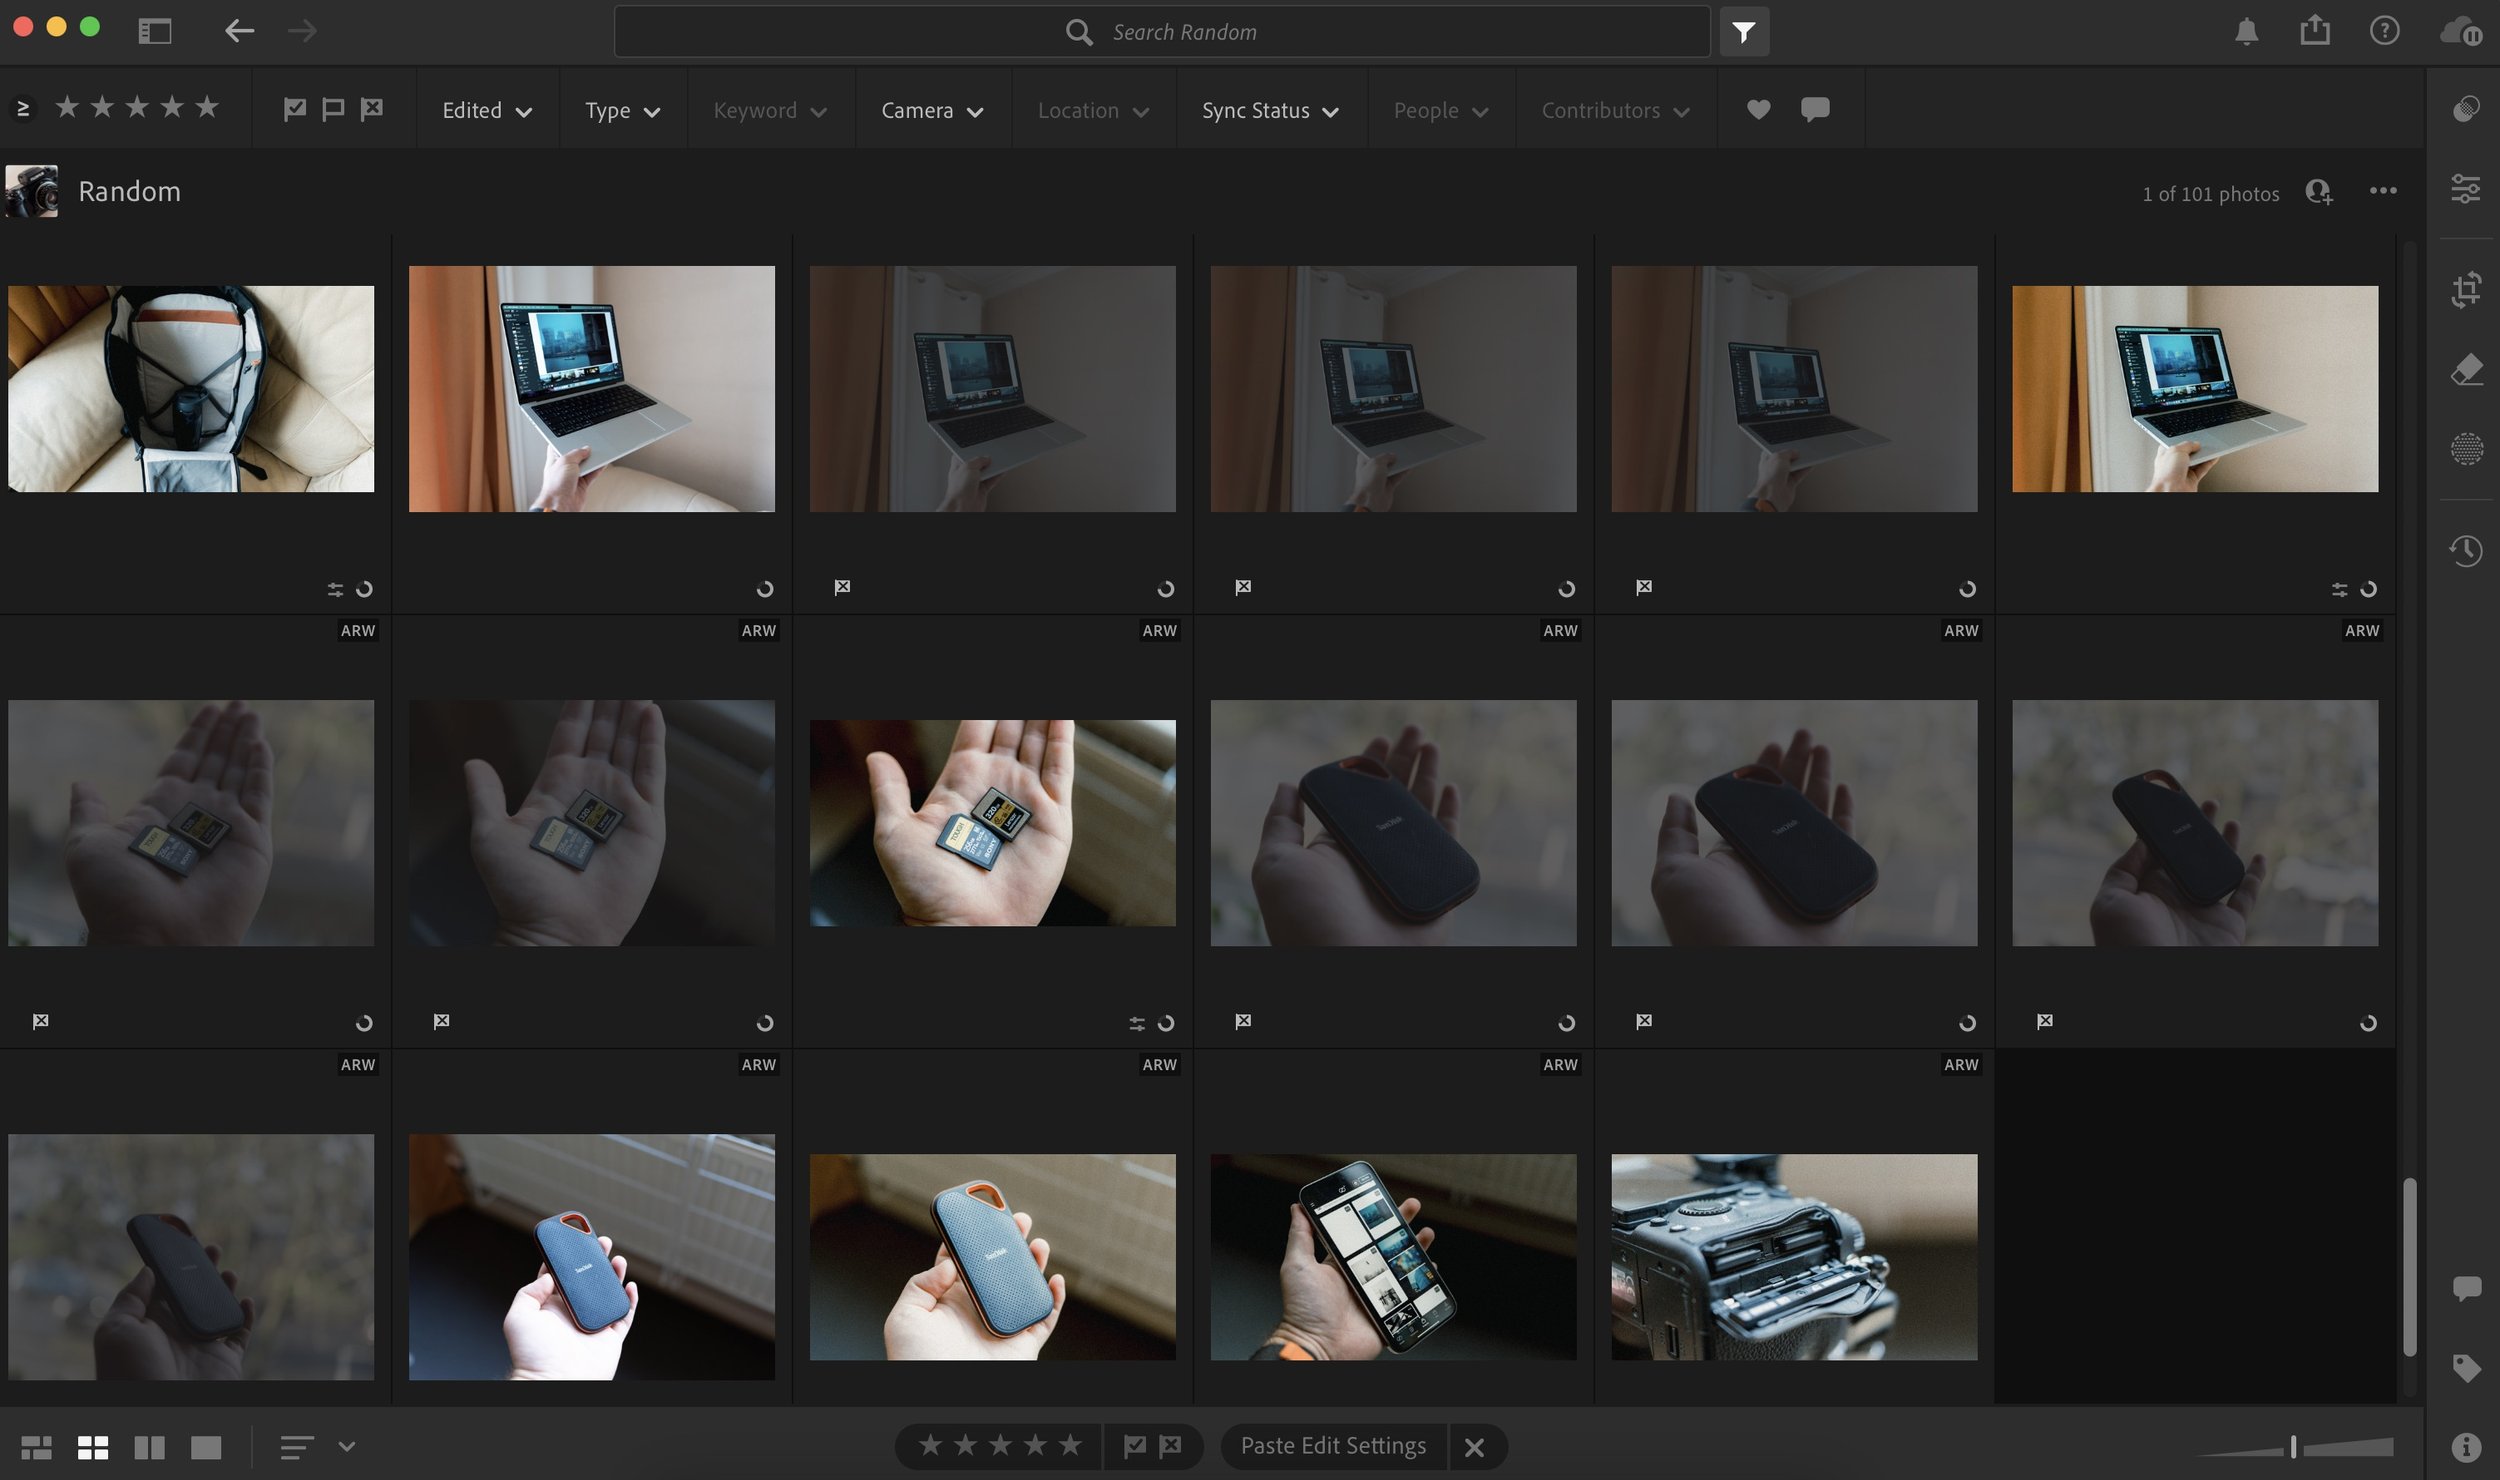
Once I’ve done with a days shoot, it’s time to import the files. Regardless if I am doing it on the iPad or on the Mac, I first pause sync in Lightroom and then import the images under the relevant album. The reason I pause sync is that I want to cull the crap before sending it up to the cloud.
I then begin the process of culling. This will be a whole separate post but I generally keep it very simple. If I feel no connection to the photo, I mark it rejected. If there is a burst, I pick 2 or 3 of my favourite frames and reject the rest. If there are multiple shots of the same thing, I inspect each one and pick the best one. My definition of the best one is either the composition is better in camera, the focus is more accurate or maybe the light was a bit better. Usually if I imported 500 photos, I would keep around 50 of them and delete the rest. Once culled, I delete all the rejected items and at this point switch sync back on.
Step 2 - Editing
When it comes to editing I have three stages I would go through. The first step involves applying one of my presets on each image and seeing in which direction I would like to take it. I will also make any exposure and white balance adjustments to see how the image will roughly look. This process usually eliminates around 25% of the photos.
The second stage involves full editing. This is where I take my time and really try to get the most out of the photo. This can be time consuming however on average it also removes another 25% of images which didn’t make the cut. Then I will leave my laptop for an hour or so or even sometimes a day. When I come back I usually notice some mistakes. Usually these mistakes include over editing or just getting the colours and exposure completely wrong. When looking at your edits with fresh eyes, it is much easier to spot issues. This process will involve re-editing some images and even deleting another 10% or so.
Finally one or two images might need something a little extra which can’t be done in Lightroom such as the Orton Effect or more advanced healing. This is where I import the image as a full resolution TIFF into Affinity Photo, do the needed edits and export back into Lightroom as a TIFF. Once this is done, I will go through each image and rate it from 1 to 5 stars and assign keywords. Final step is to empty the deleted folder to reclaim space on the drive.
Exporting & Sharing
I will typically export twice. The first export will be a full size max quality JPEG. This is the file that will be shared to social media and imported into my Apple Photos library.
The second export will be a lower resolution file, that I will use for my website, blog and newsletter.
Step 4 - Backing Up
The last step in this workflow is a physical local backup. However this isn’t just a normal backup, it is also designed to act as my offline library that can be accessed on any computer. The whole thing is stored on my SSD so it is fast and easy to access. The filing structure is identical to my Lightroom catalogue. However when you get into each folder, you would find the images are split into a further 3 folders:
One is RAW and has all the original RAW files inside.
One is JPEG and has all the final edited full size JPEG files.
One is DNG which is an Adobe RAW format but has all the edits inside.
So between all these files, I am literally covered for everything. Once all this is done, the whole process is finished and I can move on to taking more photos.


