7 Years Later: What Actually Improves Your Photos
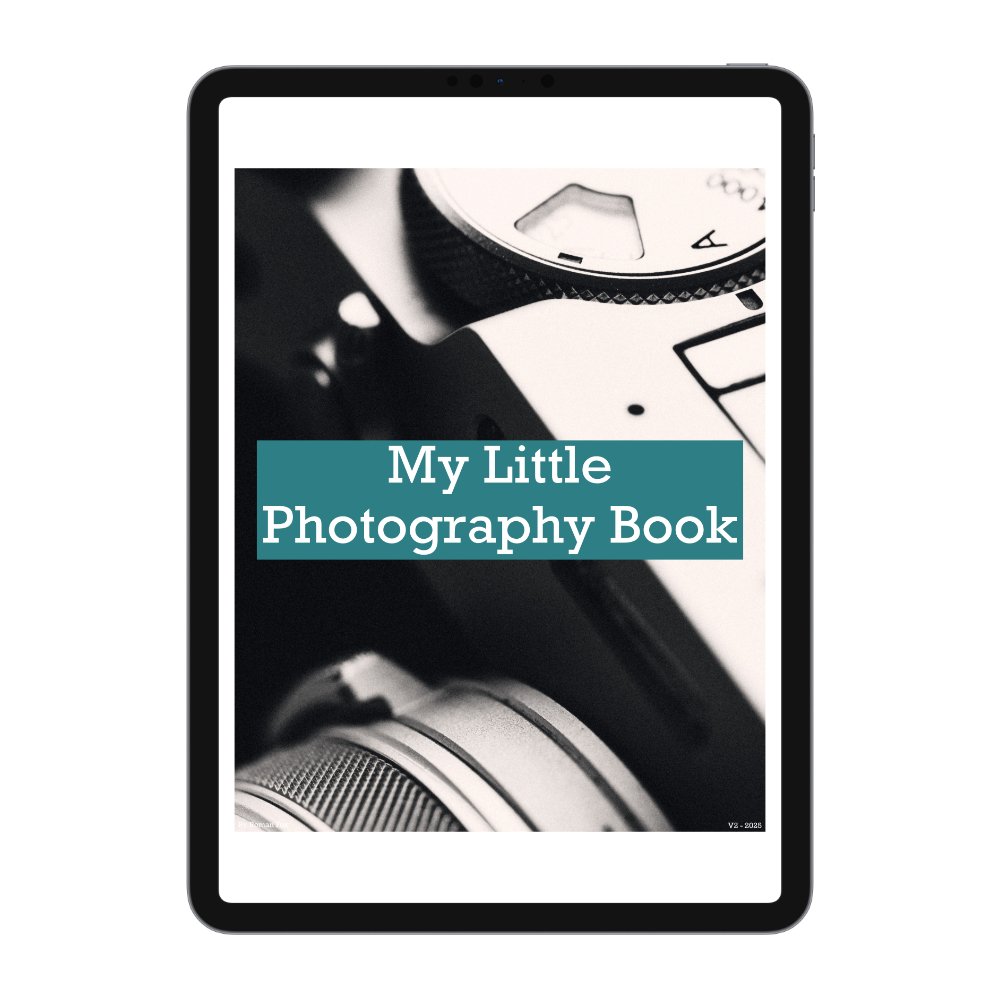
In this blog, I will share with you the key points that made the biggest impact on my photography over the last 7 years. Think of these as a bunch of “aha” moments that fundamentally changed how I shoot. All this advice is practical and actionable, meaning you can go out and experiment right now. If you put some of these into practice, I can guarantee you will get better photos. This blog isn’t in order of importance; all points are important. If you find this helpful and want to learn a lot more, please check out my photography book below.
Others Can’t See What You See
When you take a photo, you usually have a clear subject in mind that you can spot right away when viewing the final image. However, just because you can see the subject, it doesn’t mean someone else can. This is because you already know where to look, but someone else doesn’t. Make sure that your subject is clear and use all available tools such as light, composition, editing, etc., to ensure that your subject is easy to find right away. A confused viewer will lose interest and move on.

I clearly remember loving the light and seeing someone standing right in the middle of it. To my eyes, it looked great; however, in the final result, the subject is lost.

In this scene, I remember the kid kicking his football against the wall and thought it would be for a great photo. However, we can both agree that he’s totally blended into the background, and unless you know there’s a subject there, you might not even see him.

In this photo, I wanted to get a shot of the sleeping dog, the red van, and the scene as a whole. When I was standing there, each element was clearly visible to me. However, when looking at the final result, I’m left confused about what the actual subject is. Of course, I know it’s the dog, and I can see it clearly, but that’s because I took the shot. Most people will get bored and move on.
Below is a practical example of how even a small shift in perspective can make a big difference. The subject is the man sitting between two palm trees. At eye level, he’s blended into the background noise and is hard to spot. By simply moving the camera above my head, I silhouette him against the bright sand, thus making him much easier to spot.


Now look at some examples where the subject is clear, and see how much easier it is to spot.


3 Shots
While we are all aiming for that one 5-star Instagram banger, the reality is that those photos are few and far between. A more reliable and consistent method of getting good shots is to think in photo sets. When you get to a new location, think about how you can showcase it from a wide, medium, and tight perspective. The wide shot will establish the subject and scene. It will tell viewers where you are. The medium photo will showcase the subject or point of interest. The tight photo will focus on small details that on their own might not make much of an impact, but when put in the set, they elevate it as a whole.

For this example, we will use St. Paul’s Cathedral in London. This is an establishing shot. It gives you a clear overview of where you are.

This is a subject shot. It focuses on the point of interest.

This is the detail shot. It provides a unique view on the subject.
Layering
Always look for ways to add layers to your image that include foreground, mid-ground, and background. Not every image needs to have all three to work; however, this technique can really elevate your photos. My personal favourite is to add something in the foreground that is out of focus. This gives a sense of depth, helps frame the scene, and can put the viewer in your shoes. Below are some examples.


Shoot Into The Light
This is probably my most repeated piece of advice, and for good reason. Lighting is one of the most important aspects of photography. Light can make or break your image, so knowing how to work with it is a must. My personal preference is to shoot into the light source. It doesn’t have to be directly facing you, as I also like to shoot 90 degrees into the light (the light source is coming from the side). This method creates depth, contrast, and tonality by allowing the light to wrap around your subject, instead of hitting it dead on. See some examples below.


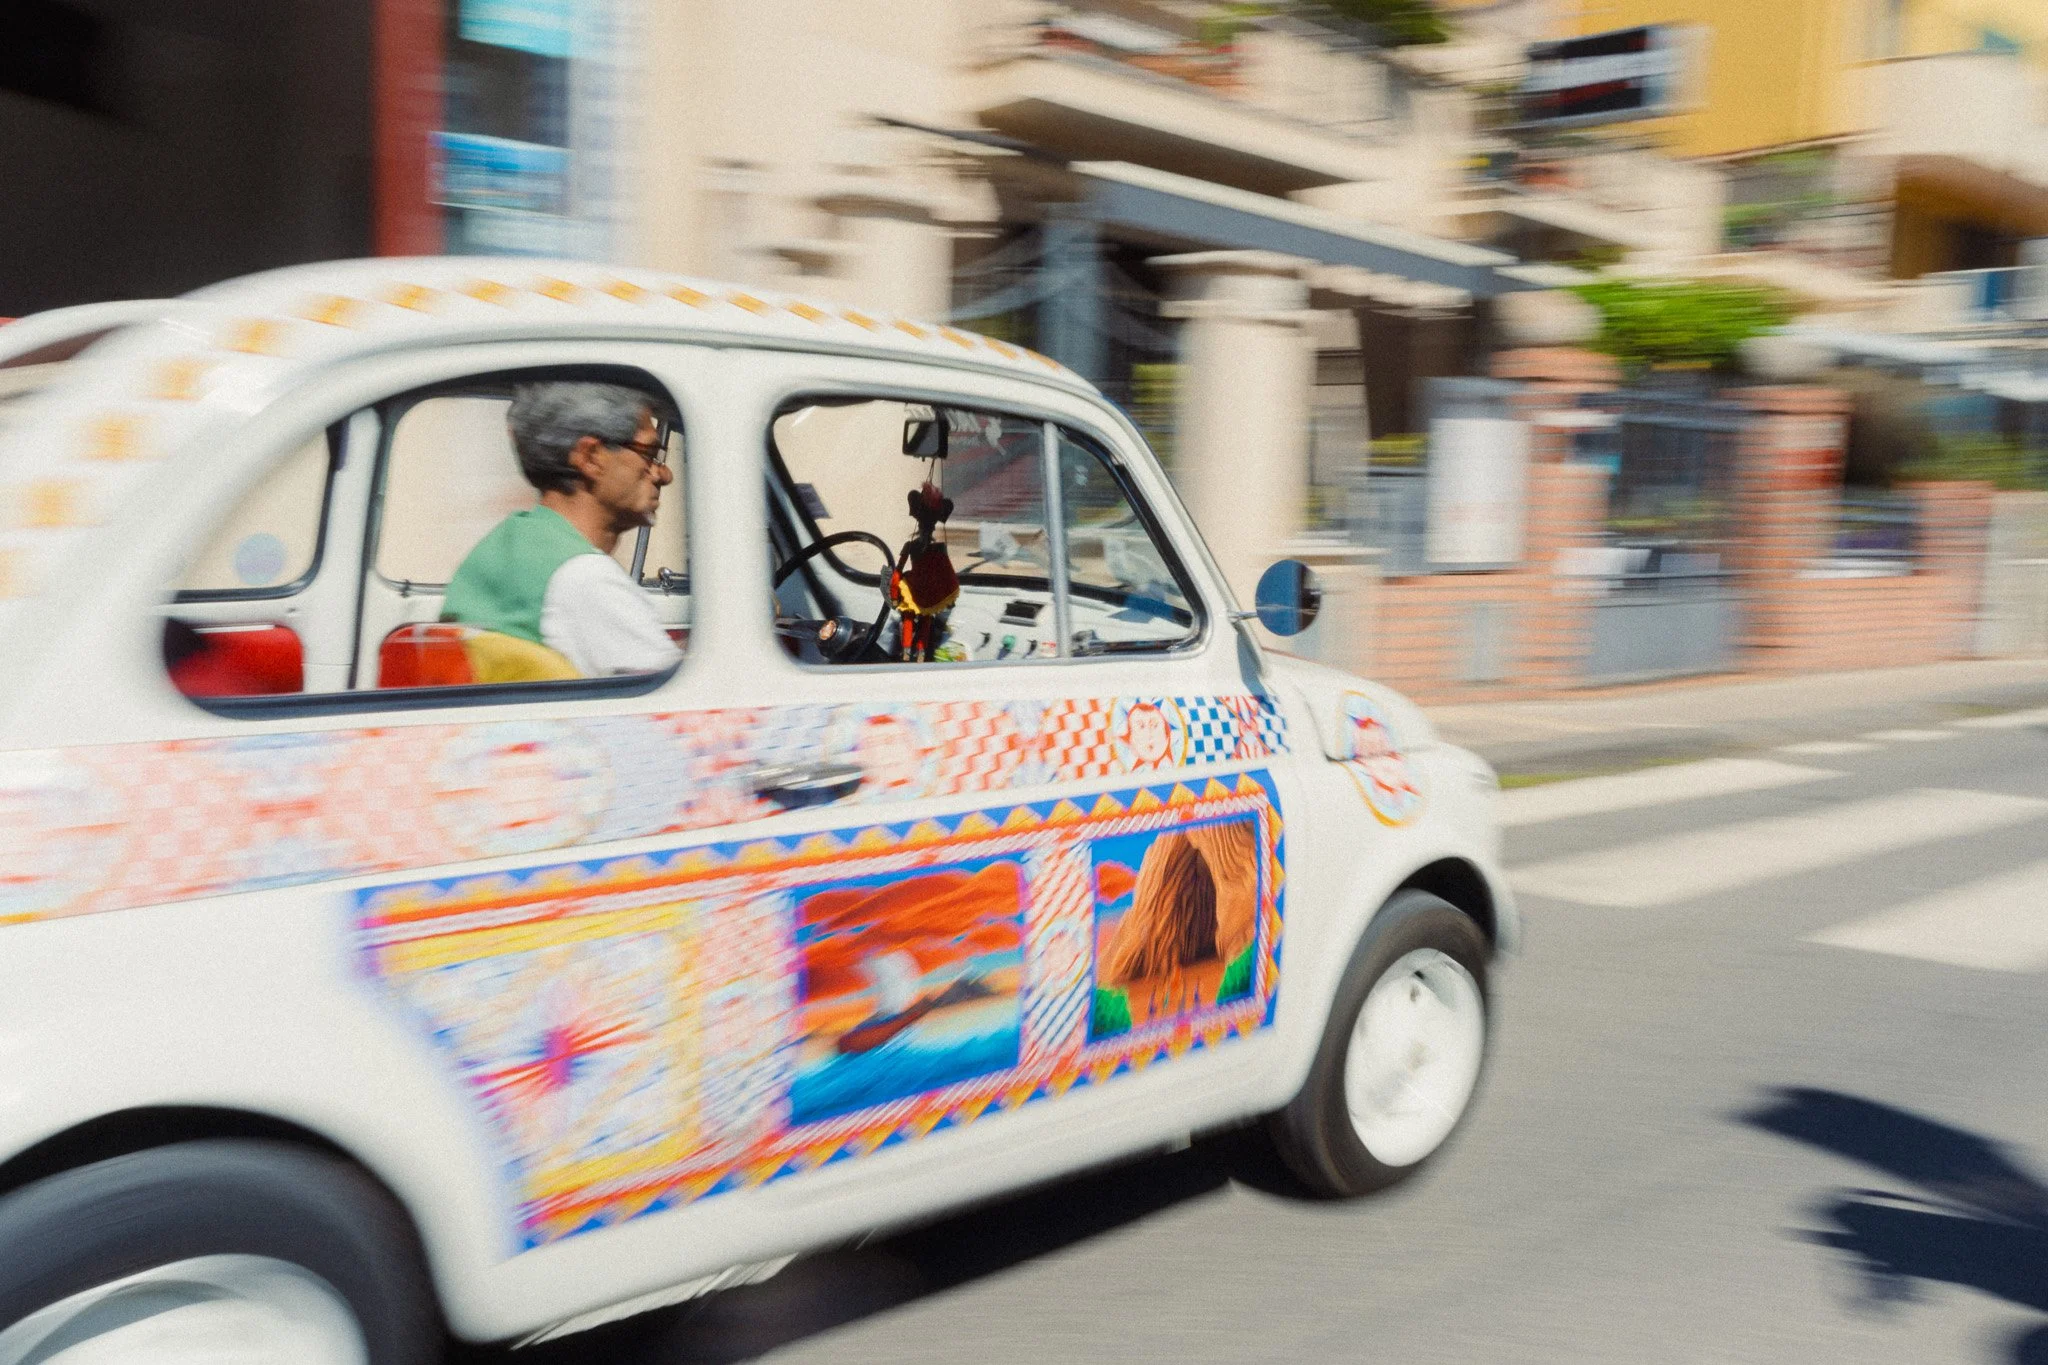
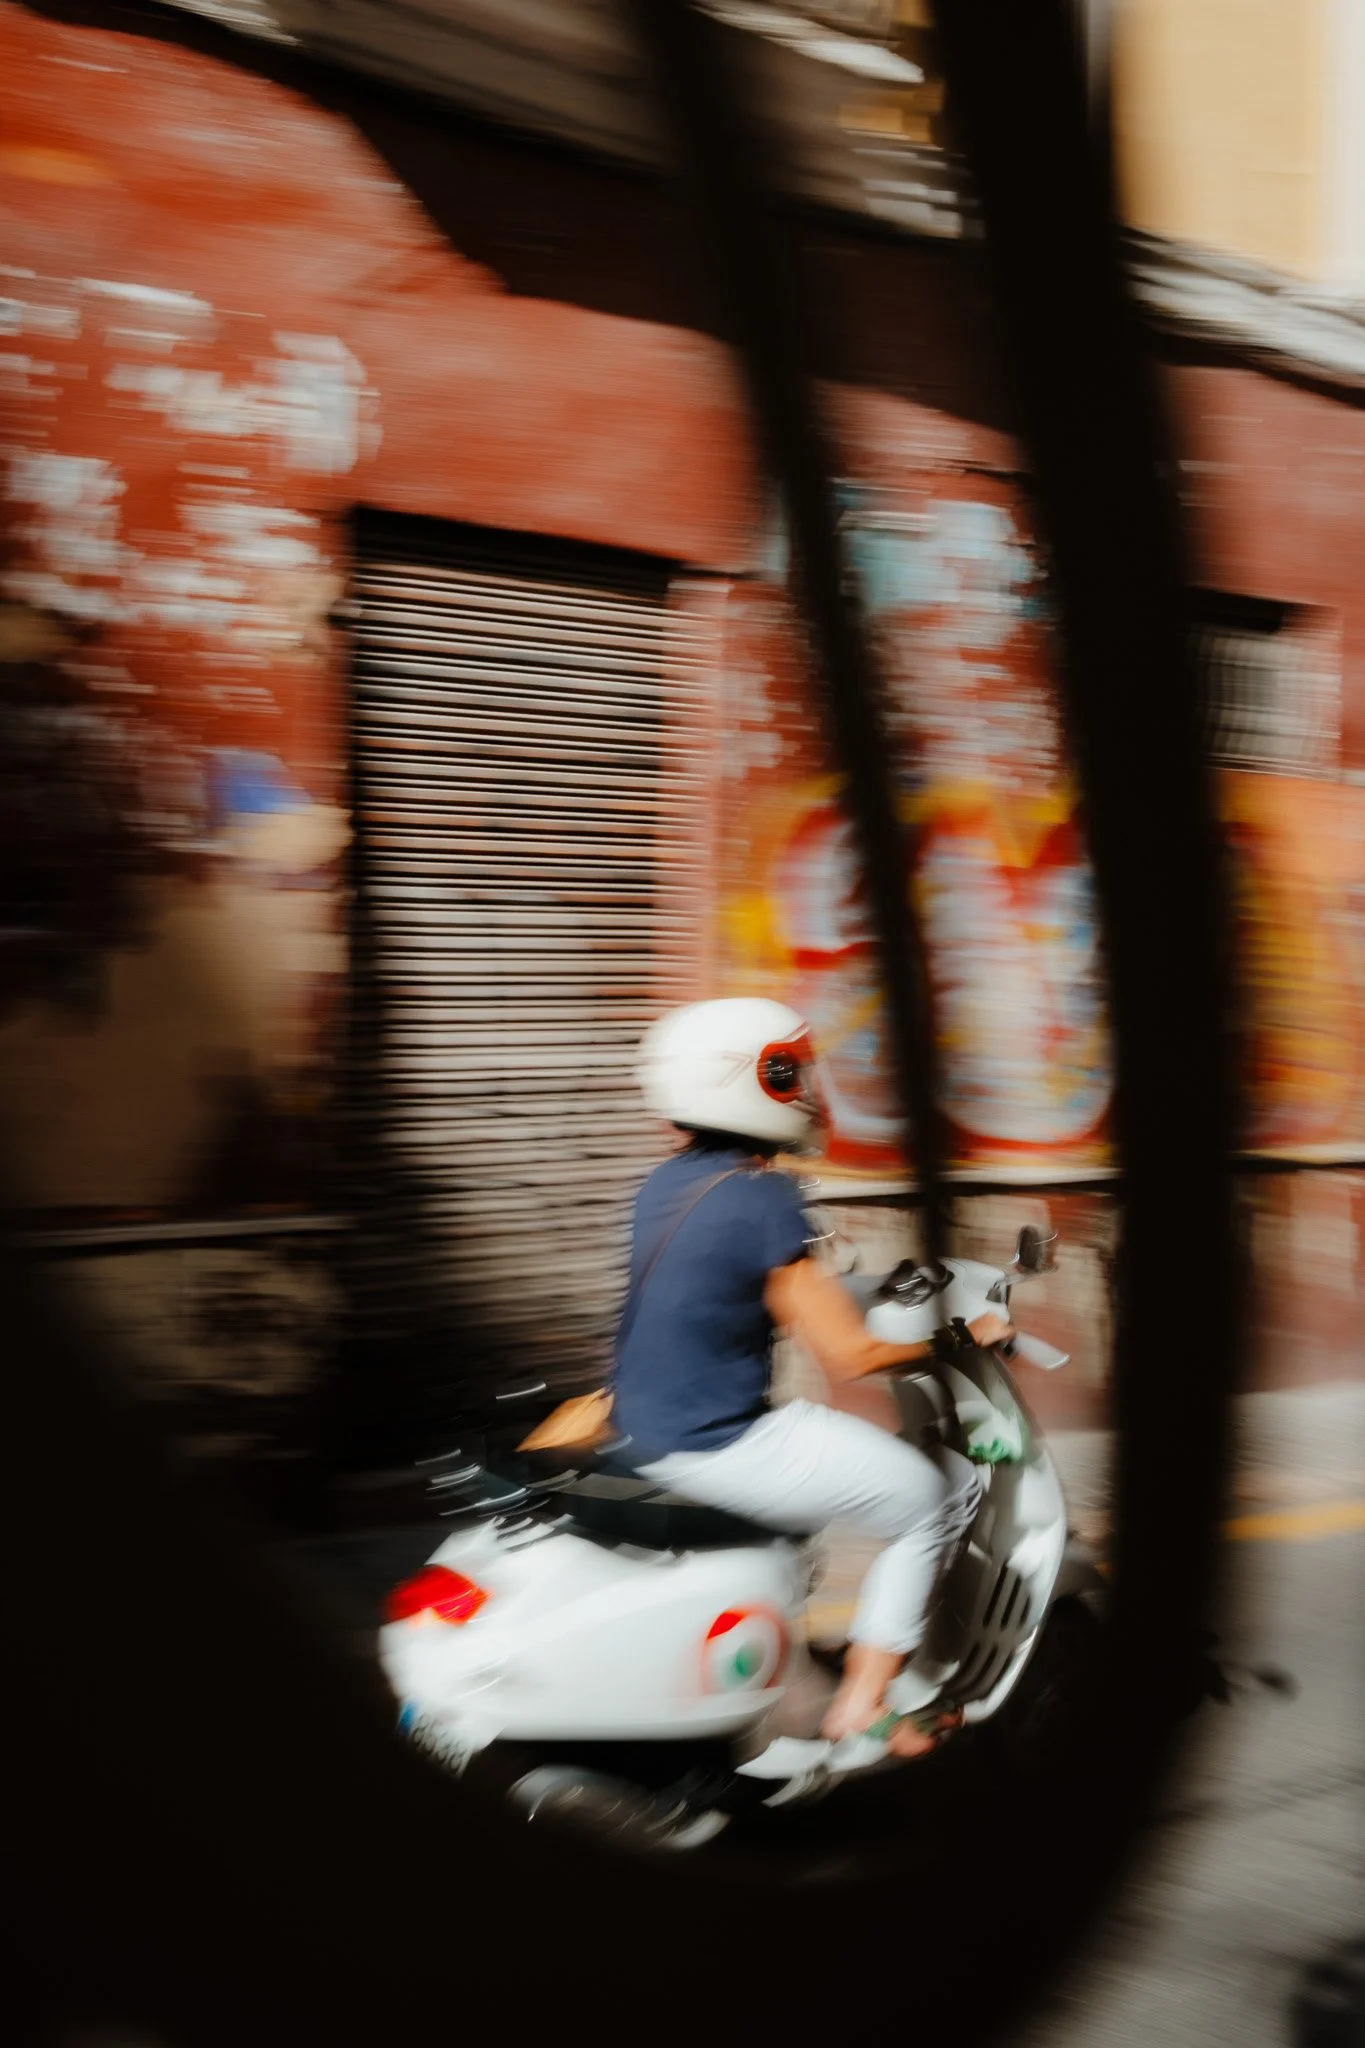
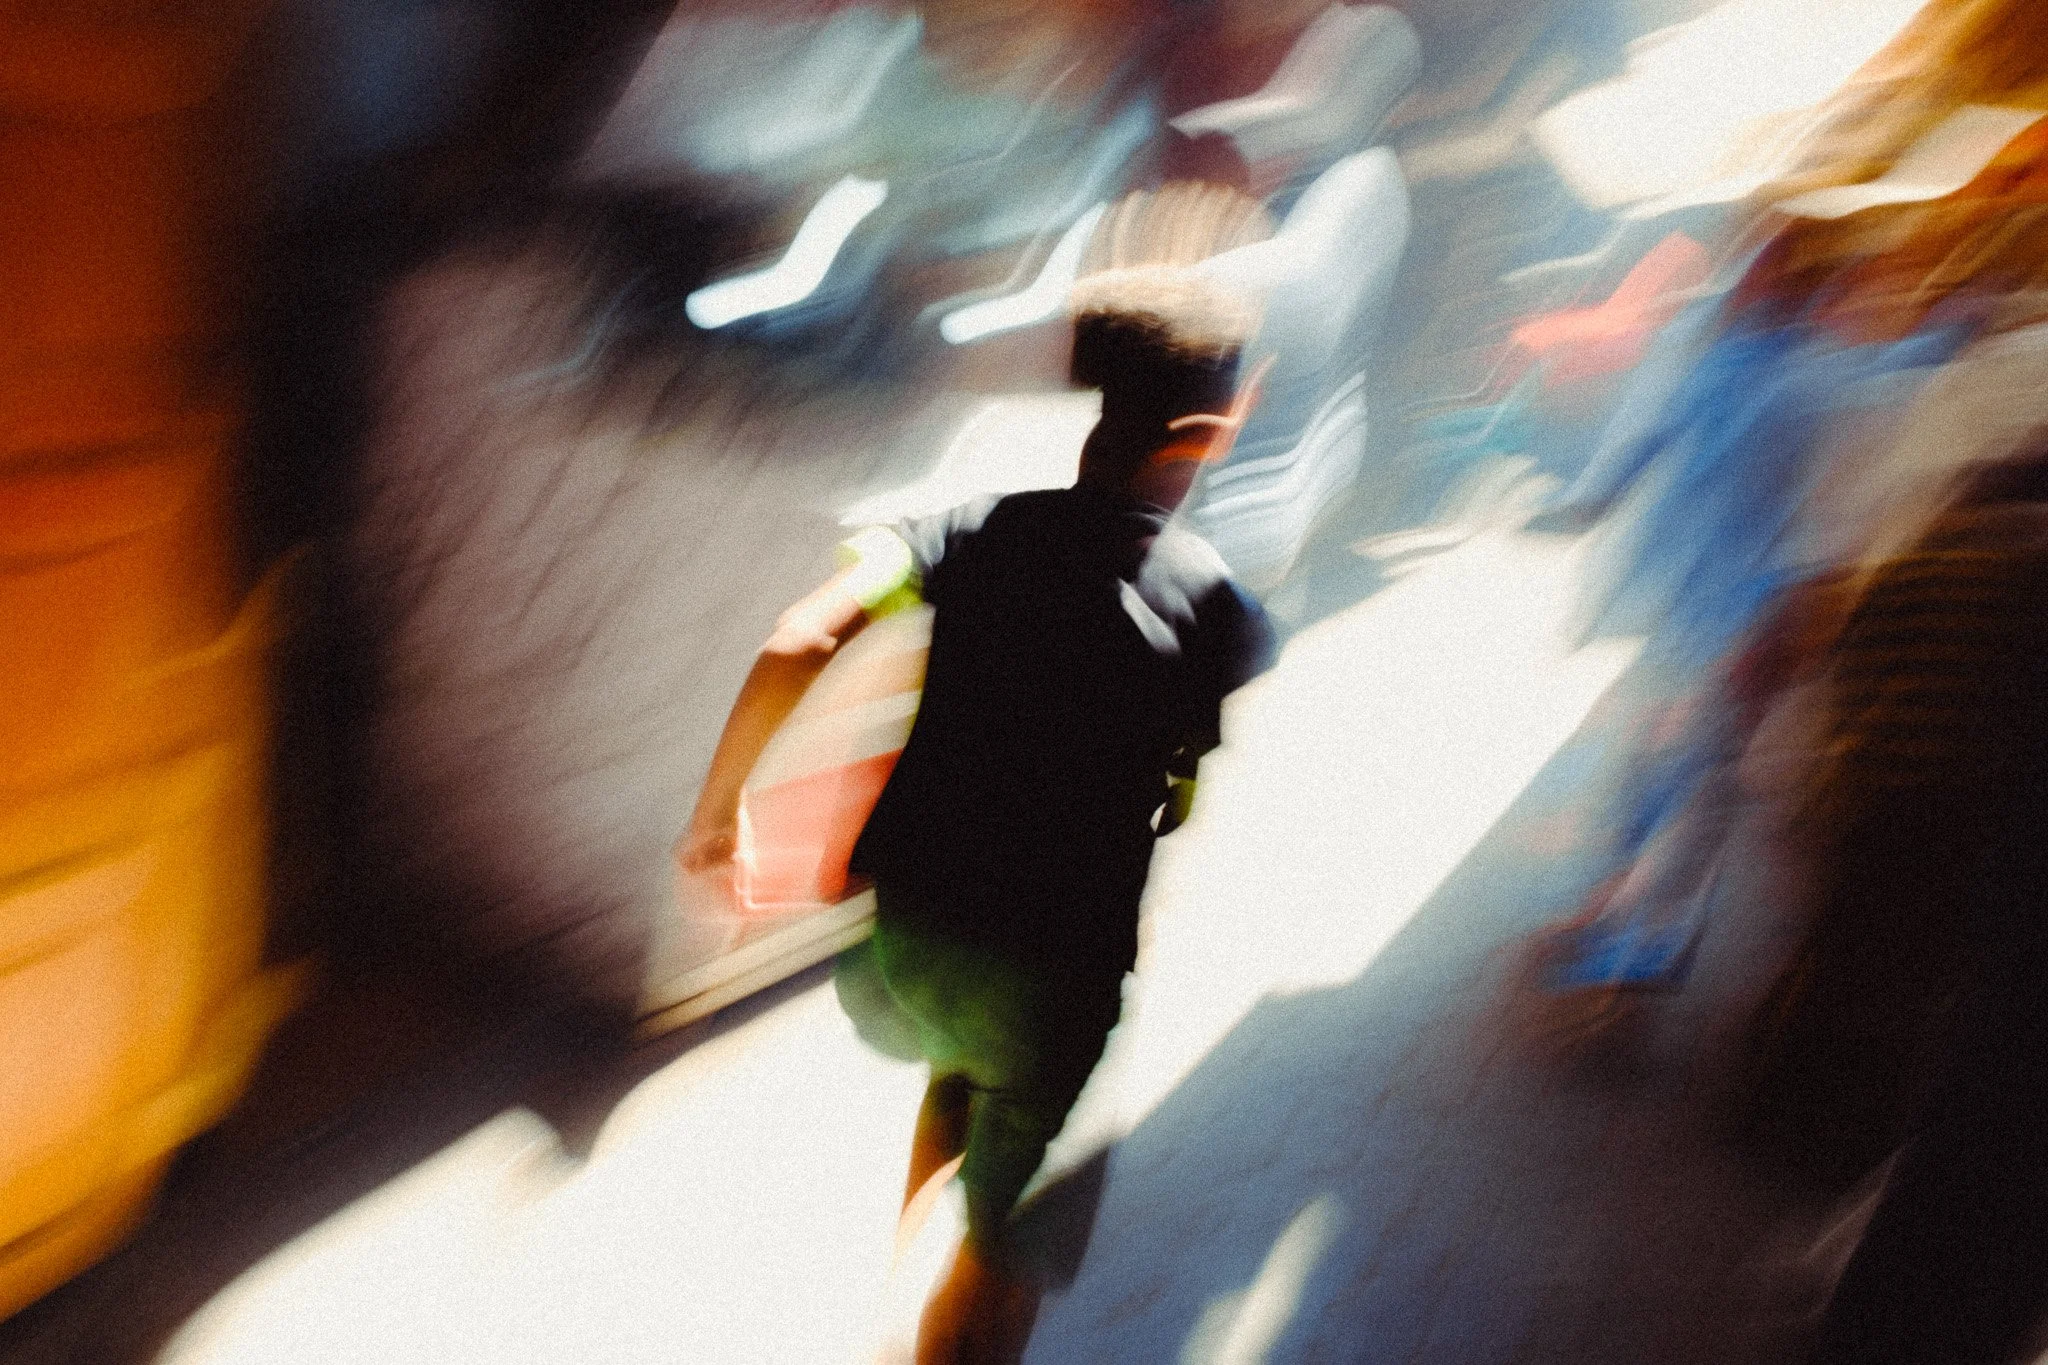
Motion
This isn’t something you’d want to use in every single photo, unless that’s your thing, but I suggest adding some motion blur to your photos where showcasing motion can elevate your shot. I typically start at 1/30th shutter speed and adjust as needed to get the desired look. I can’t guide you on exactly what will work with motion blur and what won’t. That’s very subjective and depends on the situation. Below are a bunch of photos that demonstrate this.
Diffusion & Reflection
Looking for reflections is a great way to add a unique angle to your photos. Whether it’s an upside-down puddle, a window, mirror, or even something more unique like the curvature of a piece of glass. Like motion, this isn’t something I would use in every shot, but from time to time, it can add to the overall body of work. The same can be said for diffusion. Looking for ways to diffuse light can create some unique results. Diffusion can involve smoke, fog, steamy windows, or anything that can add a unique layer to your shot. Below are some examples of reflections and diffusion.


Three Colours
Colour can be a very subjective topic because everyone has their own preferences of what “good colour” is. Instead of being subjective, I will share my main rule for colour, which is to not have more than 3 major colours in one photo. Any more, and it can become a bit chaotic and distracting. Of course, there are times when I don’t adhere to this due to choice or because the scene has more than three colours. In that case, I make a decision on whether it works, or if I need to play with the HSL sliders in editing in order to bring similar colours closer together.


Shoot Into The Corner
Anytime you’re shooting random objects, always try to shoot at an angle instead of dead on. This is especially applicable to items that are three-dimensional and have straight lines, such as a room, a phone box, a building, etc. By shooting into the corner, you’re creating depth, which in turn can make your photo more interesting. See examples below.


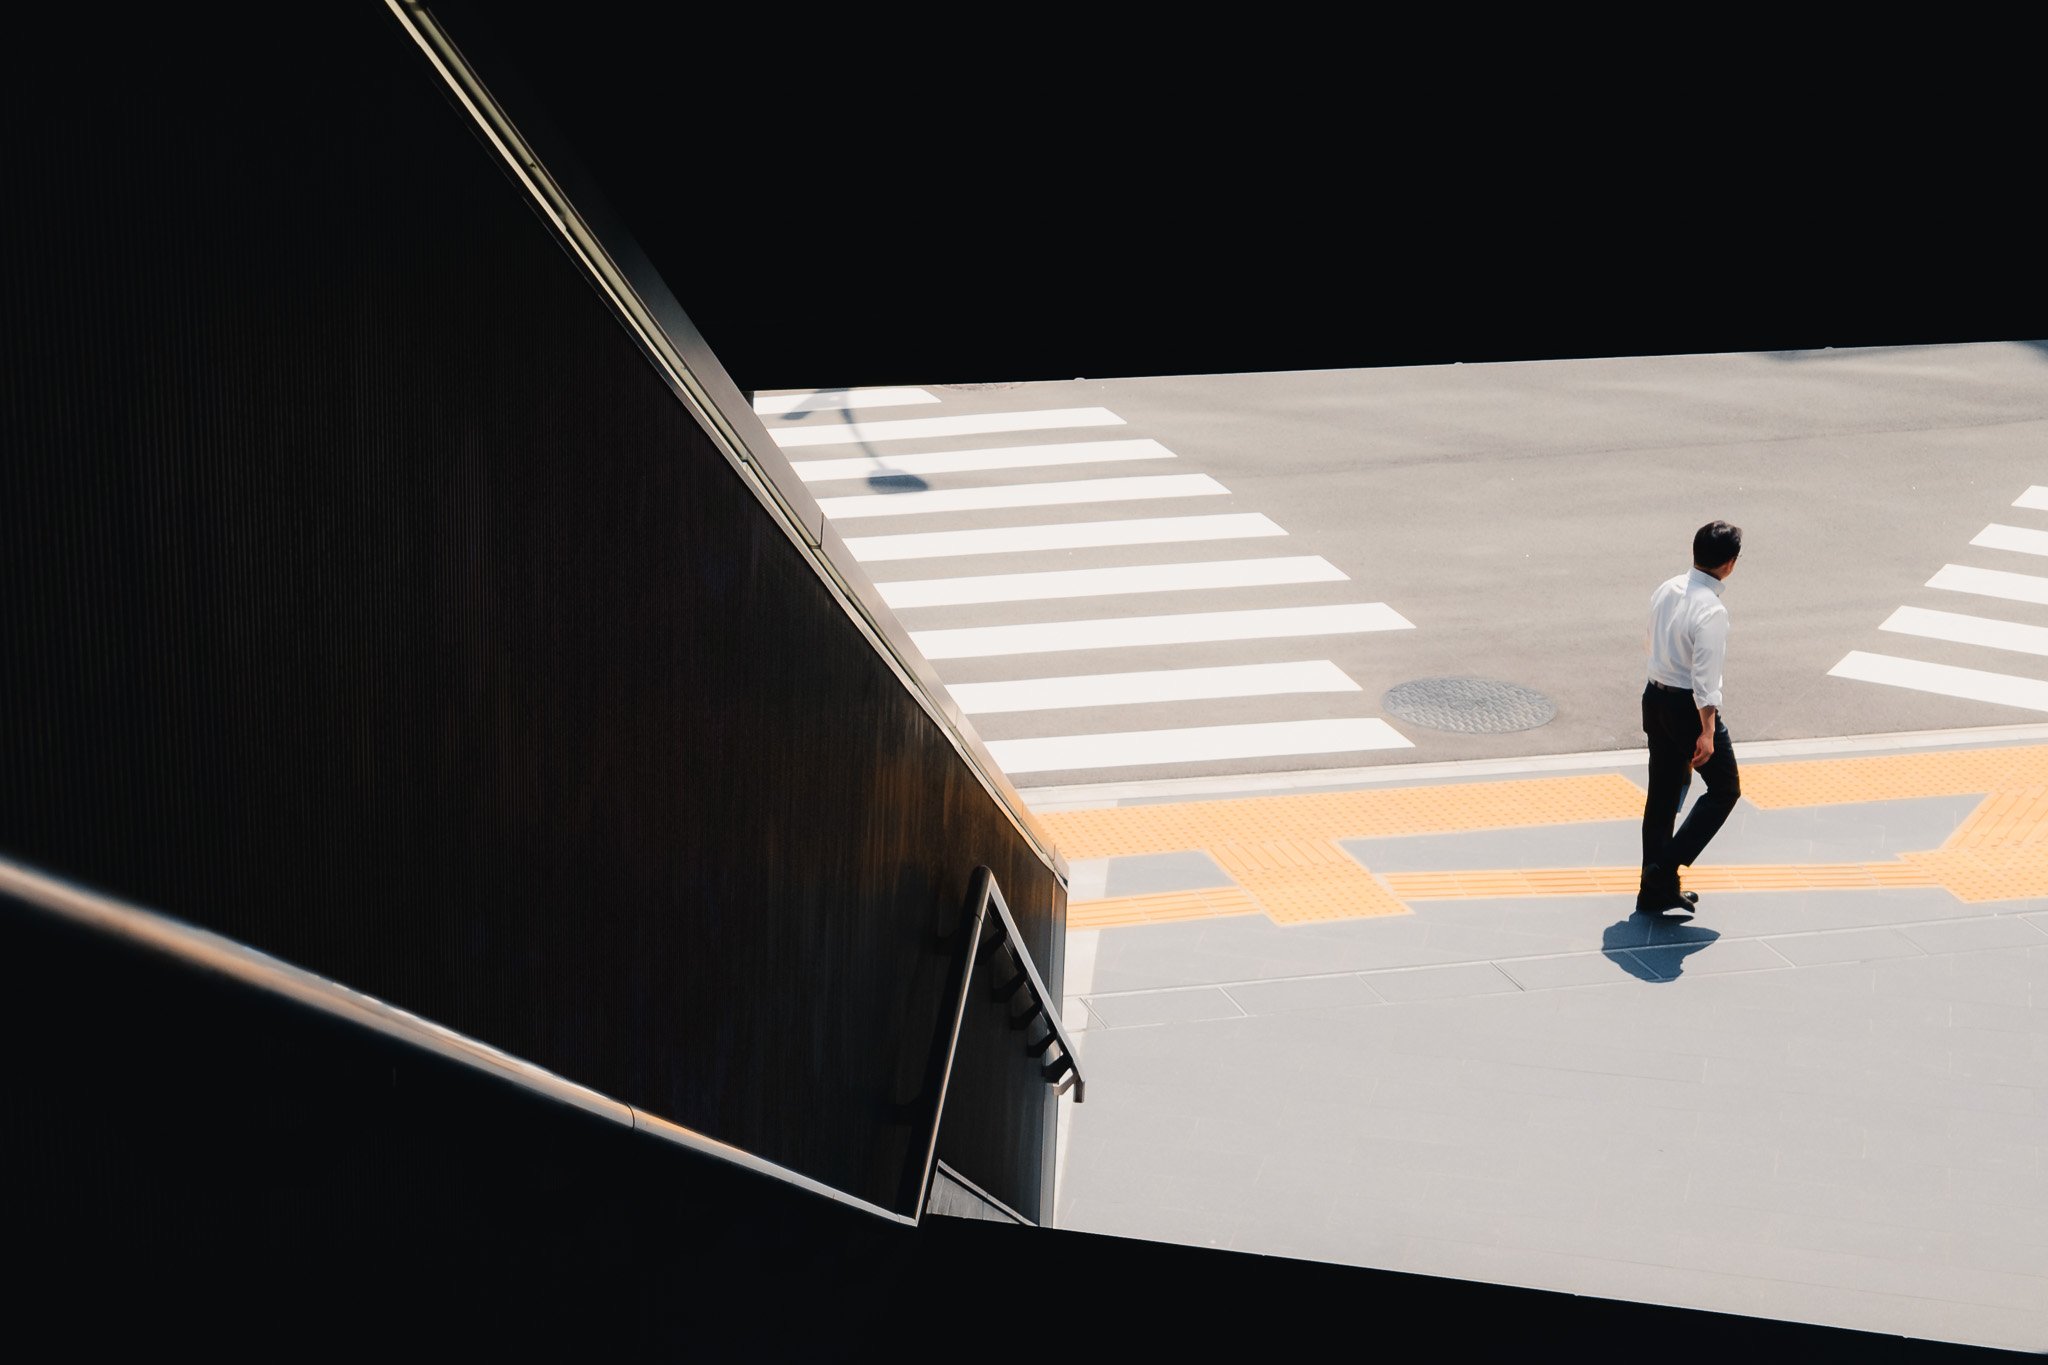
Balance
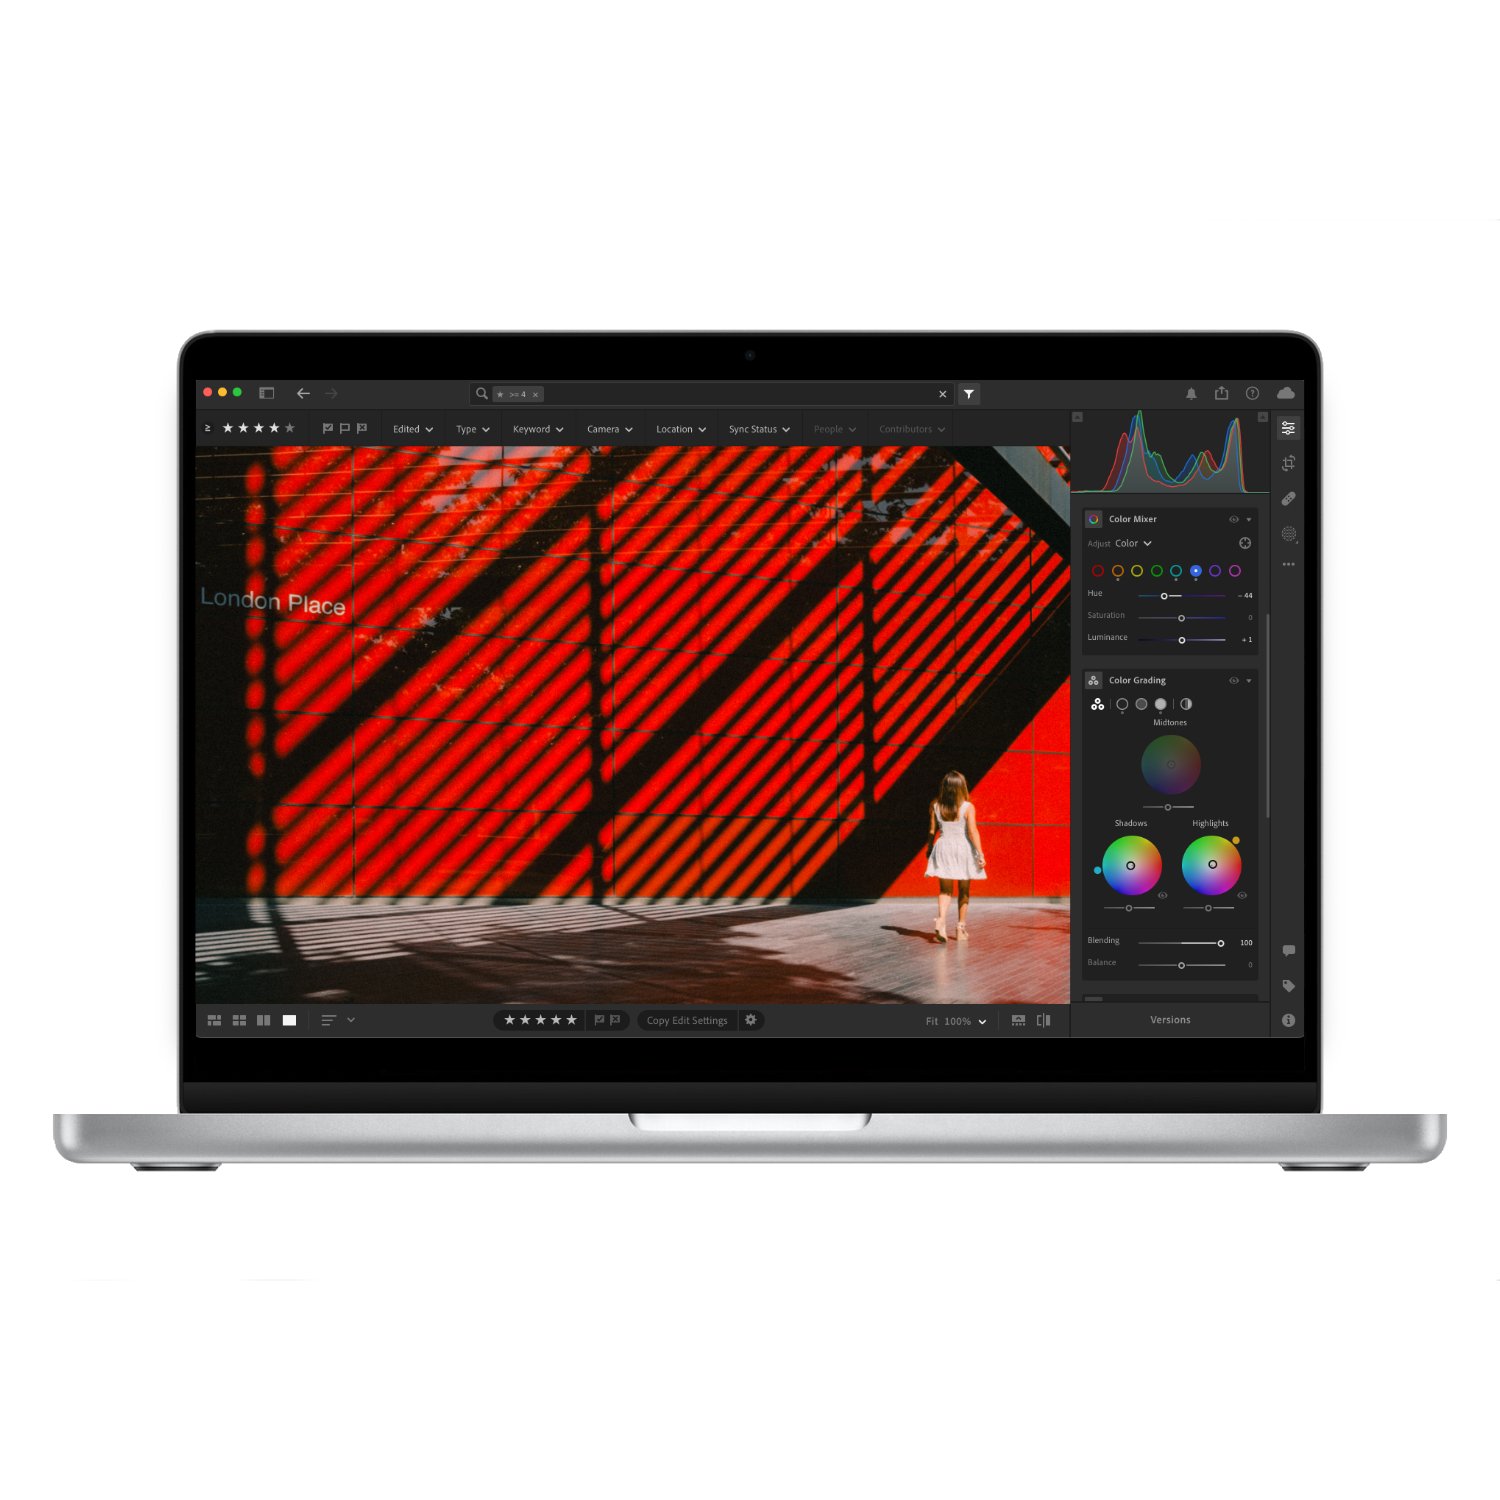
There are many compositional tools at our disposal, such as the rule of thirds, leading lines, and much more. However, I learned that the most important aspect of a well-composed image is balance. Each photo is made up of highlights, shadows, negative space, and details. Each of these elements has a different visual weight. Highlights hold the most visual weight because they command more of your attention. Shadows hold the least. Just as you would balance weights on a scale, you need to balance these elements out in your scene. This could mean a larger shadow area in comparison to the highlights to balance the photo out. It could also mean some negative space in your shot to balance out intricate details. Of course, getting this right in camera is important; however, this is something you can also work with in editing using the crop and geometry tool.

In this example the photo is balanced well. We have a small bright highlight area with some details that’s being offset by a larger and cleaner shadow area.

In this version the shadow area is too prominent and is taking all your attention. The image is not balanced and feels like it’s leaning to the left.
In this version the highlight area is too big and the shadow area is too small. This makes the image lean over to the right and no longer feel balanced.

This image is balanced well. The lower half has plenty of detail while the top half balances it out with clean negative space.
In this version there is too much negative space in the sky and not enough lower detail to balance it out. This image feels top heavy.

The opposite is true for this example. Not enough sky to balance out the intense details. This leaves the image feeling crowded and bottom heavy.
Experience
Everything I shared in this blog will have a positive impact on your photography; however, it will not come overnight. The biggest photography “hack” is to put many hours into taking photos. There is no shortcut to success, and while durations may vary for different people, be prepared to spend years learning and perfecting this craft. The best thing you can do for your photography is to go out and take photos.